If you do any kind of development work, you probably have a favorite text editor. Sublime Text is one of the most popular text editors designed with coders in mind, so chances are you’ve heard about it. However, you might be wondering how to use Sublime Text for WordPress development.
Fortunately, we’ve created a complete guide to help you get started. Once you’ve mastered the basics, you can streamline your workflow and navigate all WordPress-specific code more efficiently.
In this post, we’ll take a closer look at  Sublime Text and how it works. Then, we’ll show you how to use the text editor for WordPress development. Let’s get to it!
What is Sublime Text?
Before we discuss how to use Sublime Text, let’s first say a couple of words on what the tool is in the first place. Sublime Text is one of the most versatile and feature-packed text editors you can find on the market. Its clean interface and split-pane editor makes it easy to navigate big projects:
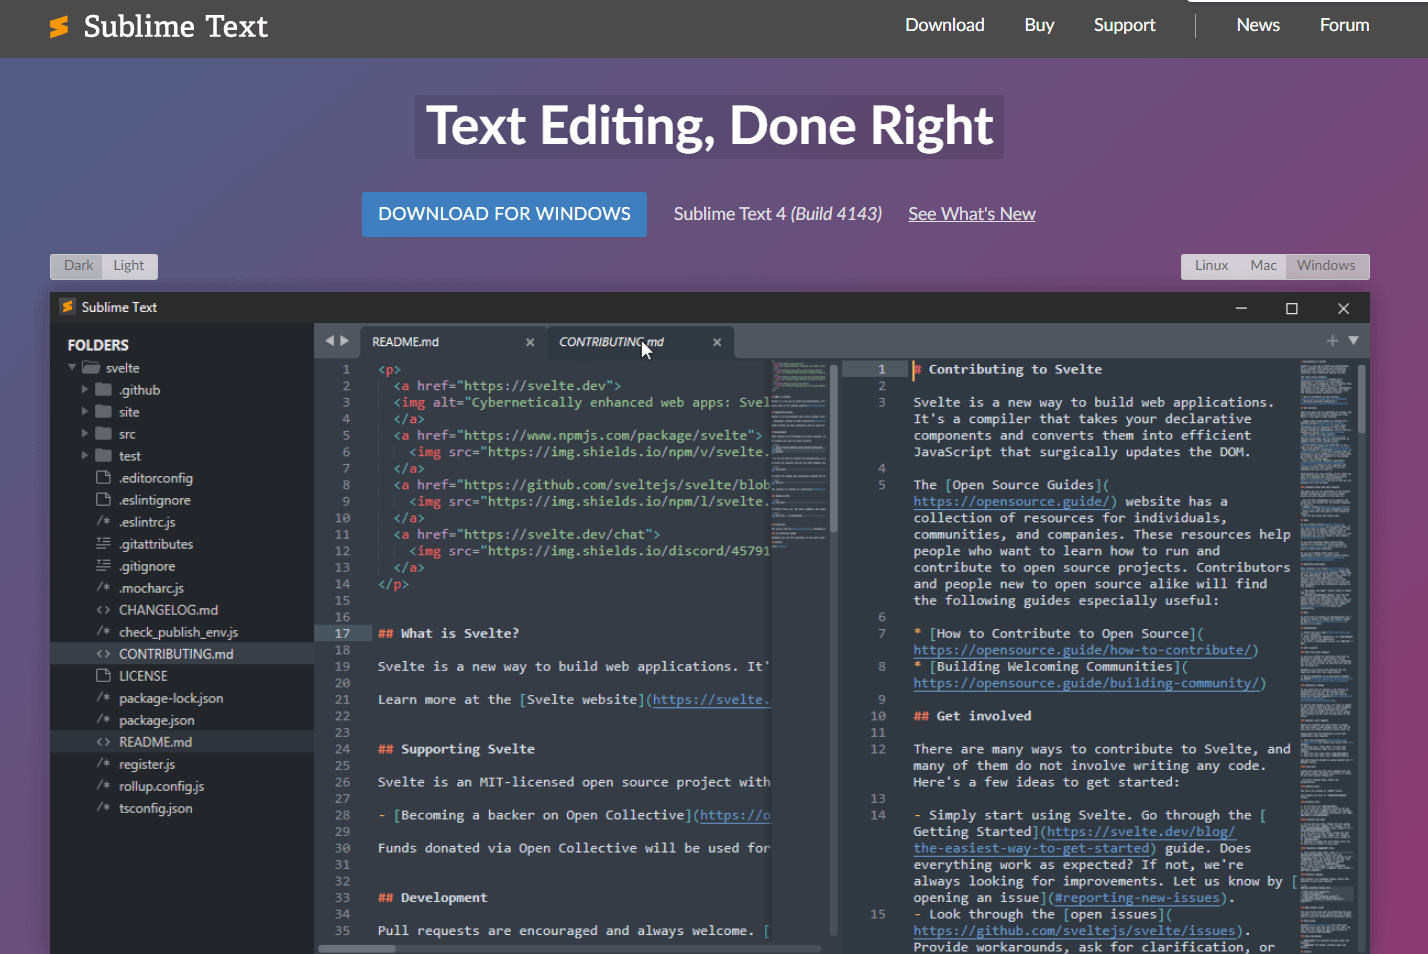
On top of basic functionality, Sublime Text comes with a lot of features for developers. These include:
- Syntax highlighting for multiple languages
- Code completion functionality
- Support for macros
- Support for extensions (known as packages)
- Multi-line editing
- Tab multi-selection
- Customizable styles
- Compiler integration
If you’ve used other text editors in the past, none of these features will be new to you. What makes Sublime Text unique is that it doesn’t try to reinvent the wheel. It’s easy to use, incredibly lightweight, and can adapt to almost any workflow.
Overall, Sublime Text is a perfect option if you want a text editor that doesn’t come with a fully Integrated Development Environment (IDE). Sometimes, you just want a simple editor that works, without going all the way back to Notepad or Vim, and that’s what Sublime Text offers.
Basics of the Sublime Text editor
Before we talk about how to use Sublime Text for WordPress development, let’s look at how the editor works.
Understand projects and workspaces
As soon as you launch the editor, you’ll see a barebones gray background with a single tab open. From here, you can get started working with either “projects” or “workspaces:”

A project can include multiple folders. Moreover, you can choose which files within each folder are part of the project and configure settings that apply only to those files.
When you create a project in Sublime Text, it generates a .sublime-project file and a .sublime-workspace file. The former contains information about the project’s definition, while the latter has data about open files, layouts, and other kinds of user data you don’t need to edit.
Workspaces go hand in hand with projects. When you create a project, Sublime Text automatically generates a workspace for it. You can associate multiple workspaces with any single project or set up workspaces without any attached projects:
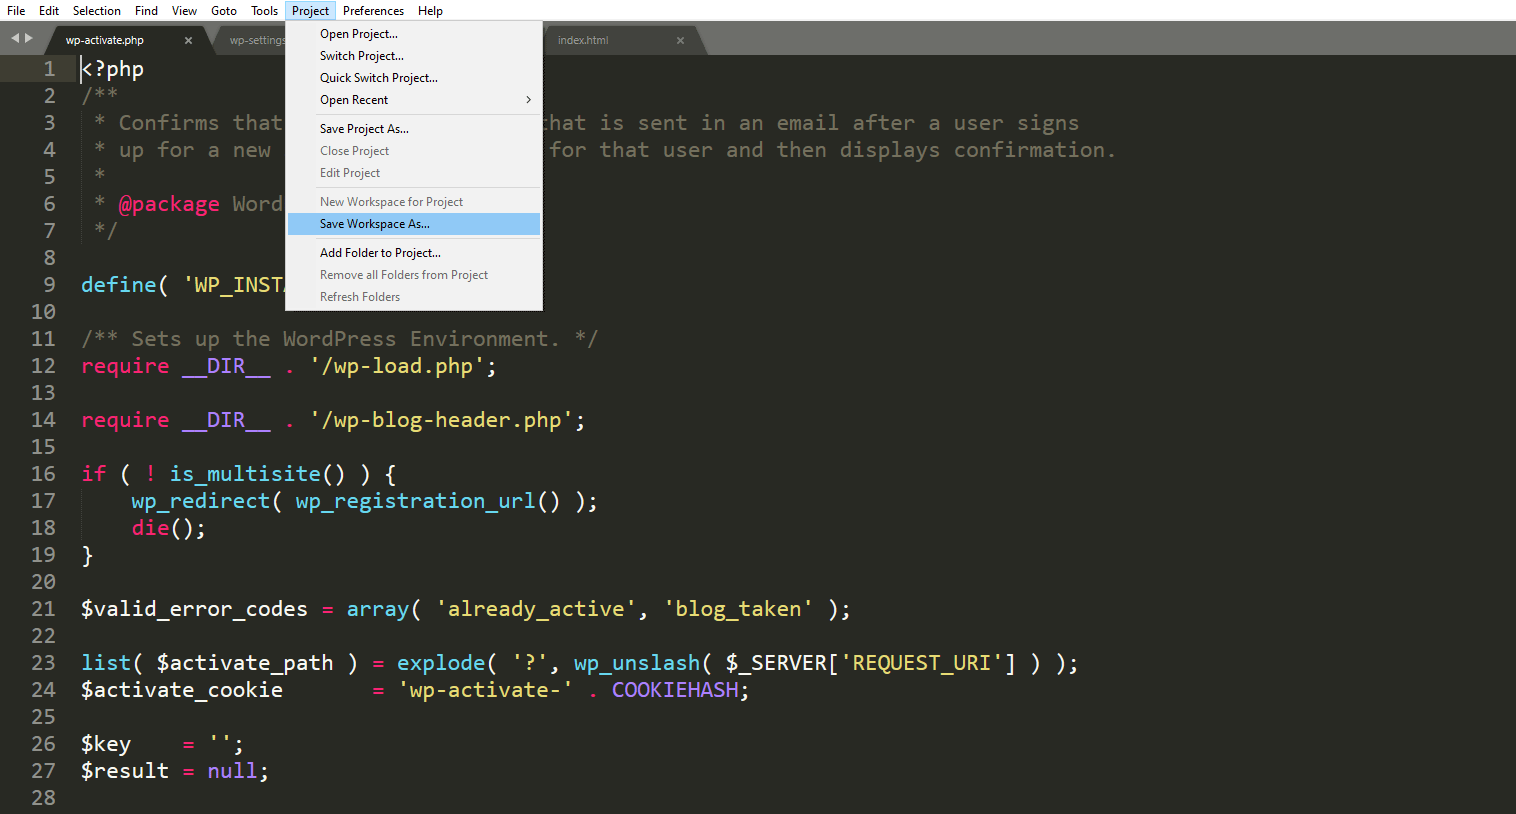
When working on development, you’ll be using mostly projects to do any work that requires version control. Workspaces, on the other hand, are better suited if you need to keep individual folders open but don’t have any need for the advanced functionality that projects offer (for example, if you need files open for reference).
Keep in mind that both projects and workspaces can persist open files, window layouts, and selected items in the side panels.
Configure your environment
Some developers like to make changes to their text editors so that they’re easier to use. To do this, navigate to the Preferences menu. Here, you’ll find options to change font sizes, color schemes, and templates.
Here’s a quick look at some of the color schemes in the text editor:

Sublime Text themes are .json files that enable you to make more significant changes to the text editor’s style. There’s no official theme repository, but you can install themes using the Sublime Text package manager. We’ll show you how that works in a minute.
Create new projects
A project in Sublime Text involves one or more folders, as well as a workspace. We recommend using projects if you’re working on theme or plugin development (or any work that requires version control). This will help you organize your work and access content more easily.
To create a project, go to Project > Save Project As. Then, set a name for the project file and choose where to save it.
The .sublime-project file will include the project’s information, which you can edit manually. You can also add new folders to the project. To do this, go to Project > Add Folder to Project and select one or more options:
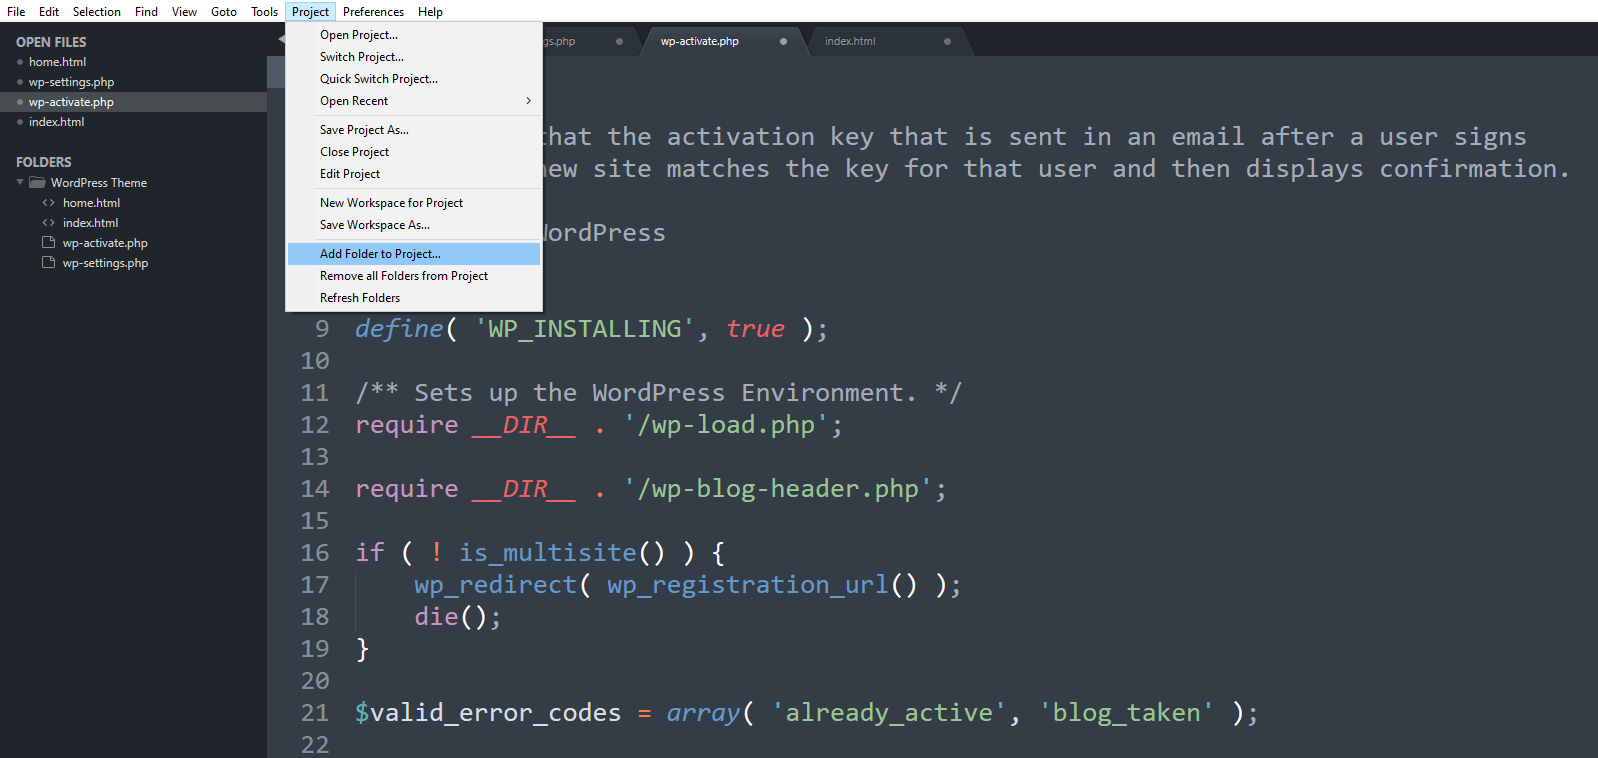
Adding a folder to a project means it will appear in the sidebar to the left. This enables you to jump between different folders and files with ease.
The Projects menu lets you switch between multiple projects with a click. This means you can work on multiple tasks without finding and reopening all the associated files each time you want to start coding.
Find and install packages
Packages are one of the most useful components of Sublime Text. Think of them as plugins or extensions. You can use them to expand the text editor’s core functionality.
To access these tools, you’ll need to install the package manager. Go to Tools > Install Package Control. Then, click on Preferences > Package Control. This will launch a command line showing multiple options:
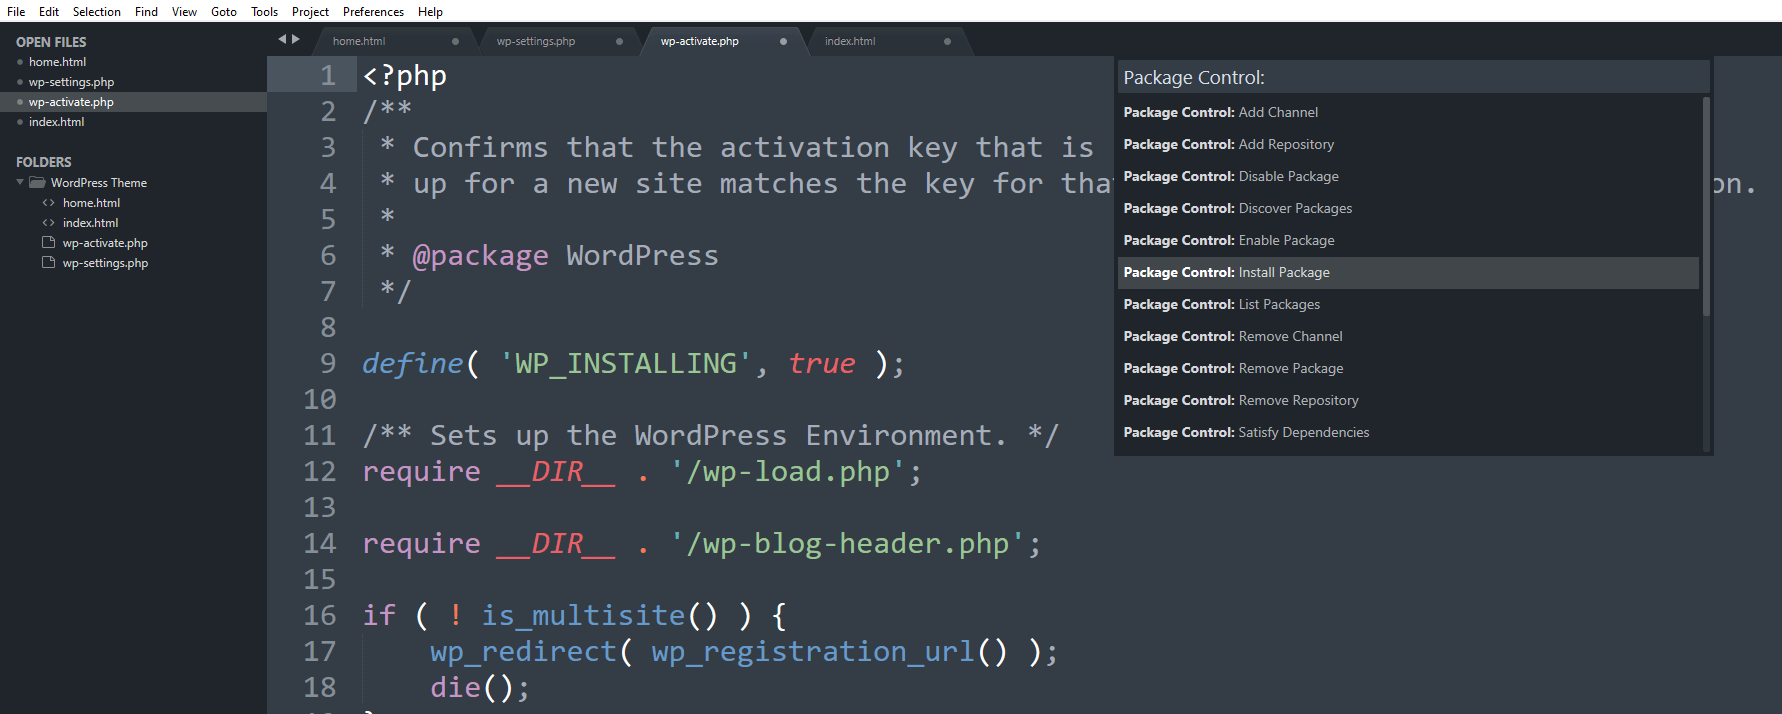
Package Control enables you to add repositories to a list and then use the Install Package command to set them up, all without leaving the command line. You can also use it to enable and disable packages.
There are a lot of WordPress-centric packages you can use. In the next section, we’ll go over some of the best options.
How to use Sublime Text for WordPress development
Now, let’s look at how to use Sublime Text for WordPress. In this section, we’ll show you how you can utilize the text editor’s features to enhance your web development projects.
1. Use WordPress development packages
Sublime Text offers packages specifically for WordPress. These are designed to simplify the web development process.
Before we share our recommended packages, let’s look at how to install them. Earlier, we showed you how to set up package control in Sublime Text. Now, let’s go through the installation process.
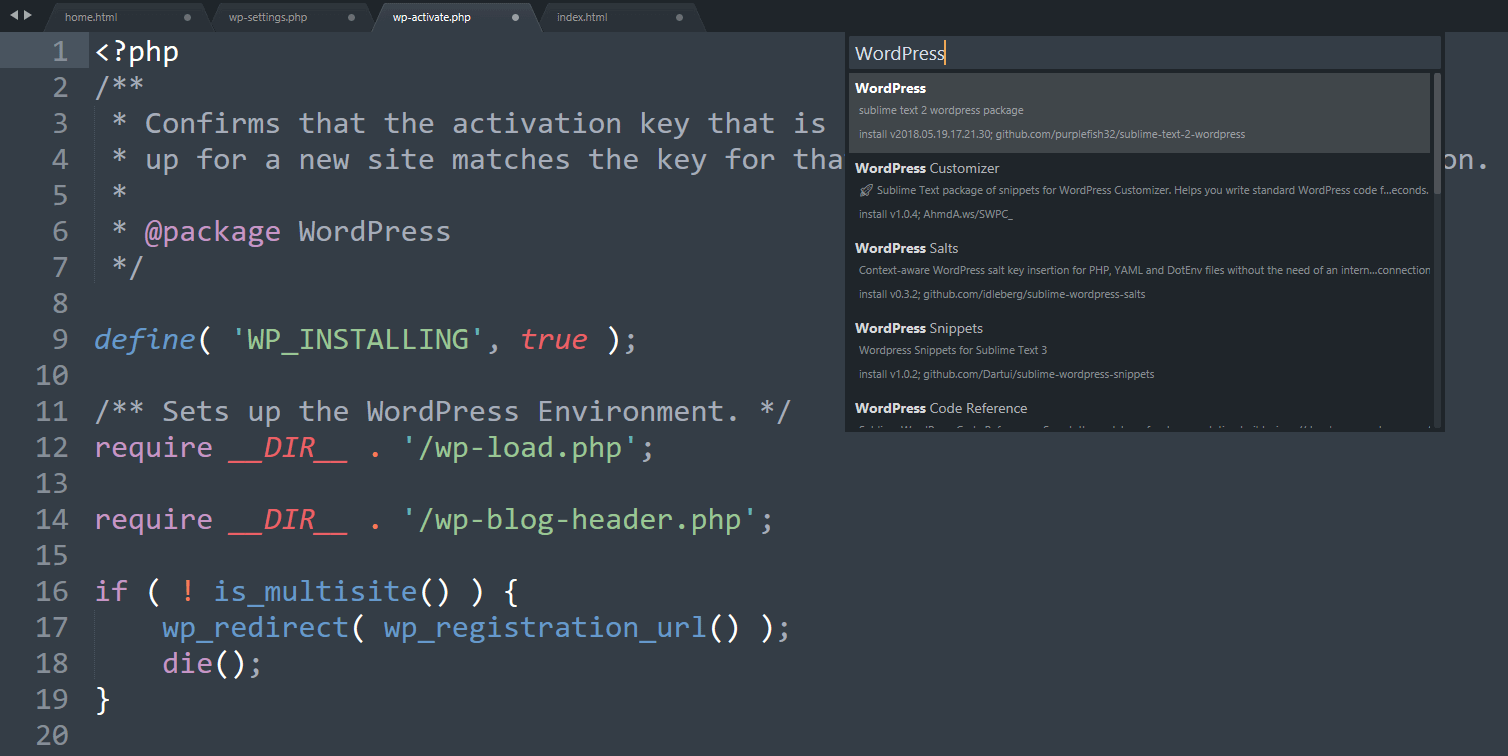
The Package Control tool offers access to the repositories where users upload the packages they create. Go to Preferences > Package Control and select the Install Package option. Using the command line, you can start typing the name of the package you want to install:
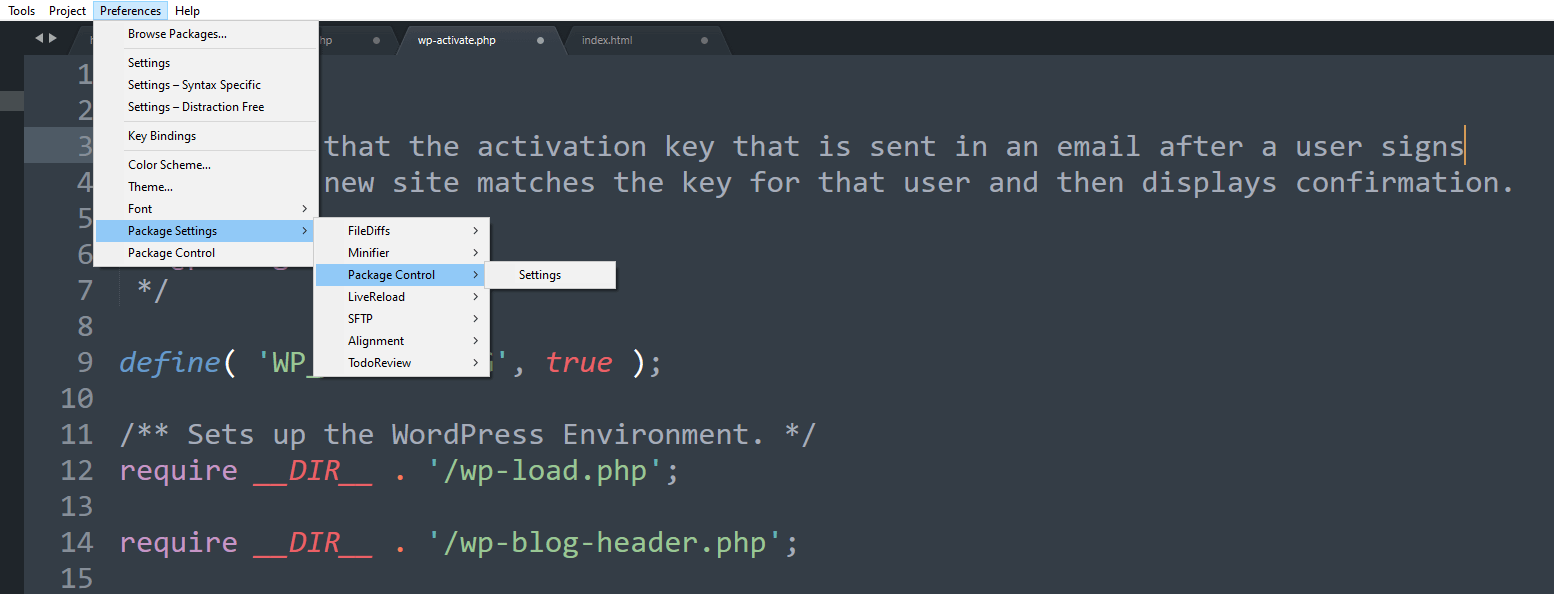
Once you select a package, hit enter and it will install in the background. When it’s ready, the package will appear under Preferences > Packages Settings. You can use this menu to enable or disable each package as well as to configure their settings:
There are a lot of WordPress development packages you can use. Our top choices include:
- WordPress Developer Resources. This package enables you to search for autocomplete functions by looking at the WordPress Developer Resources and the WordPress Codex. If you’re not sure how a function should look, you can also use this package to look at references.
- WordPress Completions. This one will also help you autocomplete functions while working on WordPress projects. We recommend using it alongside WordPress Developer Resources since they complement each other rather well.
- phpTidy. This package will help you correct your PHP code so that it conforms to WordPress development standards.
You can look for additional WordPress development packages for Sublime Text by Googling them. There are a lot of fantastic options available, so we encourage you to try different alternatives when learning how to use Sublime Text.
2. Search through plugin and theme folders
One of the most useful features of Sublime Text projects is enabling you to look within WordPress files and folders for specific text. This helps you to quickly find one or multiple instances of a function or duplicate code in theme and plugin folders.
Go to Find > Find in Files and select the <open folders> option under the Where: settings in the menu at the bottom of the screen:

Enter the text you want to look for in the Find field and hit Enter. A new tab will appear listing all the results in your project’s open folders.
Use this tab to find the entry that you want and then use the project navigation menu to the left to access the corresponding file. This will save you a lot of time when looking for functions and code that you need to edit.
3. Use version control
Version control is an invaluable tool if you’re collaborating on projects. However, you can also use it to keep track of the changes you make to a project that you’re developing on your own.
Sublime Text doesn’t include built-in version control functionality. Nevertheless, you can use packages to add basic Git functionality to the text editor. Our favorite package for the job is called Git:
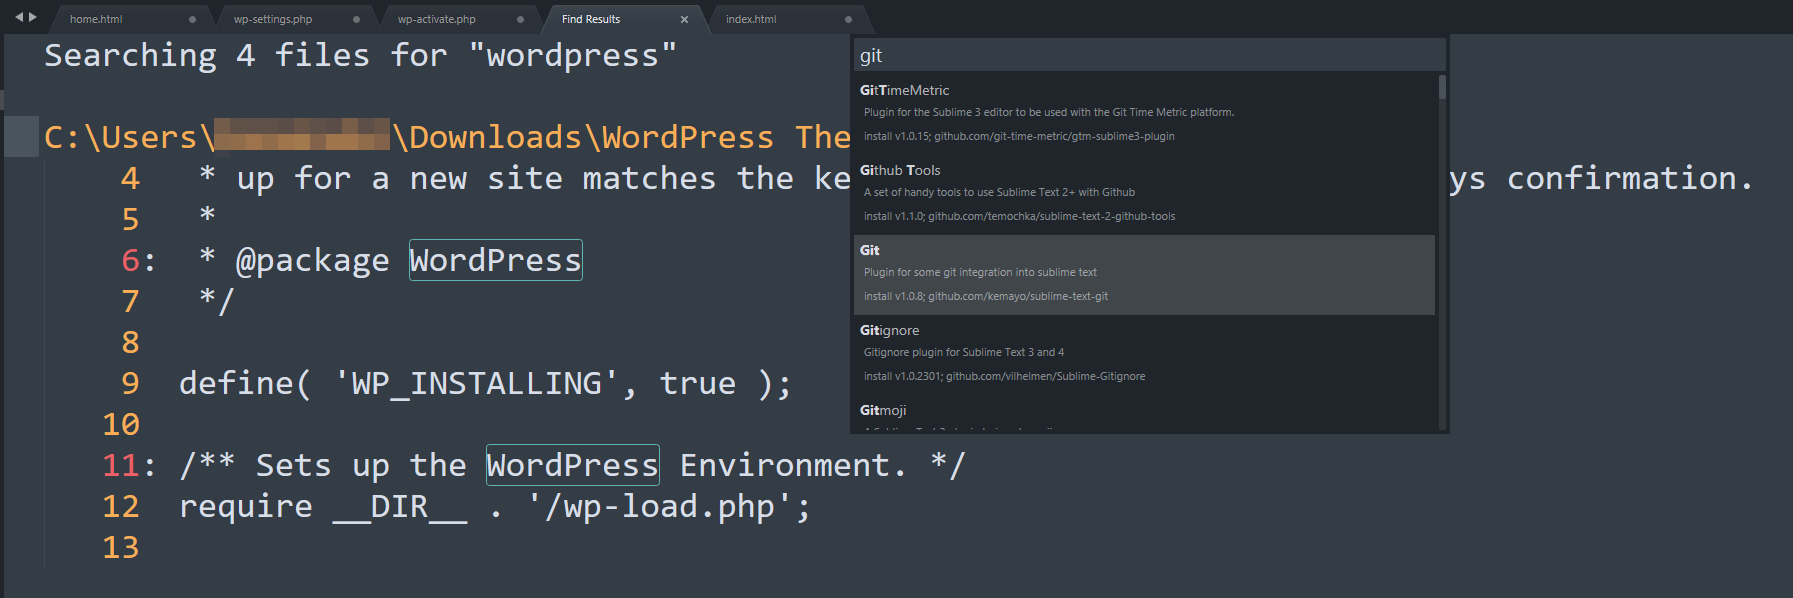
This package will provide you with an overview of each file’s commit history. You can also commit files to different branches if you want to test different development paths and collaborate with other users (if you share files).
Keep in mind that this implementation of Git doesn’t use an online repository. All the branches and data are saved locally. This means that if you want to collaborate with other users on a project, you’ll need to figure out a way to share folders and files.
Conclusion 
Learning how to use Sublime Text for WordPress development can help you work on your projects more efficiently. Sublime Text is highly customizable and lightweight. It enables you to use packages to extend the editor’s functionality and work on multiple theme development projects or plugins at the same time.
To recap, here’s how to use Sublime Text for WordPress:
- Use WordPress development packages to streamline your workflow.

- Search through plugin and theme folders for specific code.

- Use version control to collaborate with other developers.

Do you have any questions about how to use Sublime Text? Let us know in the comments section below!
