GeneratePress finally has a local font library feature! In GP Premium 2.5.0, you can now upload your own custom fonts and use them on your website.
You can also connect to Google Fonts and download your favorite fonts to your website so you can serve them locally instead of using the Google Fonts API. This not only improves privacy on your website, but it also provides a big performance improvement!
To enable the new Font Library, navigate to Appearance > GeneratePress and activate the Font Library module.
You’ll see a link to open the Font Library, and a Font Library menu item will appear under the Appearance tab after you refresh/load the next page.
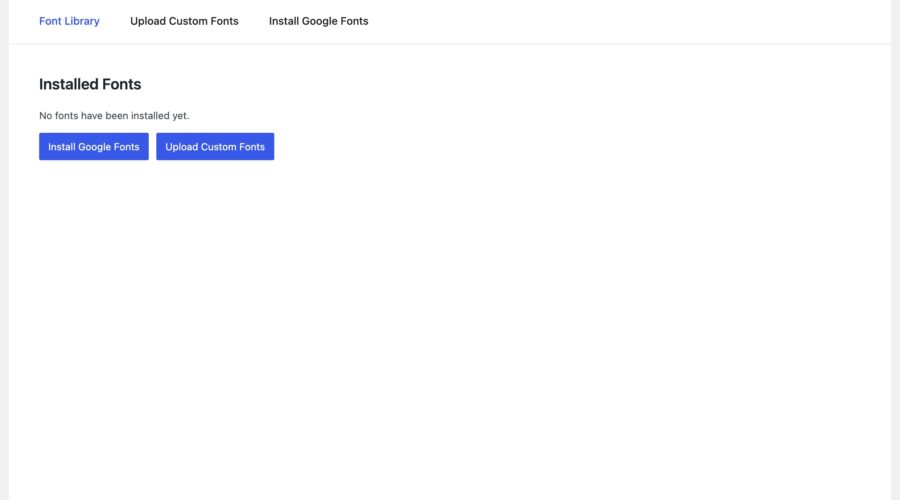
Initially, you will see the following area with no fonts installed.

You have a choice between installing fonts from Google, or uploading your own fonts.
Installing Fonts from Google
If you want to install a font directly from Google, you can navigate to the Install Google Fonts tab.
Installing a font from Google requires you to connect to the Google Fonts website in order to download the necessary font files to your server so you can serve them locally. The frontend of your website will only serve the local fonts after they’ve been downloaded to your server – it will not connect to the Google Fonts API.
When we first open the Google Fonts tab, you will be asked to give permission to connect with the Google servers. As we’re downloading their font files to our server when installing a Google Font, we need to connect with their server in order to do so. If you give permission, this choice is saved within your user meta data.

It’s important to note that the communication between your server and the Google server only happens when you install a particular font. No ongoing connection is made.
Once permission is granted, you will gain access to all of the available Google Fonts.

To install a font, simply click on the one you want and choose the variants you wish to install.

Once installed, the font will show up in your Font Library.
Upload Custom Fonts
If you have your own font files, you can upload them directly to the library using the Upload Custom Fonts tab.

Once uploaded, the font will show up in your Font Library.
Managing Fonts
Fonts that have been installed on your website will show up in the Font Library tab.

If you click a font, you will see all of its options.

Font Status
You can enable or disable the font. Disabling the font will keep it on your server, but will not include it in your CSS on the frontend of your website. This will prevent the browser from downloading it when users view your website.
Available Font Variants
Font variants handle the different display types of your font. For example, bold or italic versions of the font. Here, you can enable or disable them (the same as the entire font as explained above), or delete them from your server.
To add new font variants, you can follow the same installation steps you took to initially install the font, but choose the other variants to download.
Font Display
Learn more about the font-display property.
Font Alias
If you wish to name the font something other than its default name, you can do so here. I installed “Inter”, but I might want to reference it as a different font name in my CSS.
Font Family Fallback
Your font family fallback is what the font displays as before the true font has been downloaded by the browser. When installing from Google, this field will be automatically populated with the fallback that Google recommends. When installing your own custom fonts, you will want to fill this field in with the appropriate fallback.
CSS Variable Suffix
We generate a CSS variable for you when you install a font. This variable can be referenced in your CSS instead of referencing the font name or alias. This allows you to adjust the alias or font family fallback without having to go update all of the places you’ve referenced this font in your theme and block settings.
Using the Fonts
Now that we’ve installed our local fonts, we need to tell our website to use them. Along with this release, we’re releasing GeneratePress 3.5. This version of GeneratePress adds support for our local fonts in the Customizer so we can apply them to our website.
You will see your local fonts listed in the Font Manager section of the Customizer inside of the Typography panel.

In the above image, we clicked “Add Typography” and chose the “Body” of our website so our font applies to the entire website. The “Inter” font that I installed was automatically available in the Font Family select field.
Selecting this font tells GeneratePress to use the CSS Variable value for our font in its CSS. My website is now using the Inter font!