In web design, links allow you to move throughout a website, web page, or app. There are quite a few different ways to use links. You can have external links, meaning they link outside of your website or domain. Some links are internal, linking the various pages and resources on your website.
Another type of link can live within the page of a website. These types of links are called anchor links, and they can be pretty helpful. When you have a particularly long page, anchor links can make it easier for your users to navigate through your page. Similarly, adding anchor links in Divi can help make your beautiful pages a treat to read and explore. Let’s learn more about anchor links and see how we can add anchor links in Divi with the Button Module.
What Are Anchor Links?
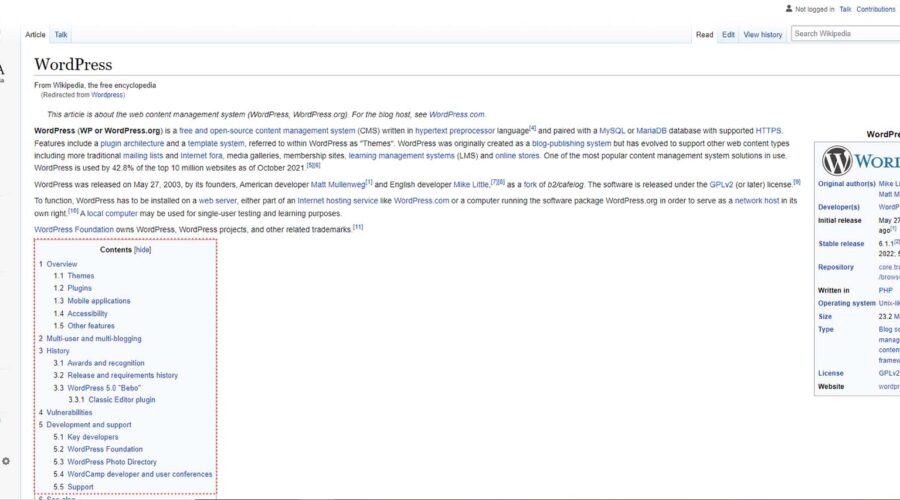
A good example of anchor links in use can be found when creating a table of contents. An easy place to find a table of contents on the web is Wikipedia. This is WordPress’ Wikipedia page. Within the page, we find the table of contents. Within the table of contents, there is a list of links that direct you to different headings and areas of the page. These are anchor links.
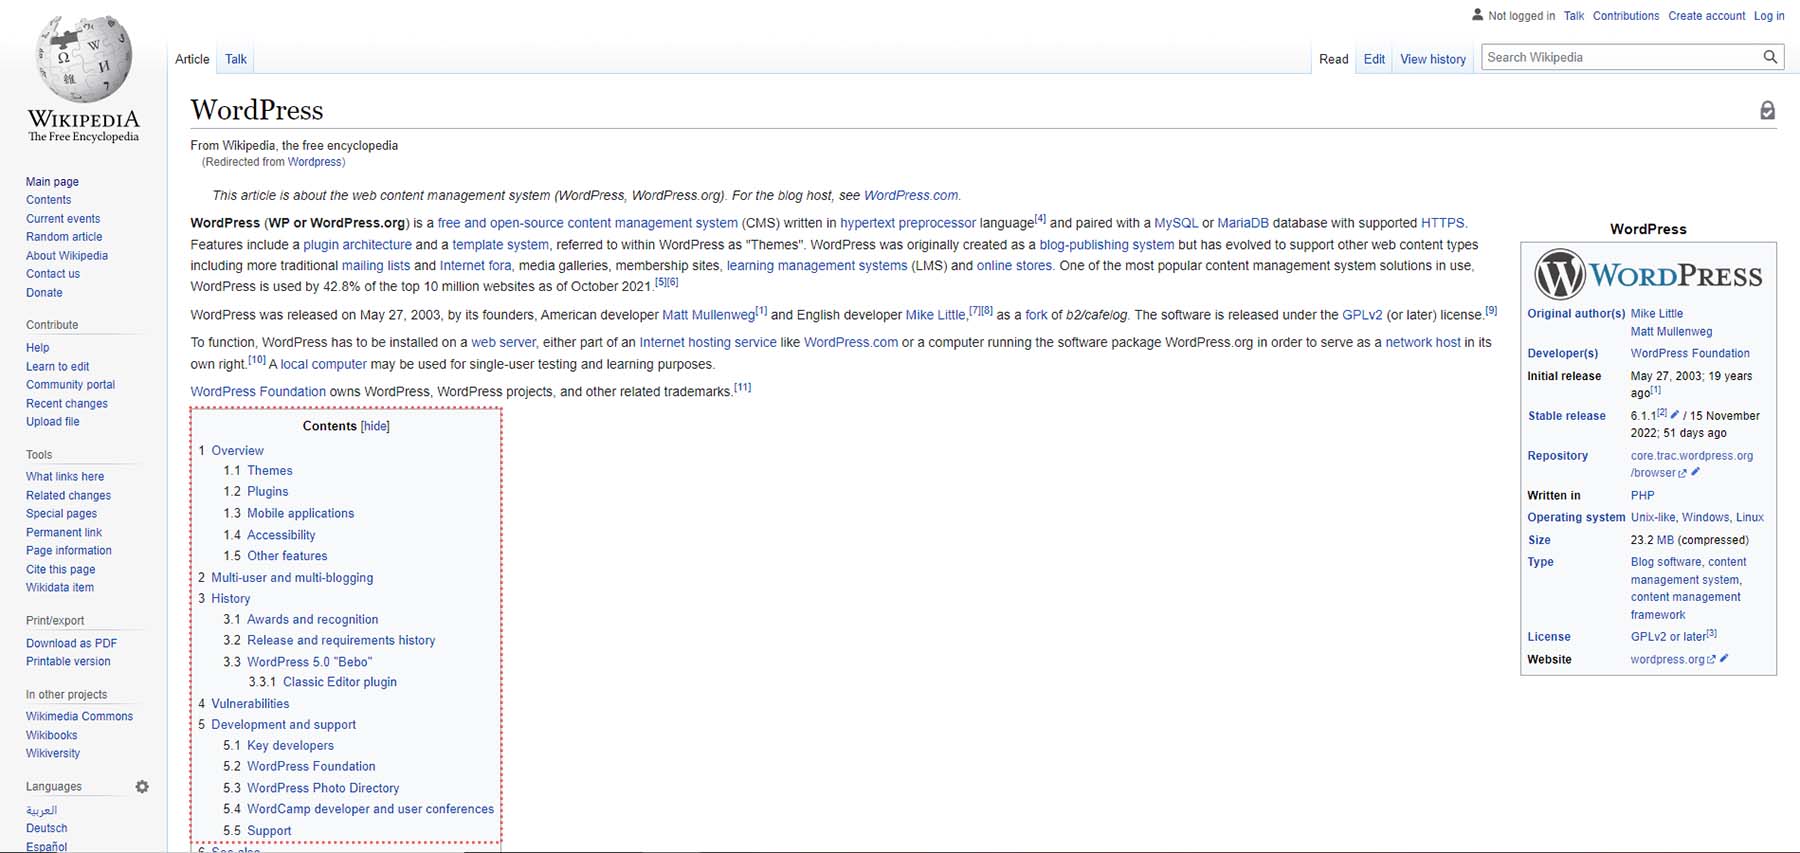
When you click on one of the anchor links within the table of contents, you will go to the subsequent section of the page. You will remain on the page, but you will be in a different part. It’s also a good idea to use a back-to-top button on a site that uses anchor links. This helps with UX (user experience) as it makes it straightforward for your readers to navigate the pages of your site.
Why Use Anchor Links on Your Website
Using anchor links allows your readers to navigate your site better. It also saves them energy with scrolling. Instead of them scrolling through long pages, by using a table of contents or a fixed menu with anchor links, you can take them to the exact spot they want to visit on your webpage.
An anchor link also provides your users with the necessary information faster. You can also link to and use anchor links from within different pages of your site to quickly direct visitors to the specific areas of your site without too much effort on their part.
Adding Anchor Links in Divi with the Button Module
Creating anchor links in HTML requires a link and also an HTML ID attribute. The ID attribute is a way to add a name to your link. First, you need to create and assign an ID to the element you want your anchor to link to. Then, you set the link’s destination to the ID. When you are linking to an anchor, you will need to prefix the ID with the hash symbol #. This is what will differentiate your anchor link from internal or external links.
This same methodology can be used when adding anchor links in Divi. Let’s see how we can do this within the Landing Page Layout of the Divi Online Course FREE Layout Pack.
Installing the Page Layout
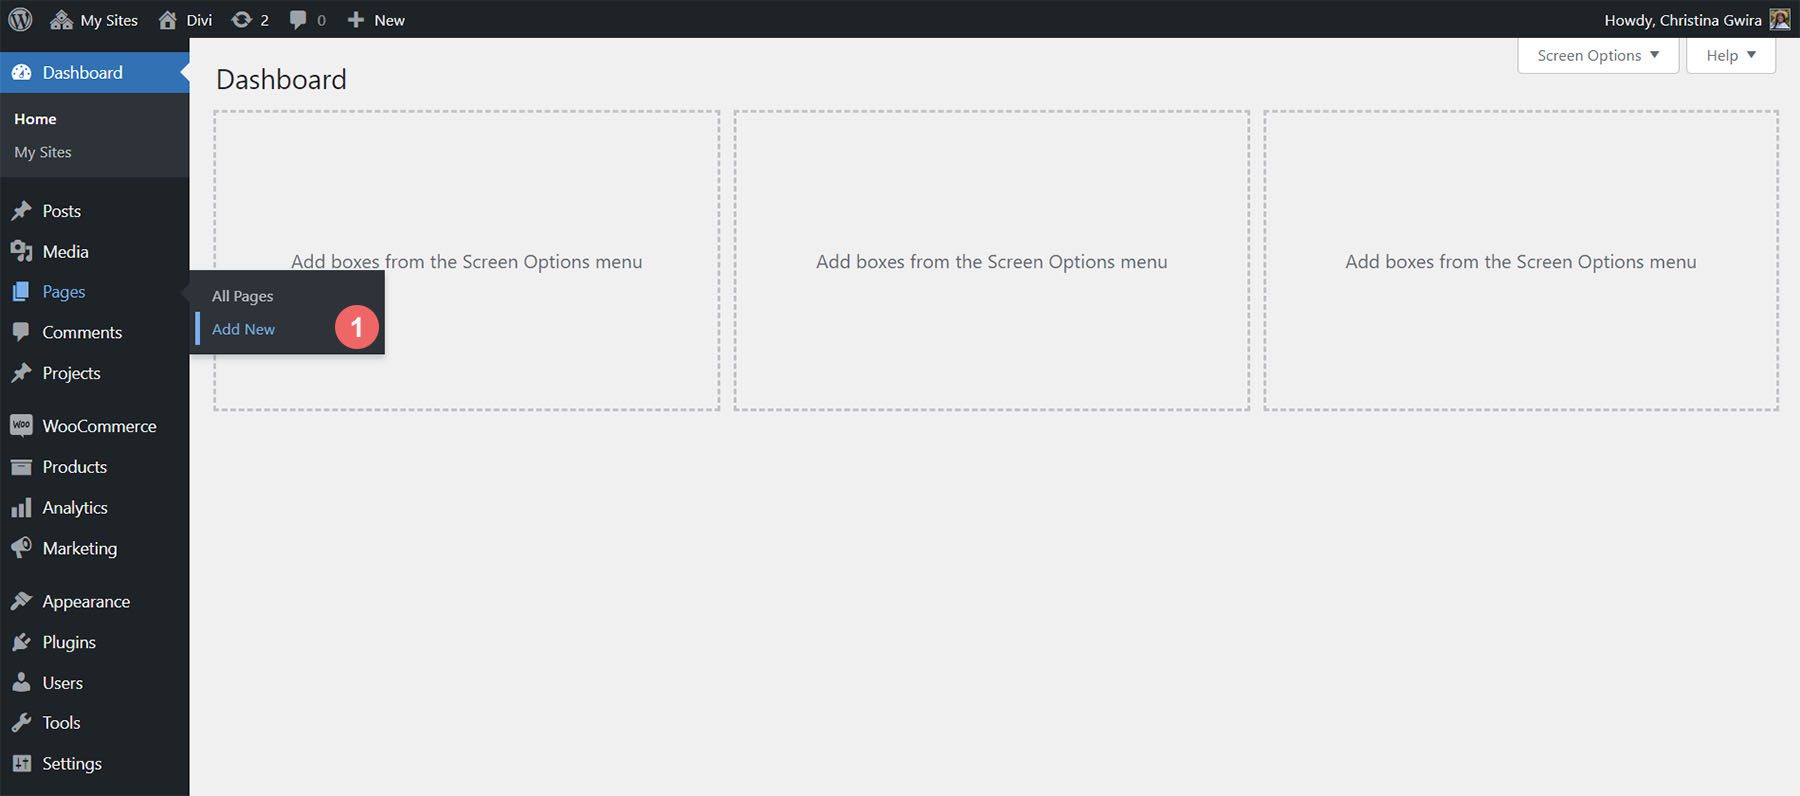
To install the page template, we first need to create a new page in WordPress. We do this by hovering over the Pages menu item from the left-hand menu. Then, we click Add New.
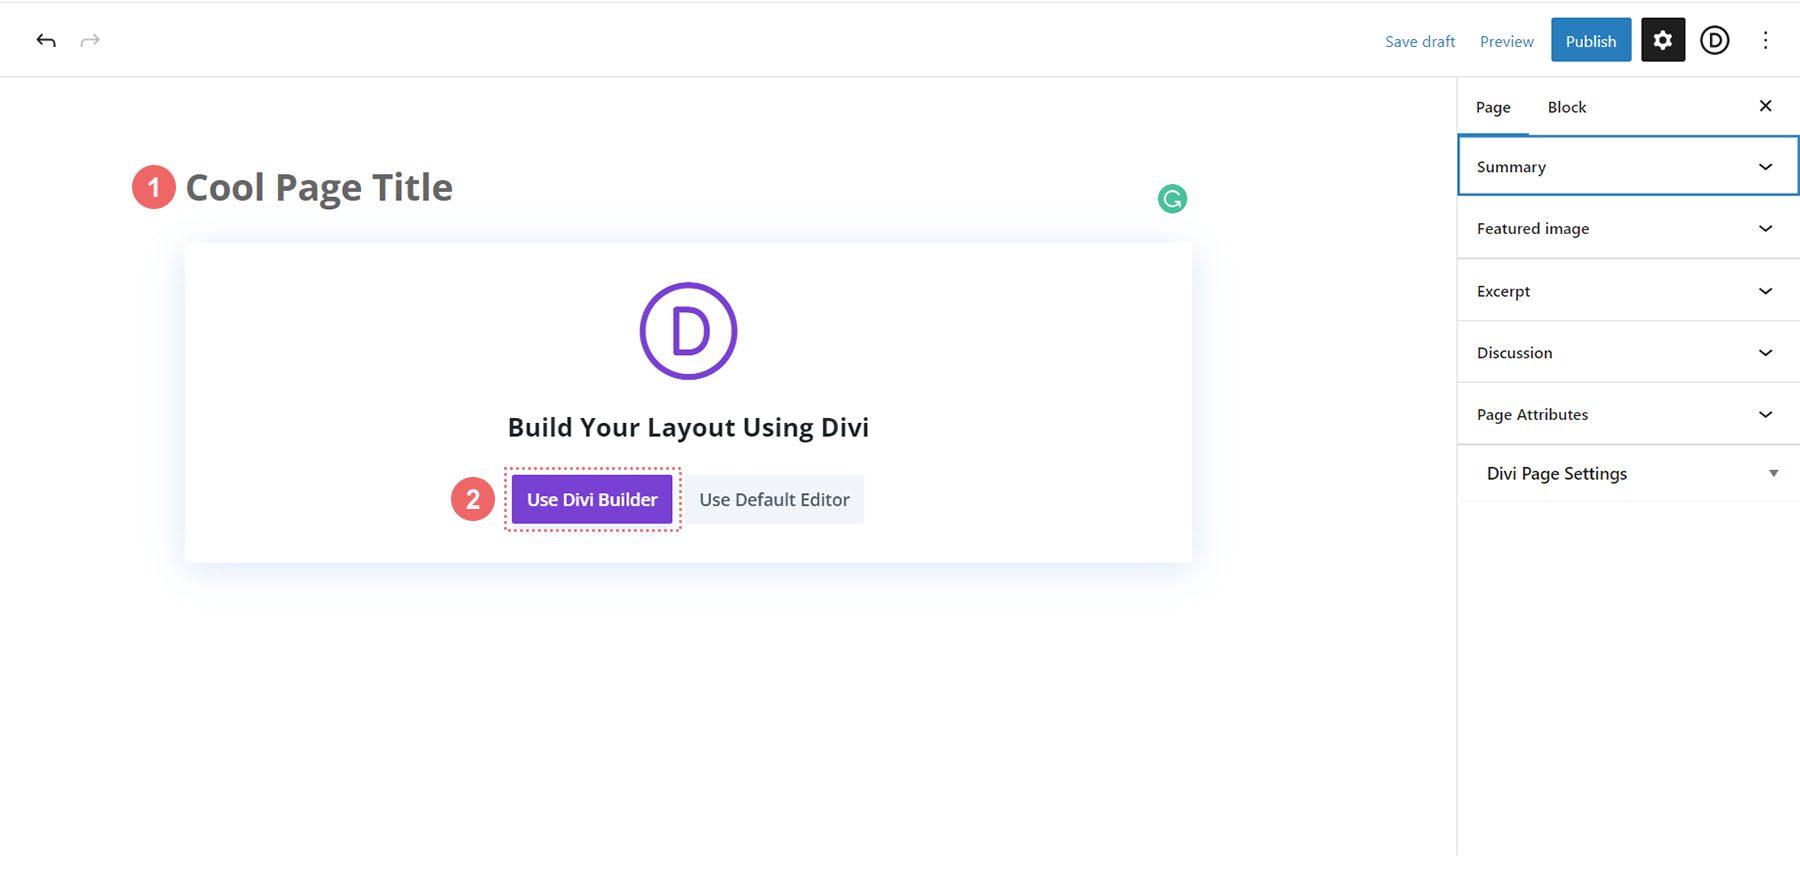
Once inside the default WordPress editor Gutenberg, set a title for your new page. Next, click on the purple Use Divi Builder button.
You will then be presented with three options. We’re going to click on the purple, middle button, Browse Layouts.
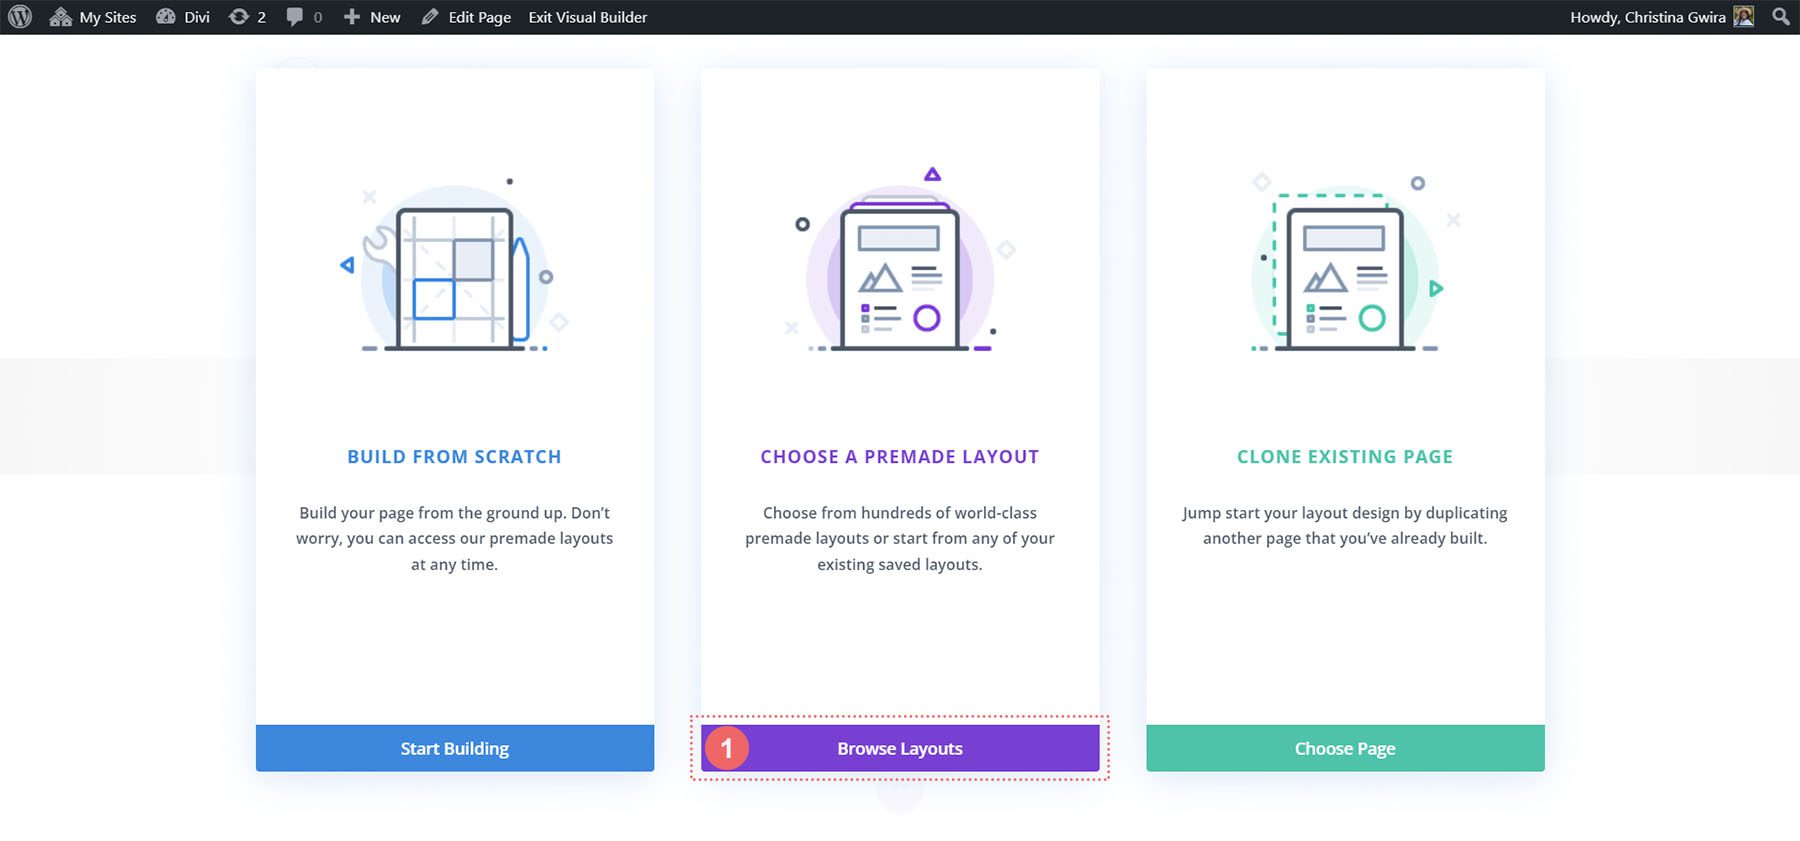
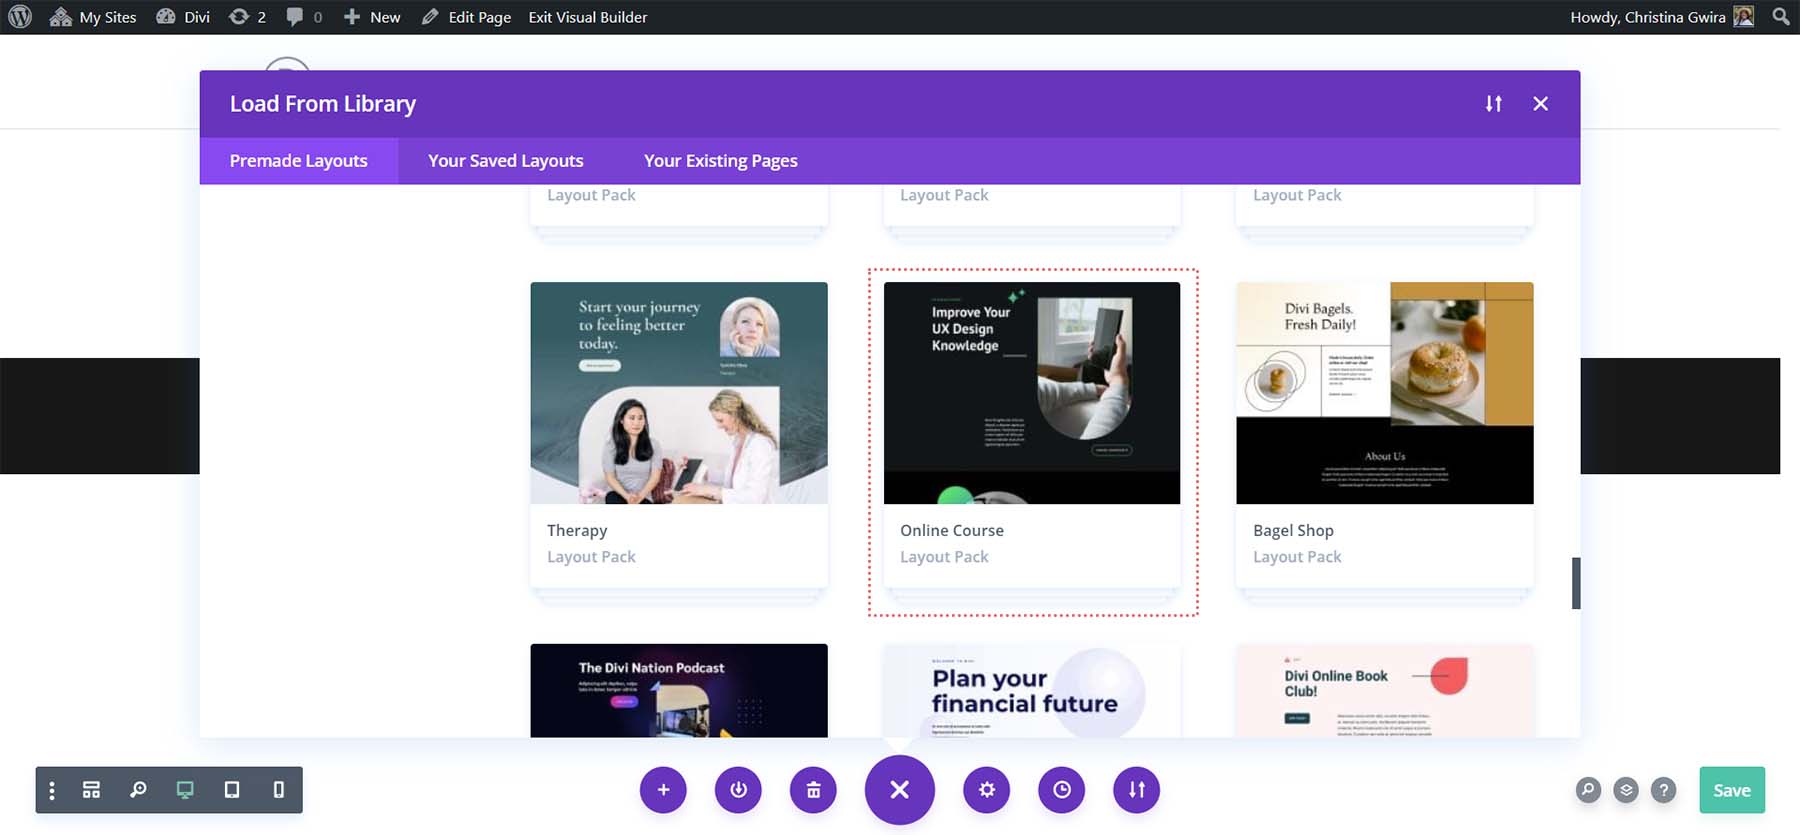
This will open up Divi’s vast layout library which comes packed with pre-designed pages for you to choose from. We’ll be selecting the Online Course Layout Pack.
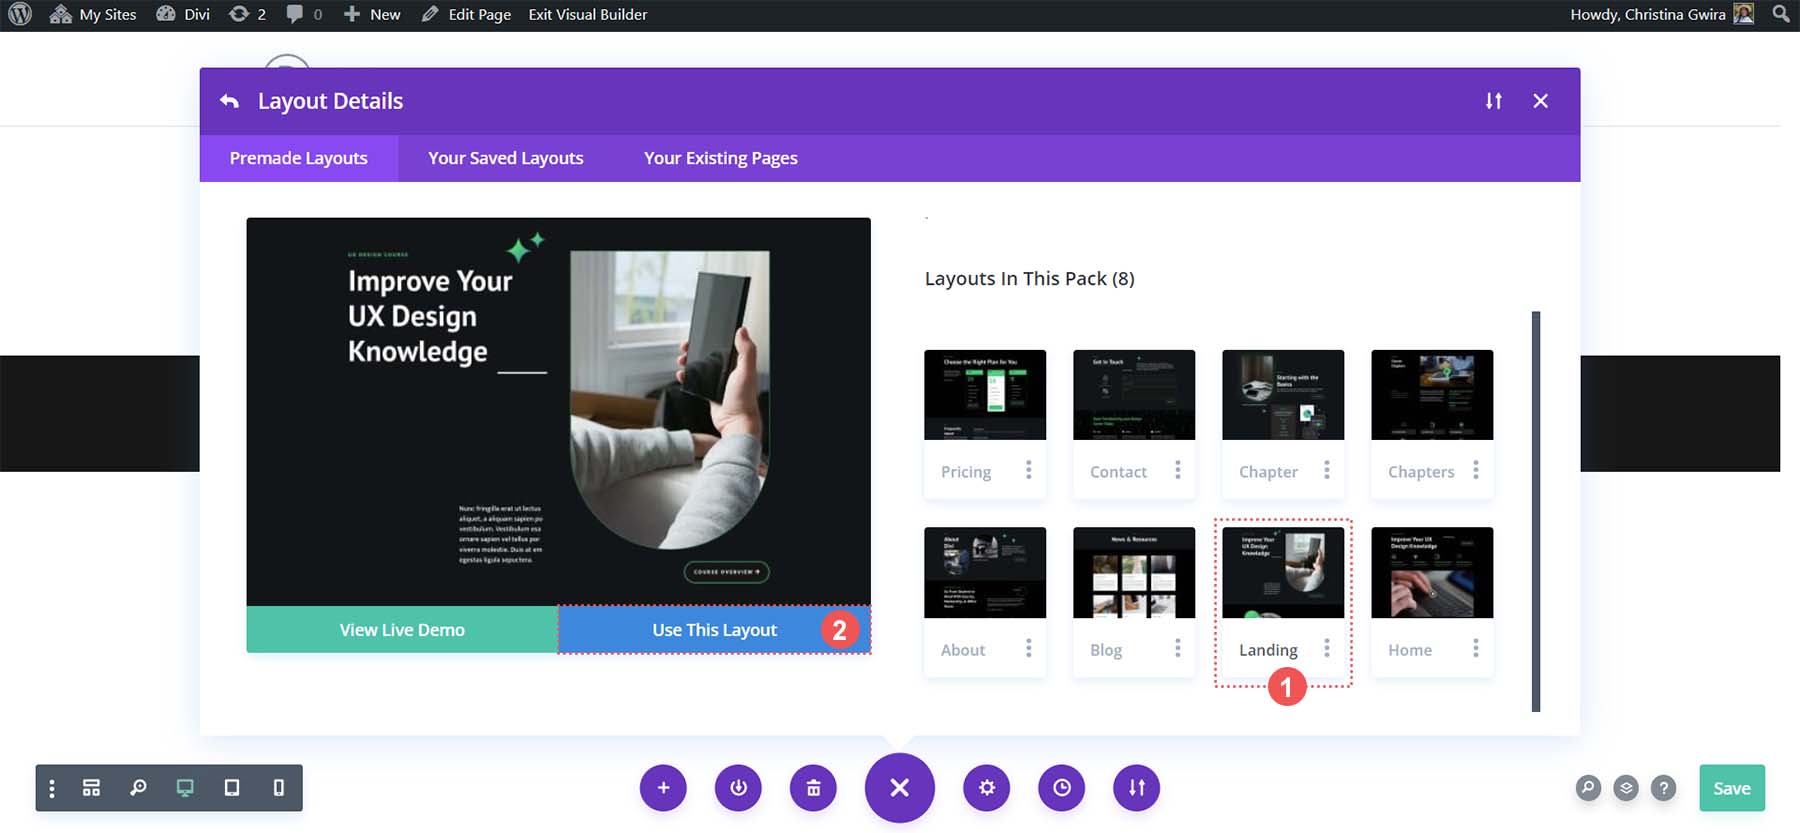
From within the layout pack, we’ll be using the Landing Page Layout. Click on the layout, then click the blue Use this Layout button to load the layout into your newly created page.
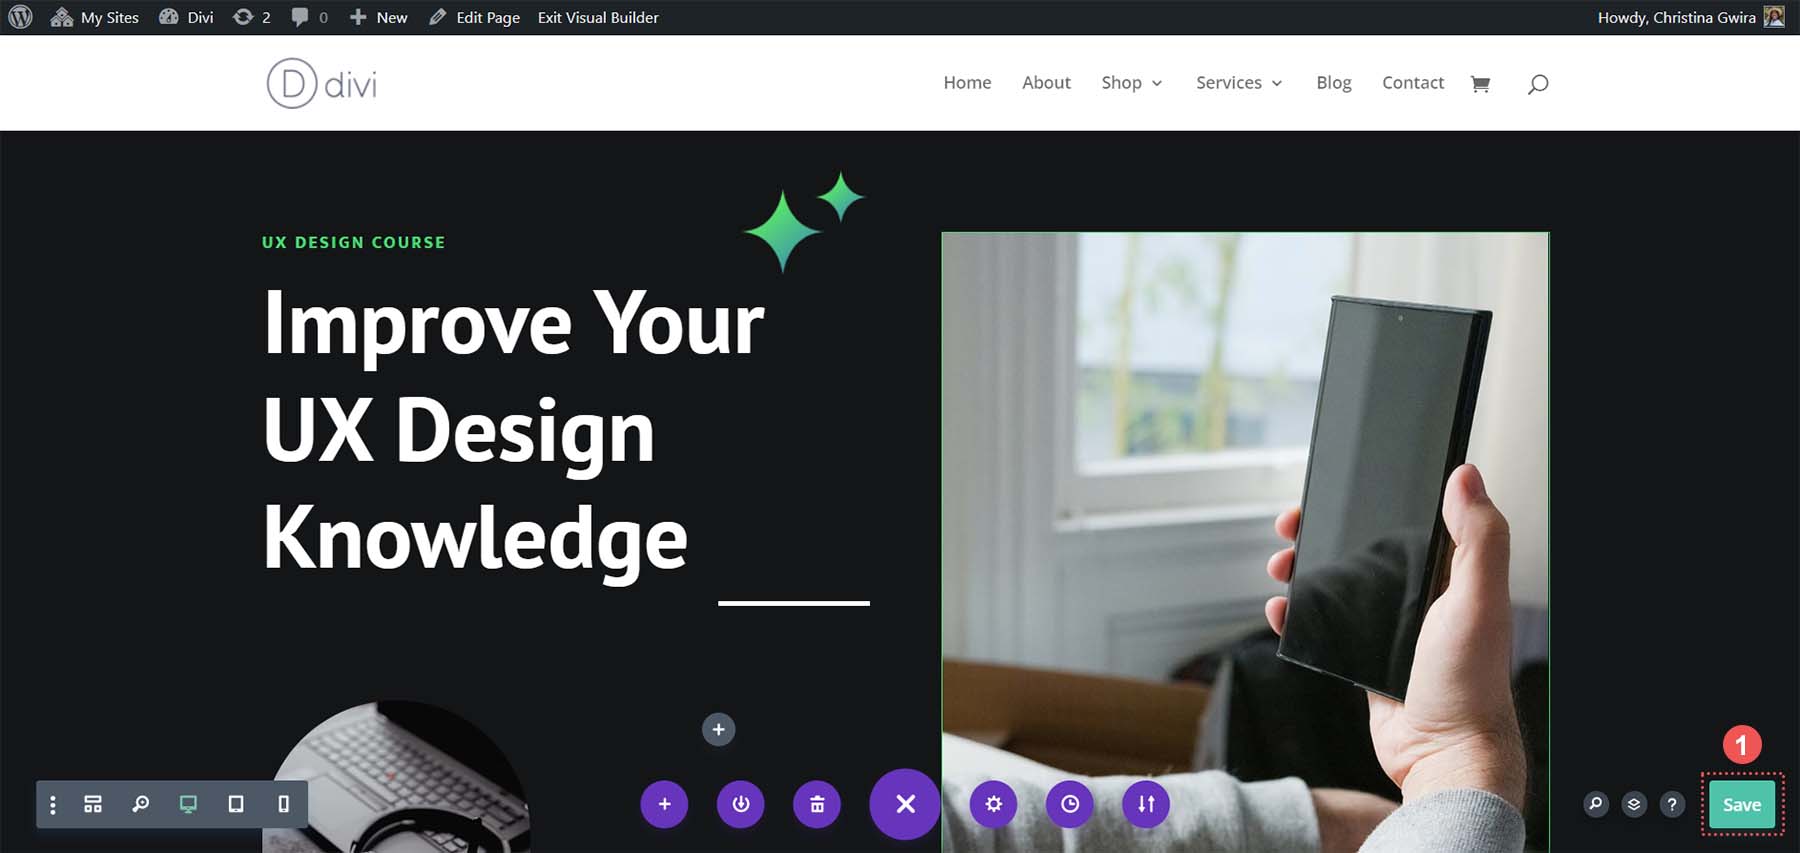
Once the layout has loaded, click the green Save button at the bottom right of the screen.
Naming Our HTML ID Attribute
Let’s access our template to see which Button Module we can use and which section we can assign an ID to. In the header section, notice there is a button called Course Overview.
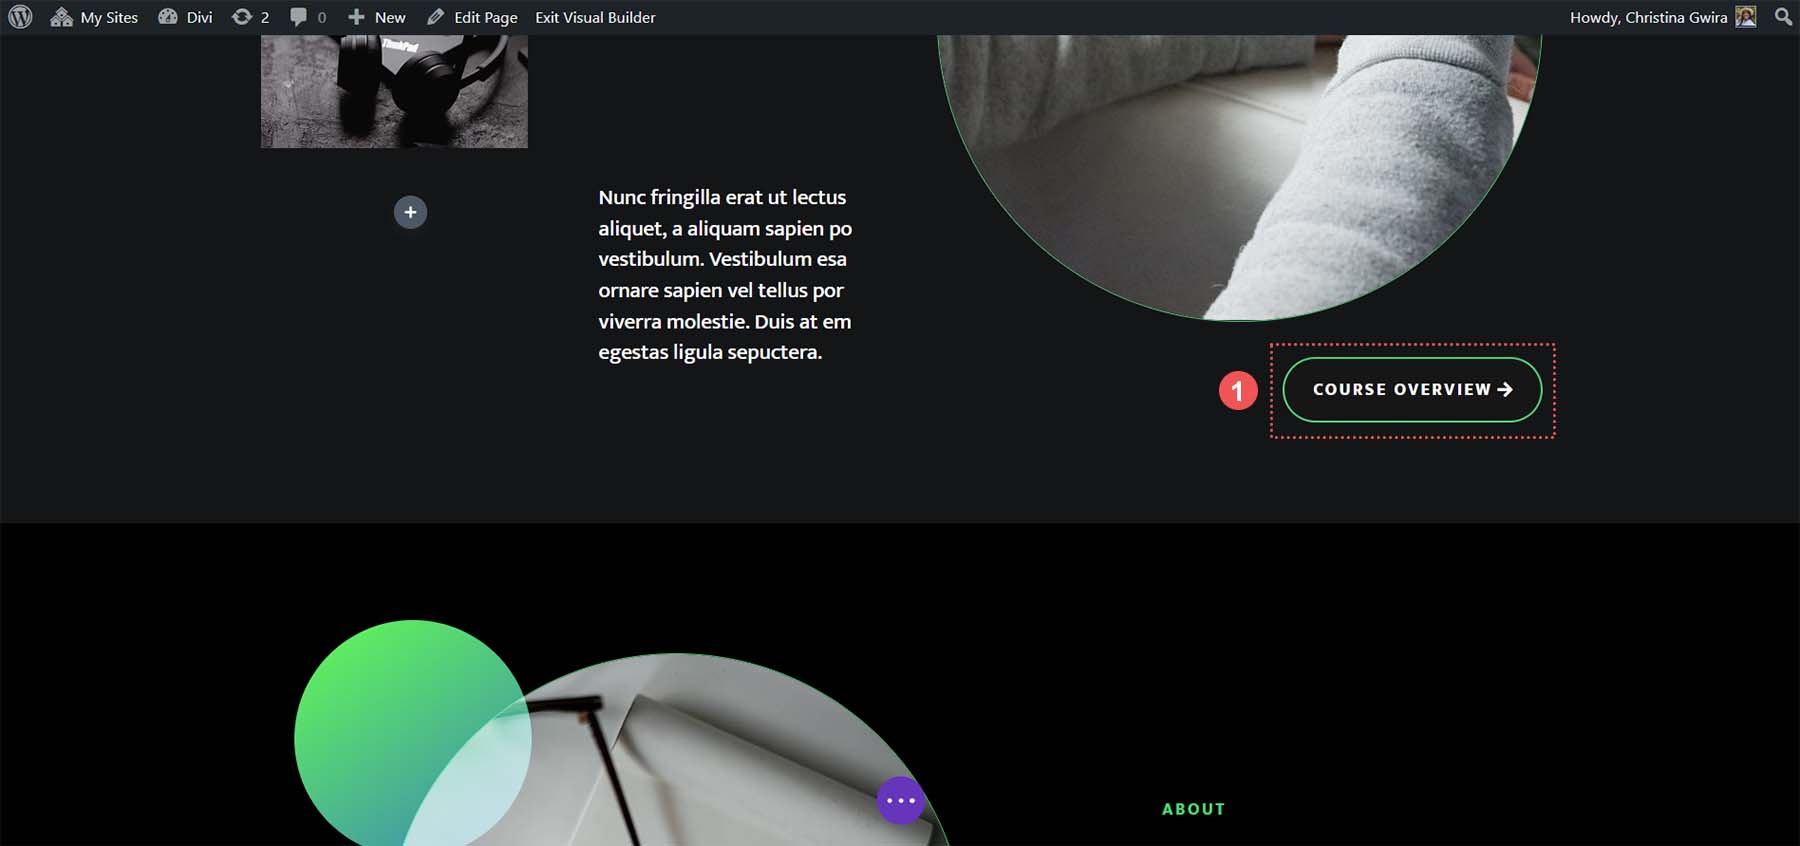
Also, within the same page layout, we have a section that breaks down our course. Linking the button within the header to this section will save students time scrolling through the page.
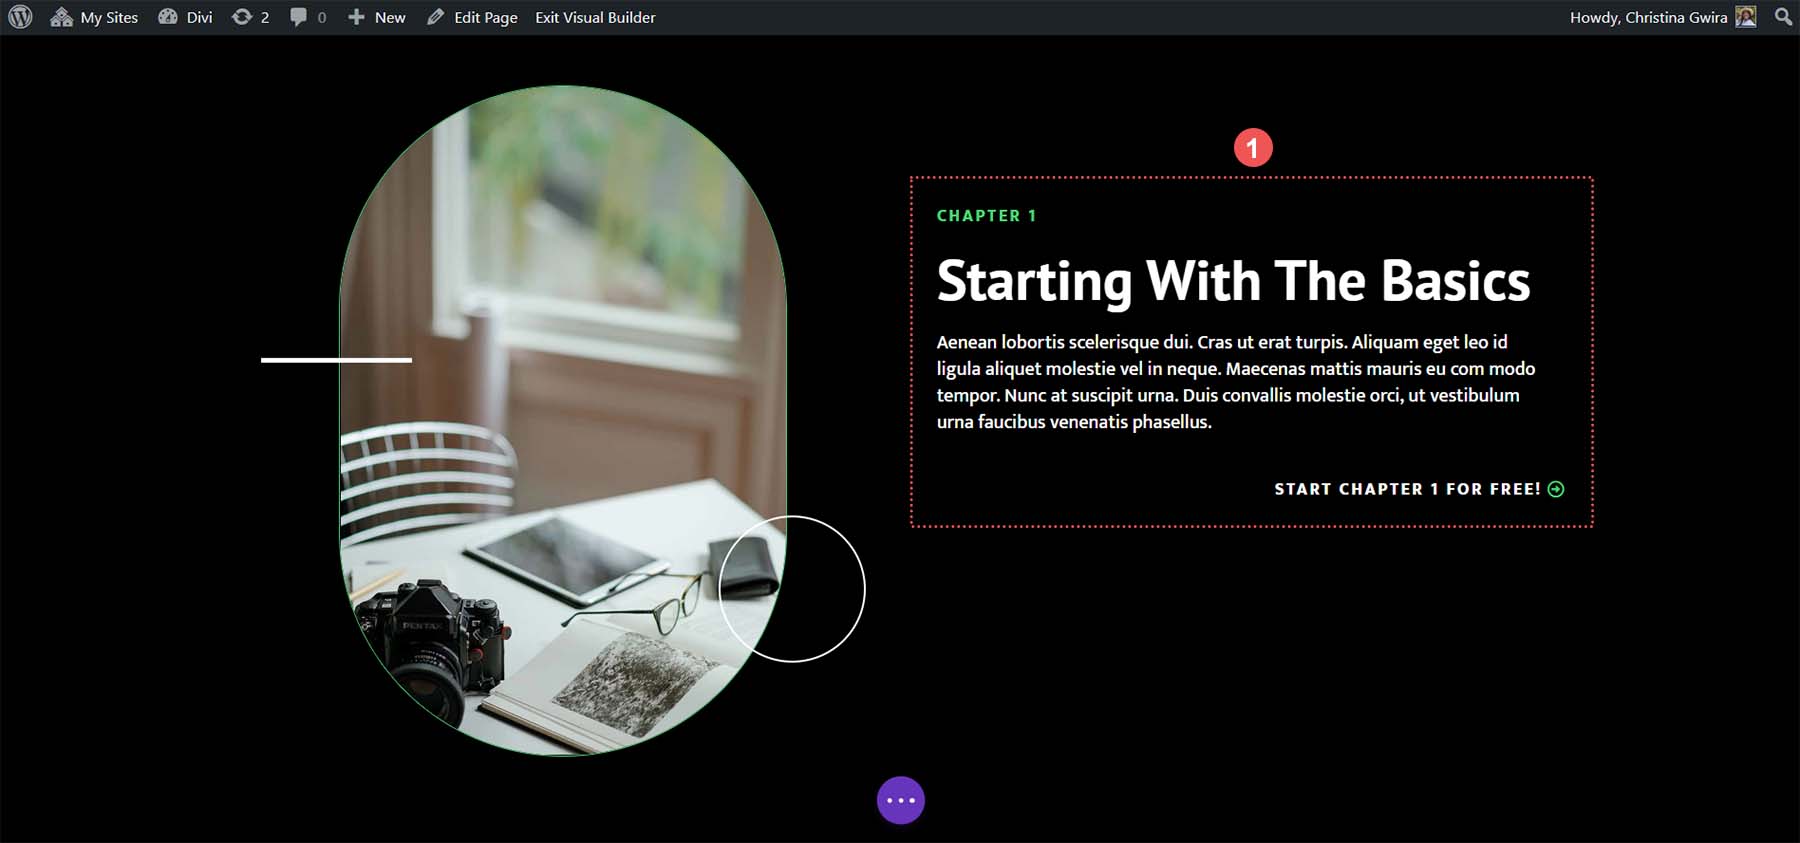
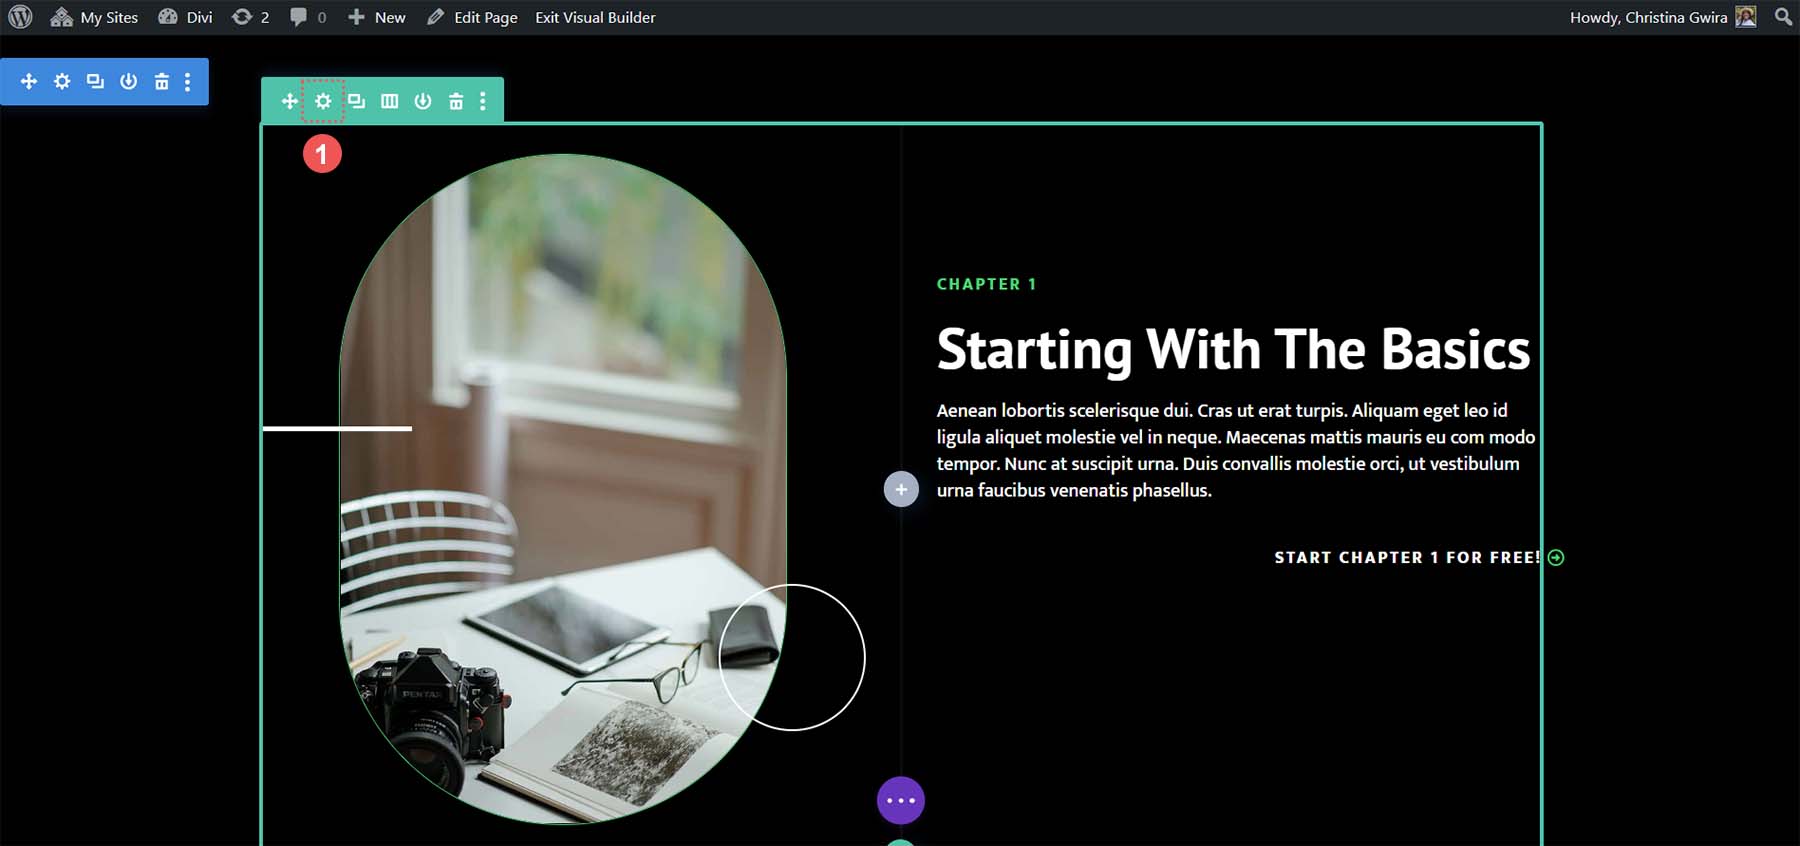
This is a good example of how anchor links can make our pages more accessible to navigate for our readers. To add our HTML ID attribute, we first want to click on the gear icon of our row. We don’t want to add our ID to the Text Module or the section because we want to have the Text Module seated nicely within the client viewport when they navigate to the start of the course overview.
Once inside the row, we click on the Advanced tab. Next, we click on the CSS ID & Classes tab. In the CSS ID box, add an easy-to-remember ID for your row. Remember, this will be your ID and the name of your anchor link. It is recommended to use something short and easy for both SEO and human purposes.
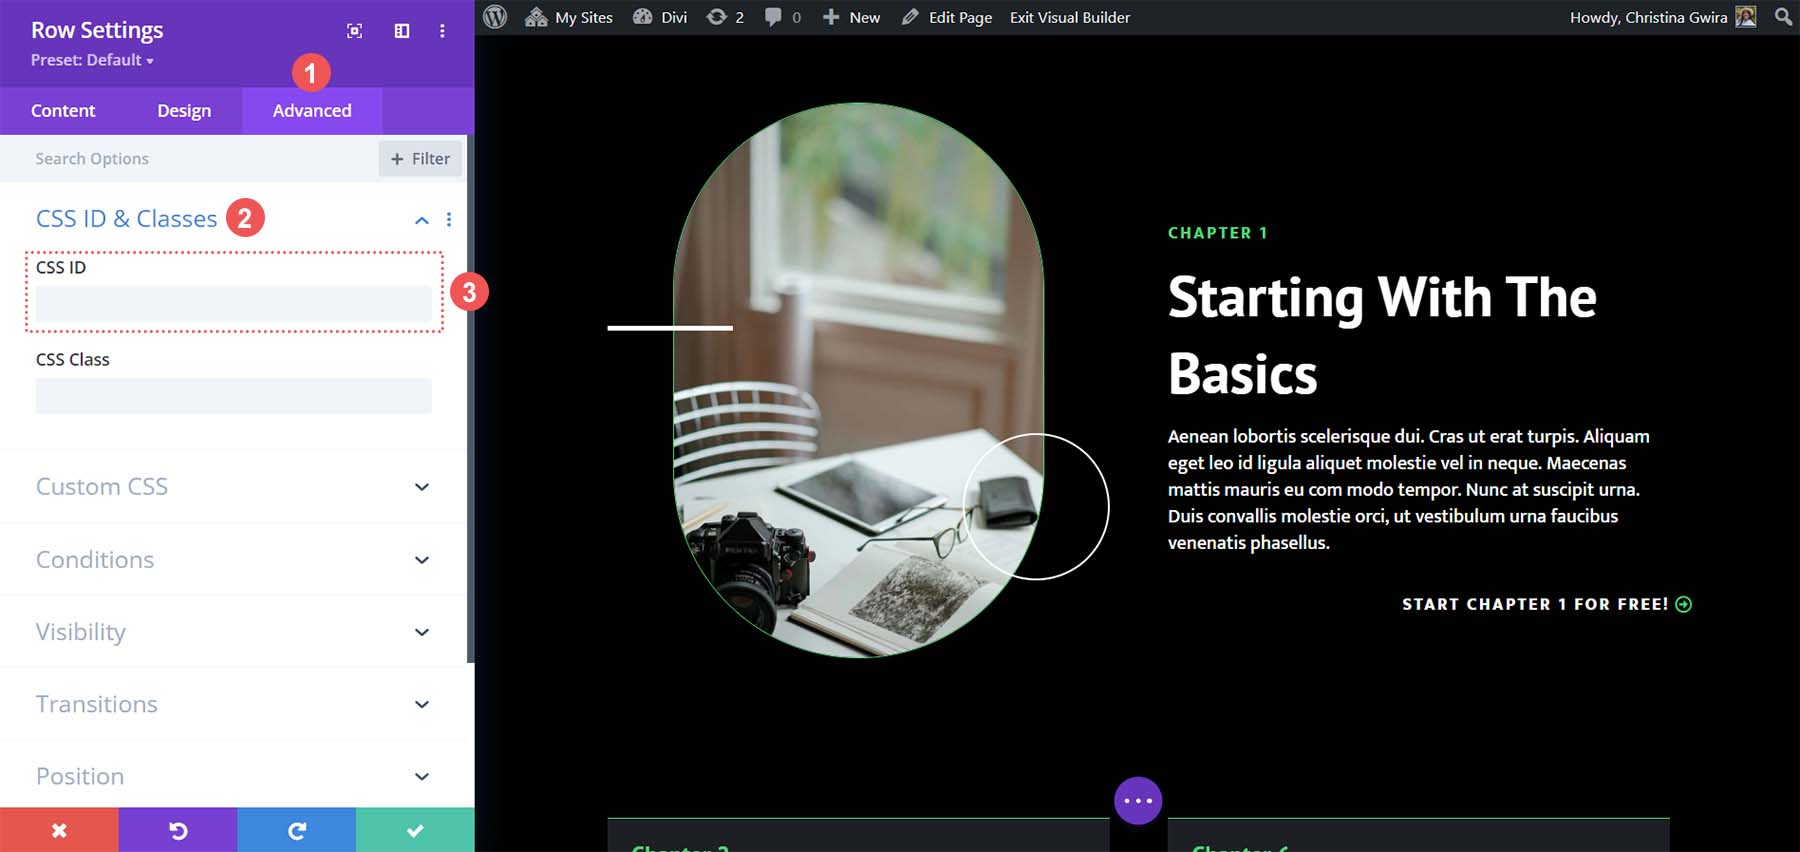
In our case, we set a CSS ID of overview since it relates to the button we will be linking to, as well as the content that is within this row.
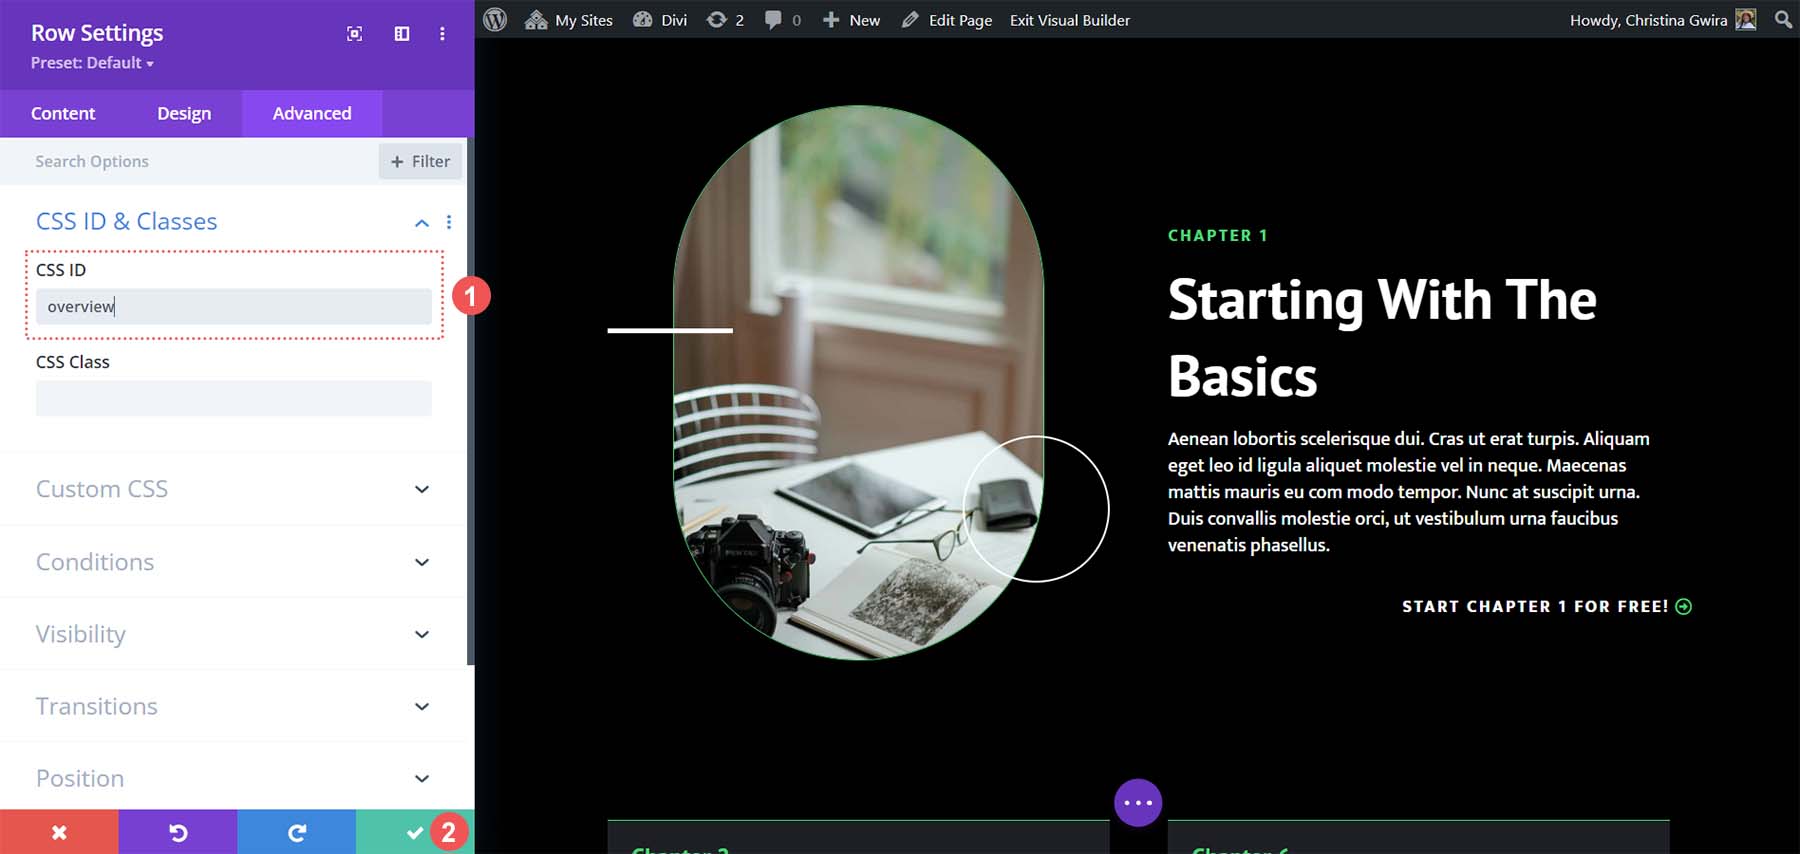
When you’ve added your CSS ID, click the green check mark button to save our work. Now, let’s move on to linking our Button Module to this row and completing our anchor link.
Linking Our Button to the ID
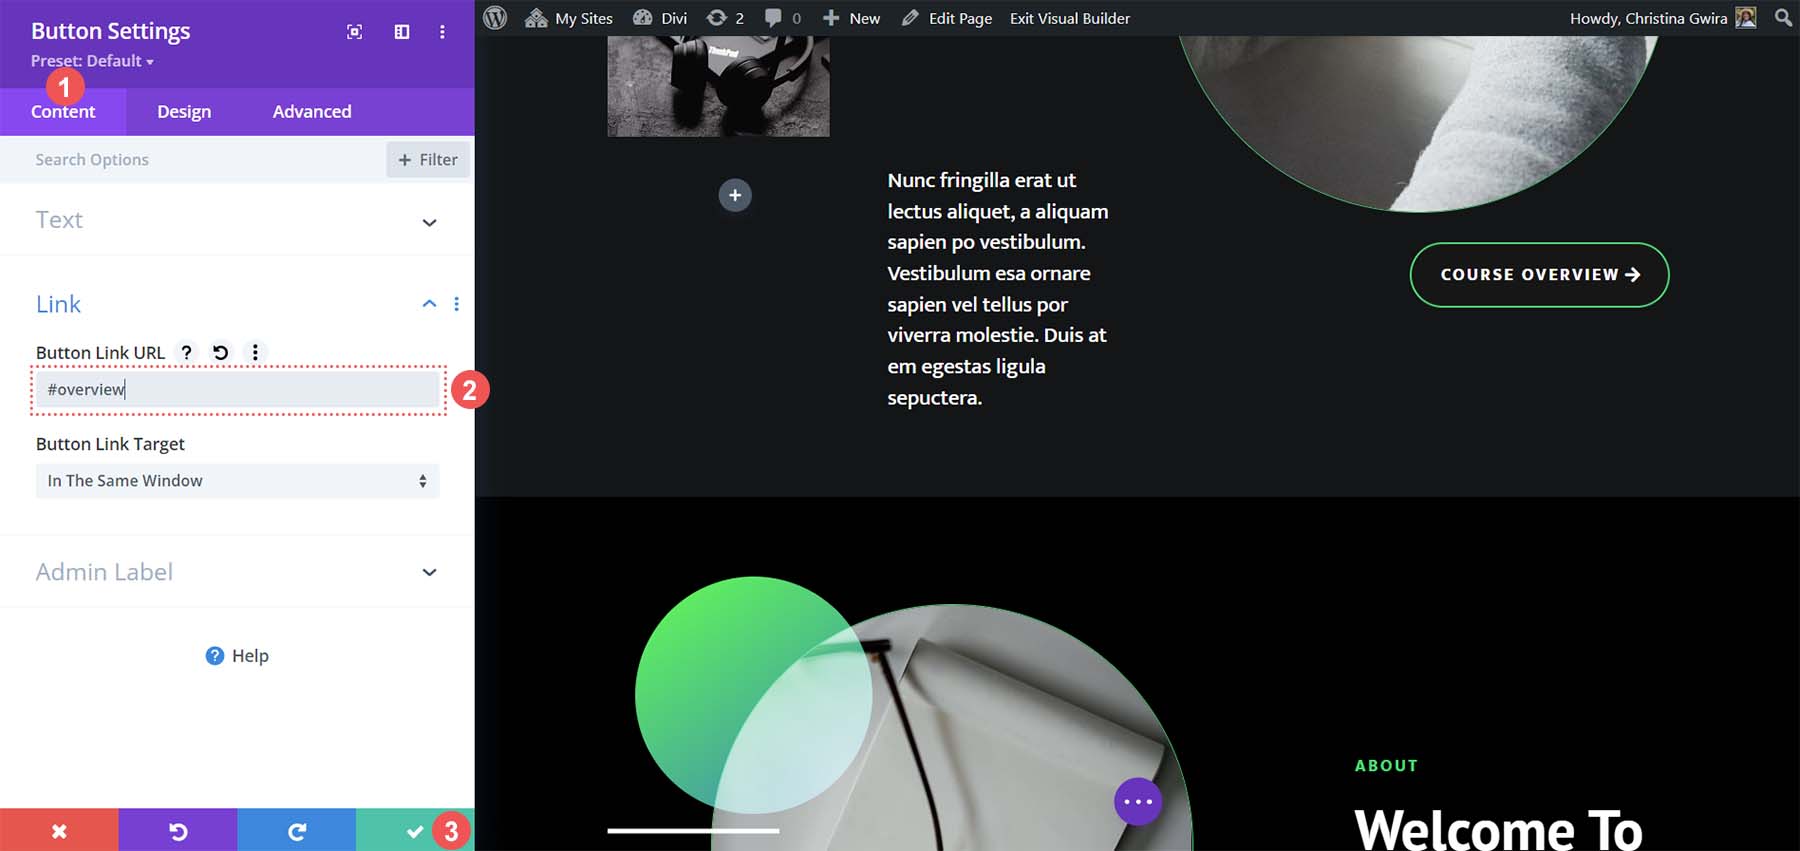
With our ID in place, we now need to link our Button Module. Our goal is that when someone clicks on the button, it’ll take them to the course overview section of our landing page. This is how we accomplish this. First, we click on the gear icon of our button.
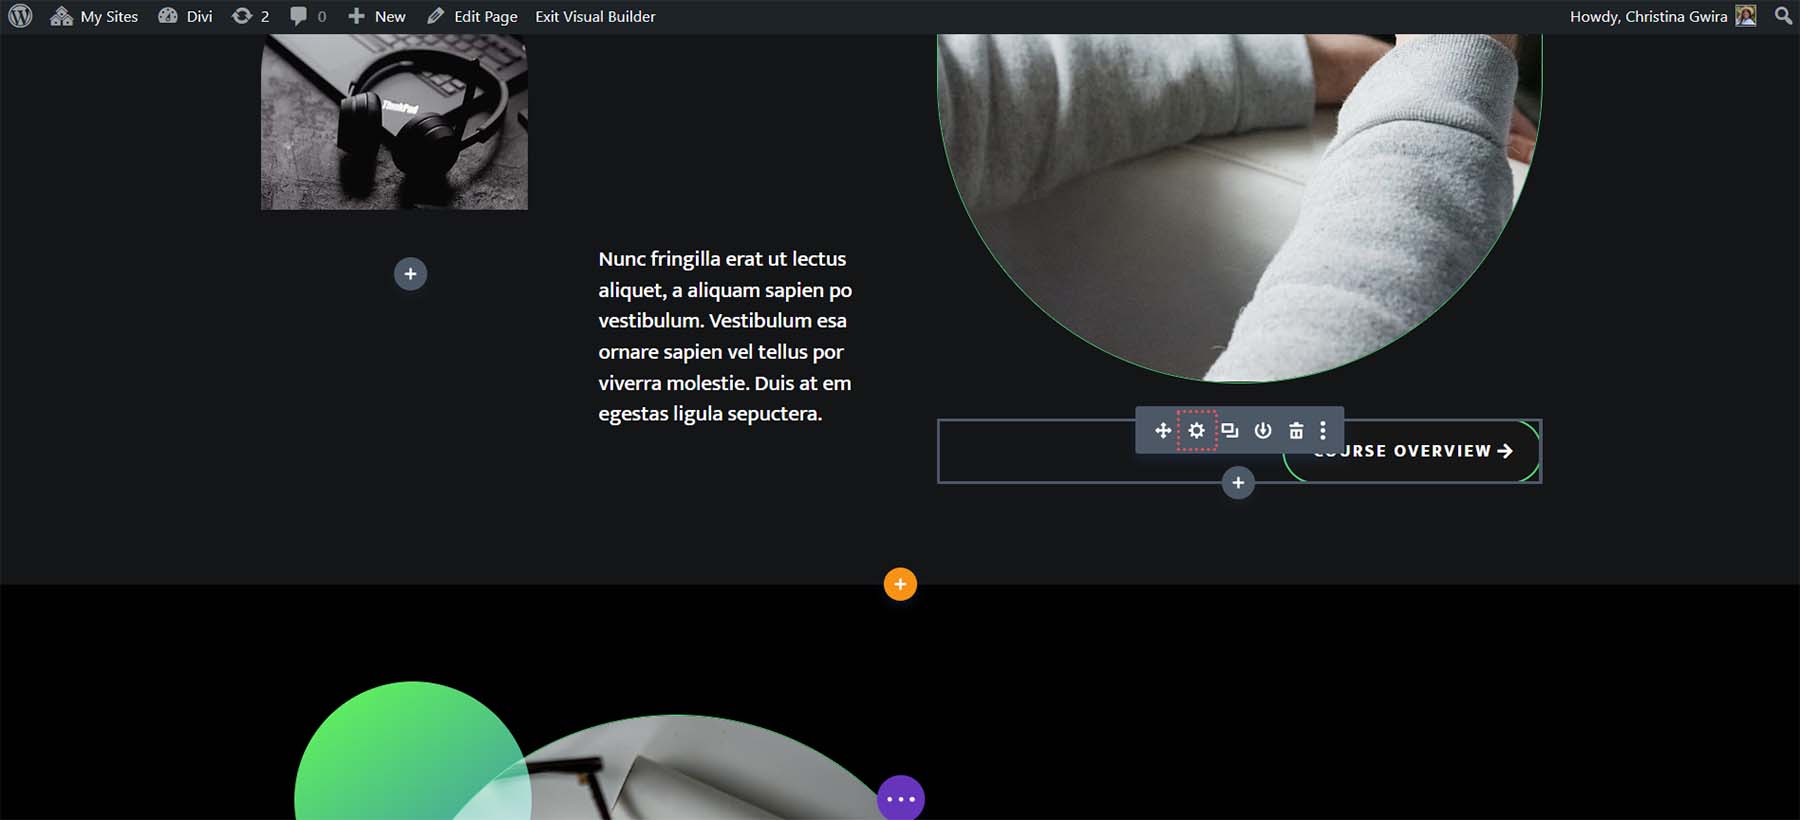
Then, within the Content tab, we click on the Link tab. Within the Link box, we’re going to add #overview. Remember, as this is an anchor link, we need to add the hash symbol in front of the ID that we set for our course overview row. With this complete, we click the green check mark to save our work.
Bringing it All Together
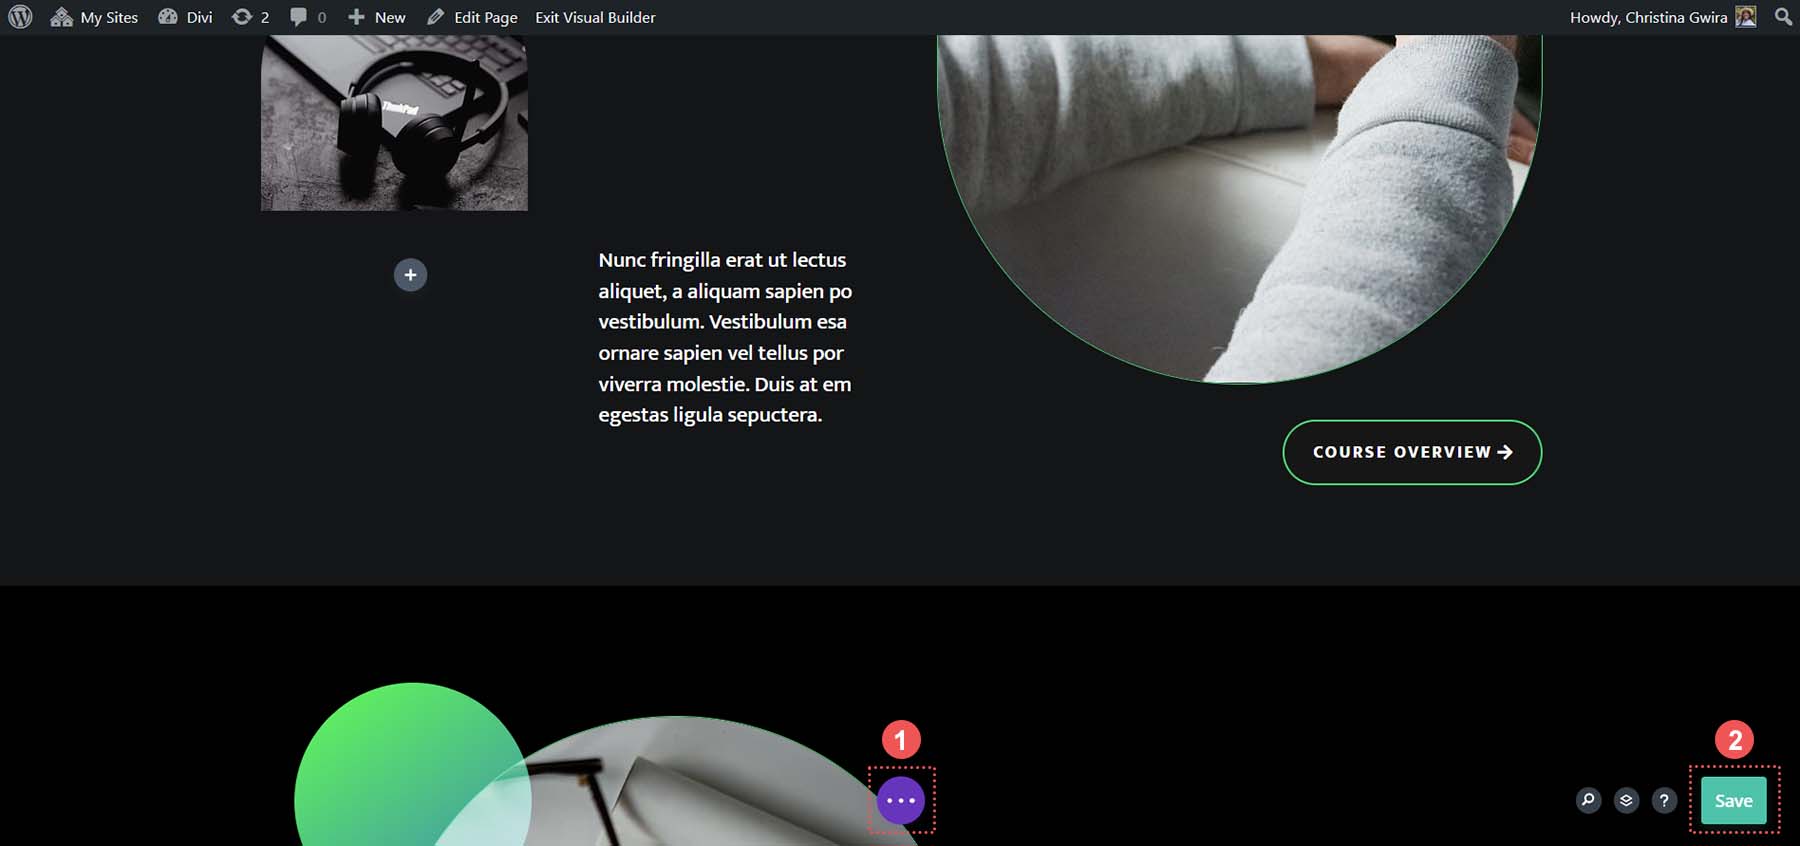
Now that our anchor link is in place, we can save our page layout and test out our anchor link. Click on the purple button with three dots in the bottom center of the Divi Builder. Then, click the green Save button at the bottom right-hand of the screen.
This is what happens when we click on the Course Overview button.
This is the beauty of anchor links. Being able to skip through unnecessary content on a page and get to the information that you need. With Divi, it is easy to add IDs to modules, sections, and other elements and link them to other elements or the commonly used Button Module. How have you used anchor links in Divi? Do you use anchor links in your work? Let us know in the comments section down below, along with any questions that you may have surrounding this topic; we love hearing from you!
The post How to Add Anchor Links to Buttons with Divi appeared first on Elegant Themes Blog.
