Divi Events Calendar combines the power of The Events Calendar plugin and the Divi Builder, allowing you to display and style events on your website with the full functionality and customizability that comes with Divi’s visual builder. This product adds new modules to the Divi Builder. You can add event pages, calendars, carousels, feeds, filters, and tickets to your layouts and completely customize the design of each module.
If you’re tired of feeling limited by The Events Calendar plugin’s customization options, or if you’re looking for a great way to manage and display event information on your website with the full design flexibility of Divi, the Divi Events Calendar may be just the solution. In this post, we’ll take a look at the Divi Events Calendar to help you decide if it’s the right product for you.
Let’s get started!
Installing Divi Events Calendar
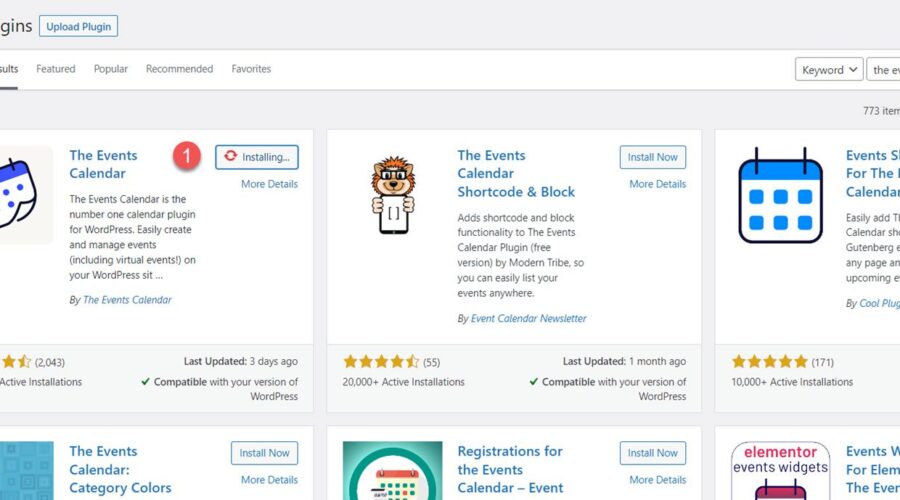
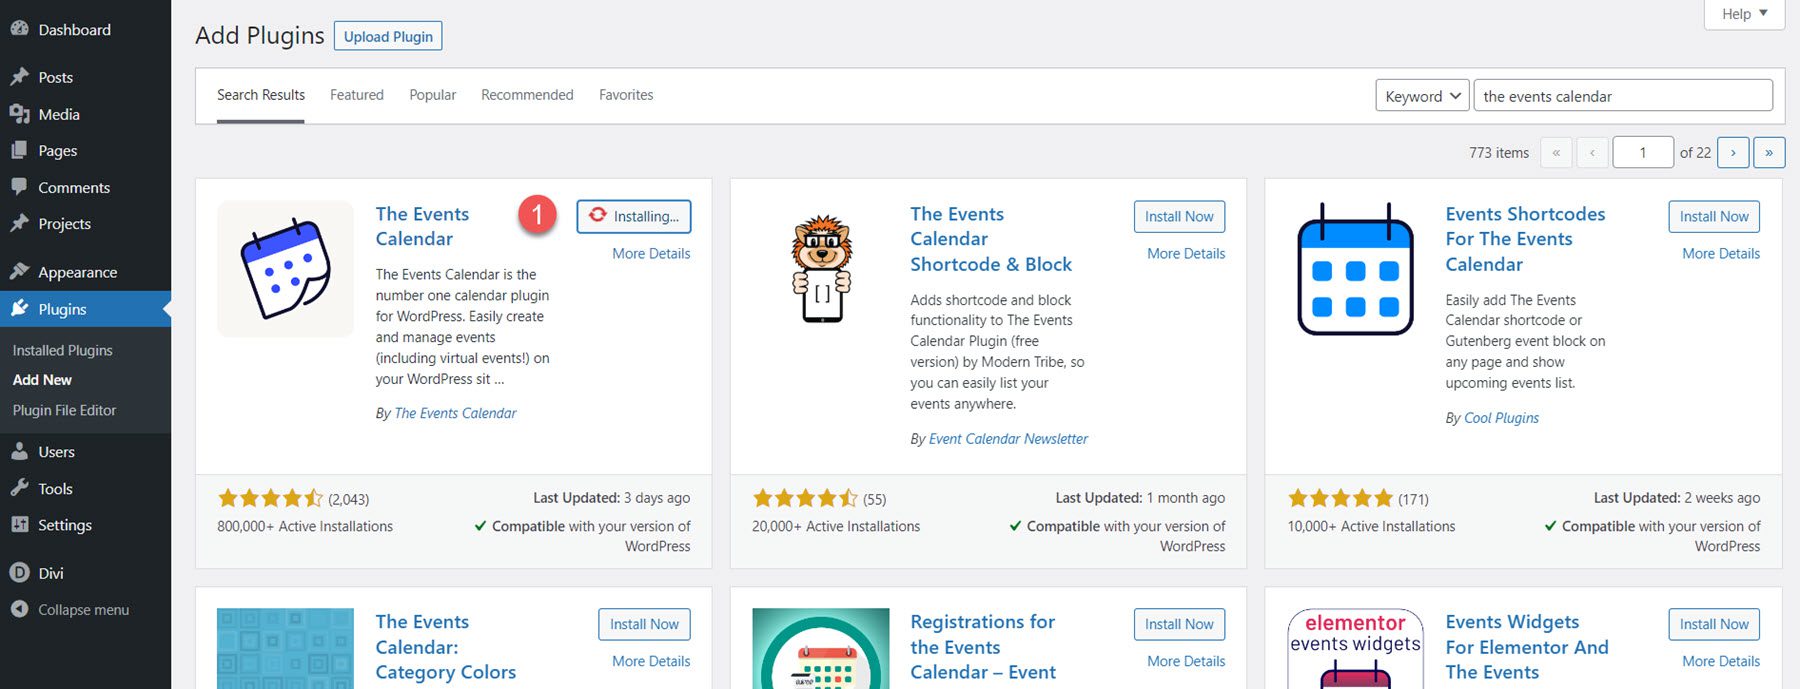
Divi Events Calendar works with the free WordPress events plugin, The Events Calendar. First, make sure the plugin is installed and activated on your website.
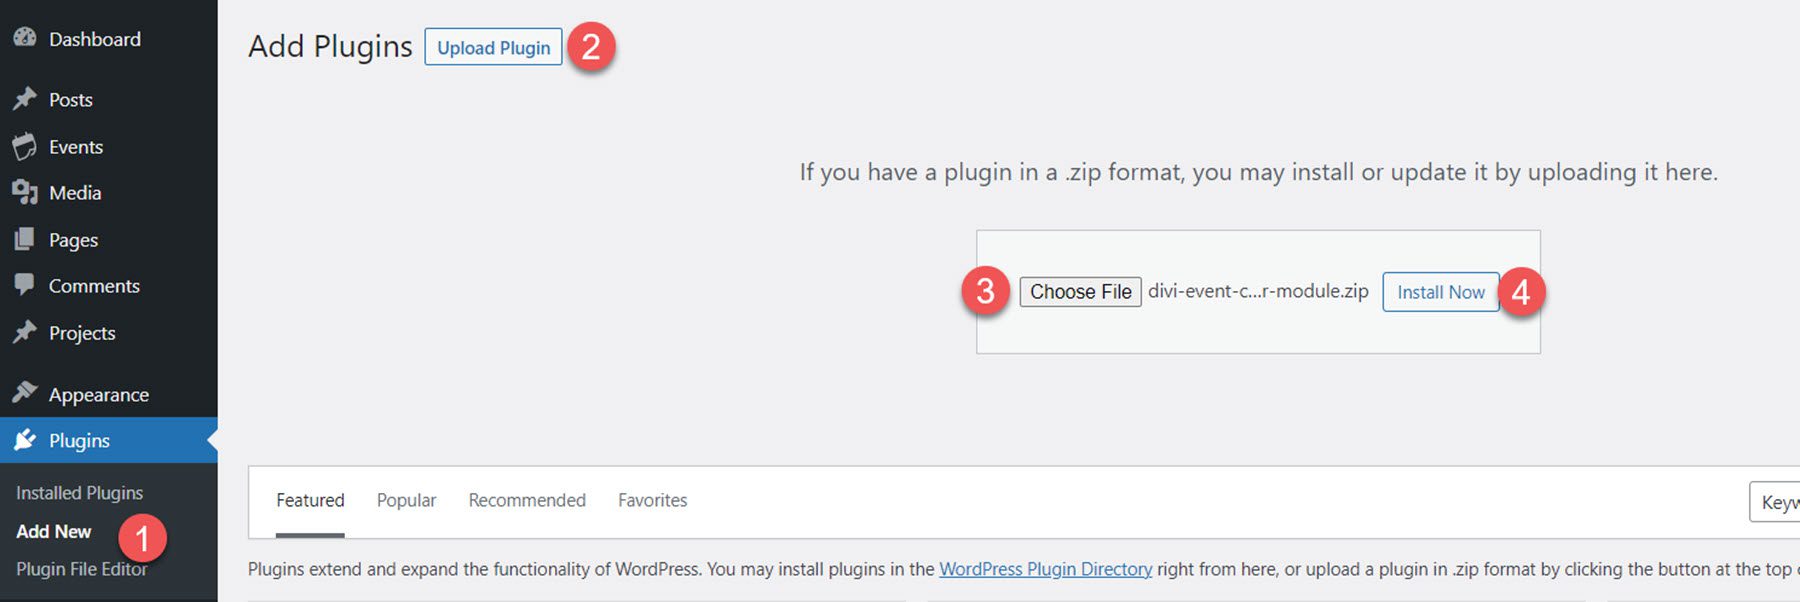
To install the Divi Events Calendar, navigate to the Plugin page and Click Add New. Click Choose File, select the .ZIP plugin file from your computer, then click Install Now. Once the plugin is installed, click activate.
Divi Events Calendar
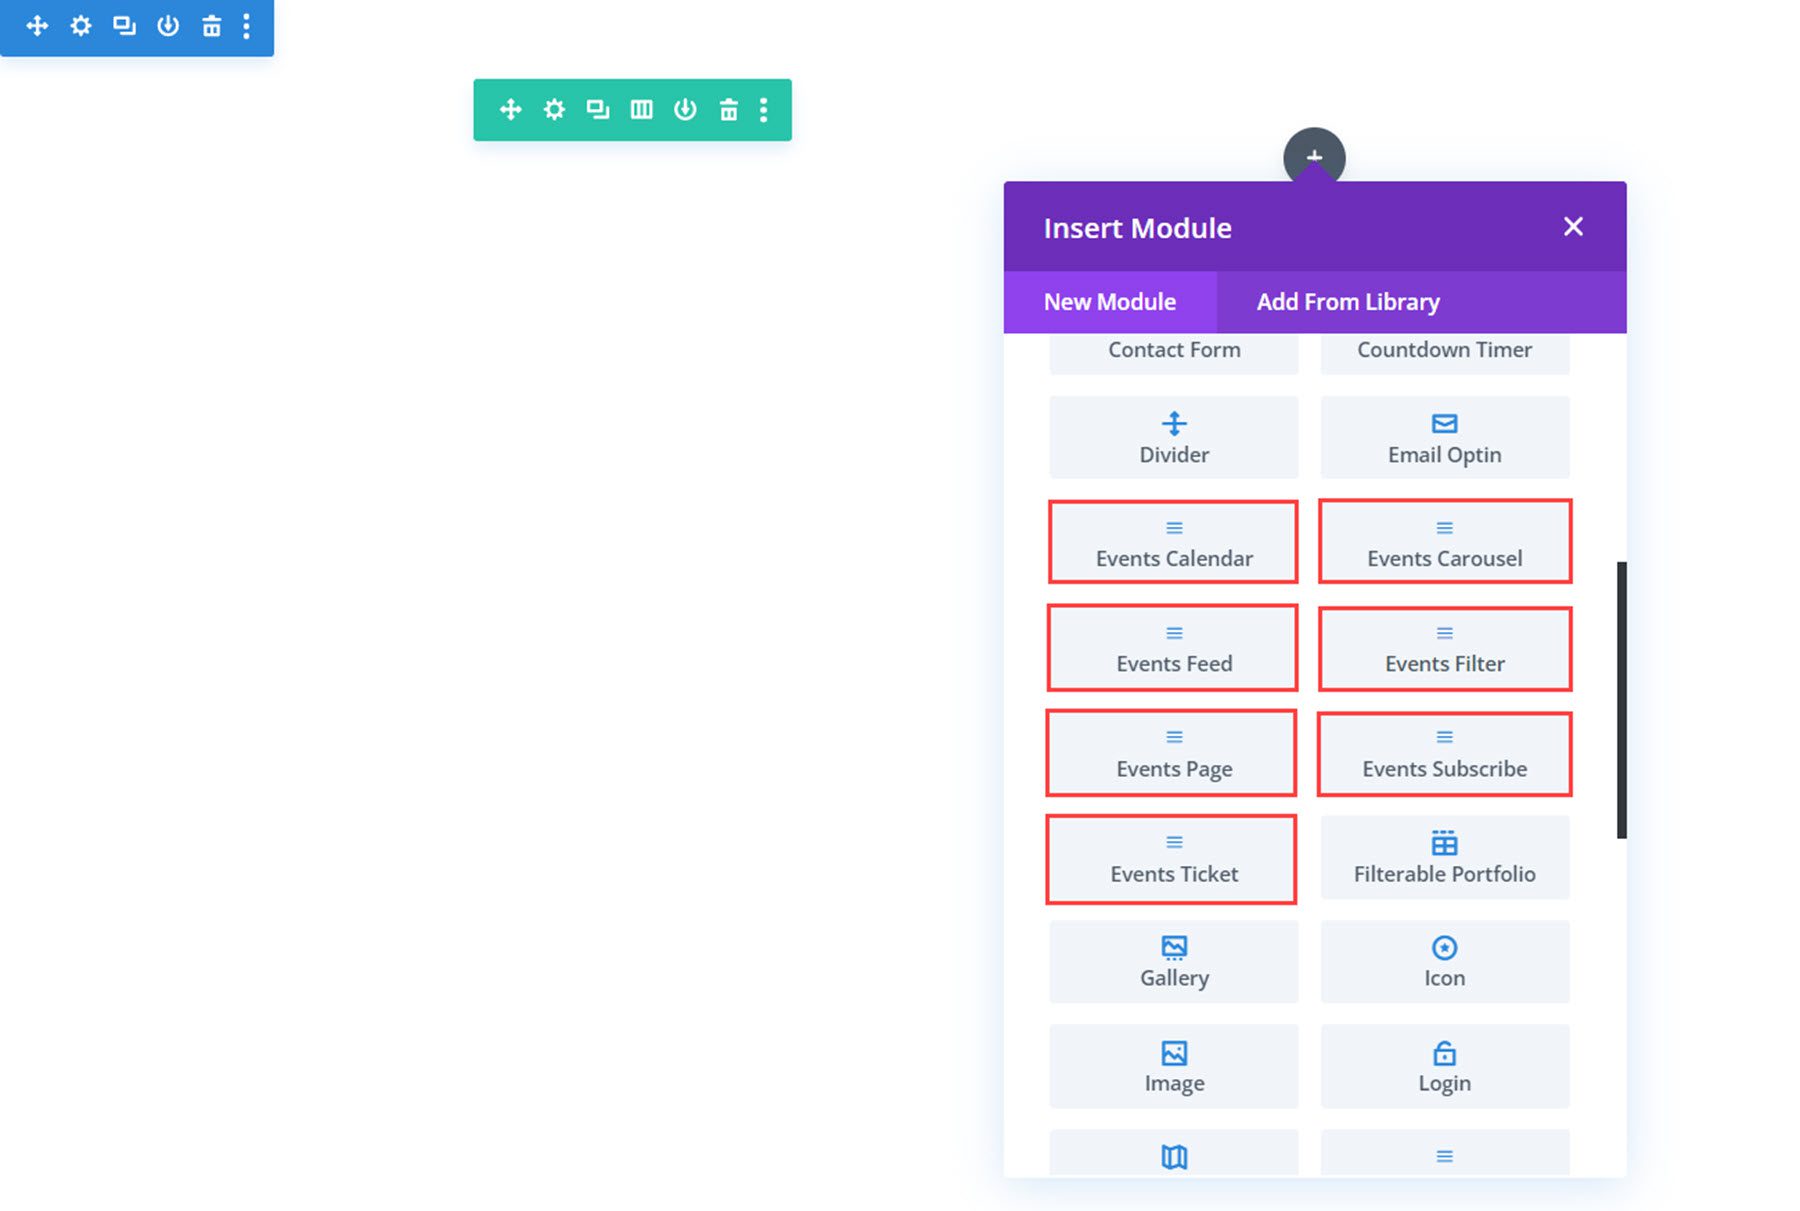
The plugin adds seven new modules to the Divi builder that work together with The Events Calendar to display event information on your website. Let’s take a look at each of the modules.
Events Calendar
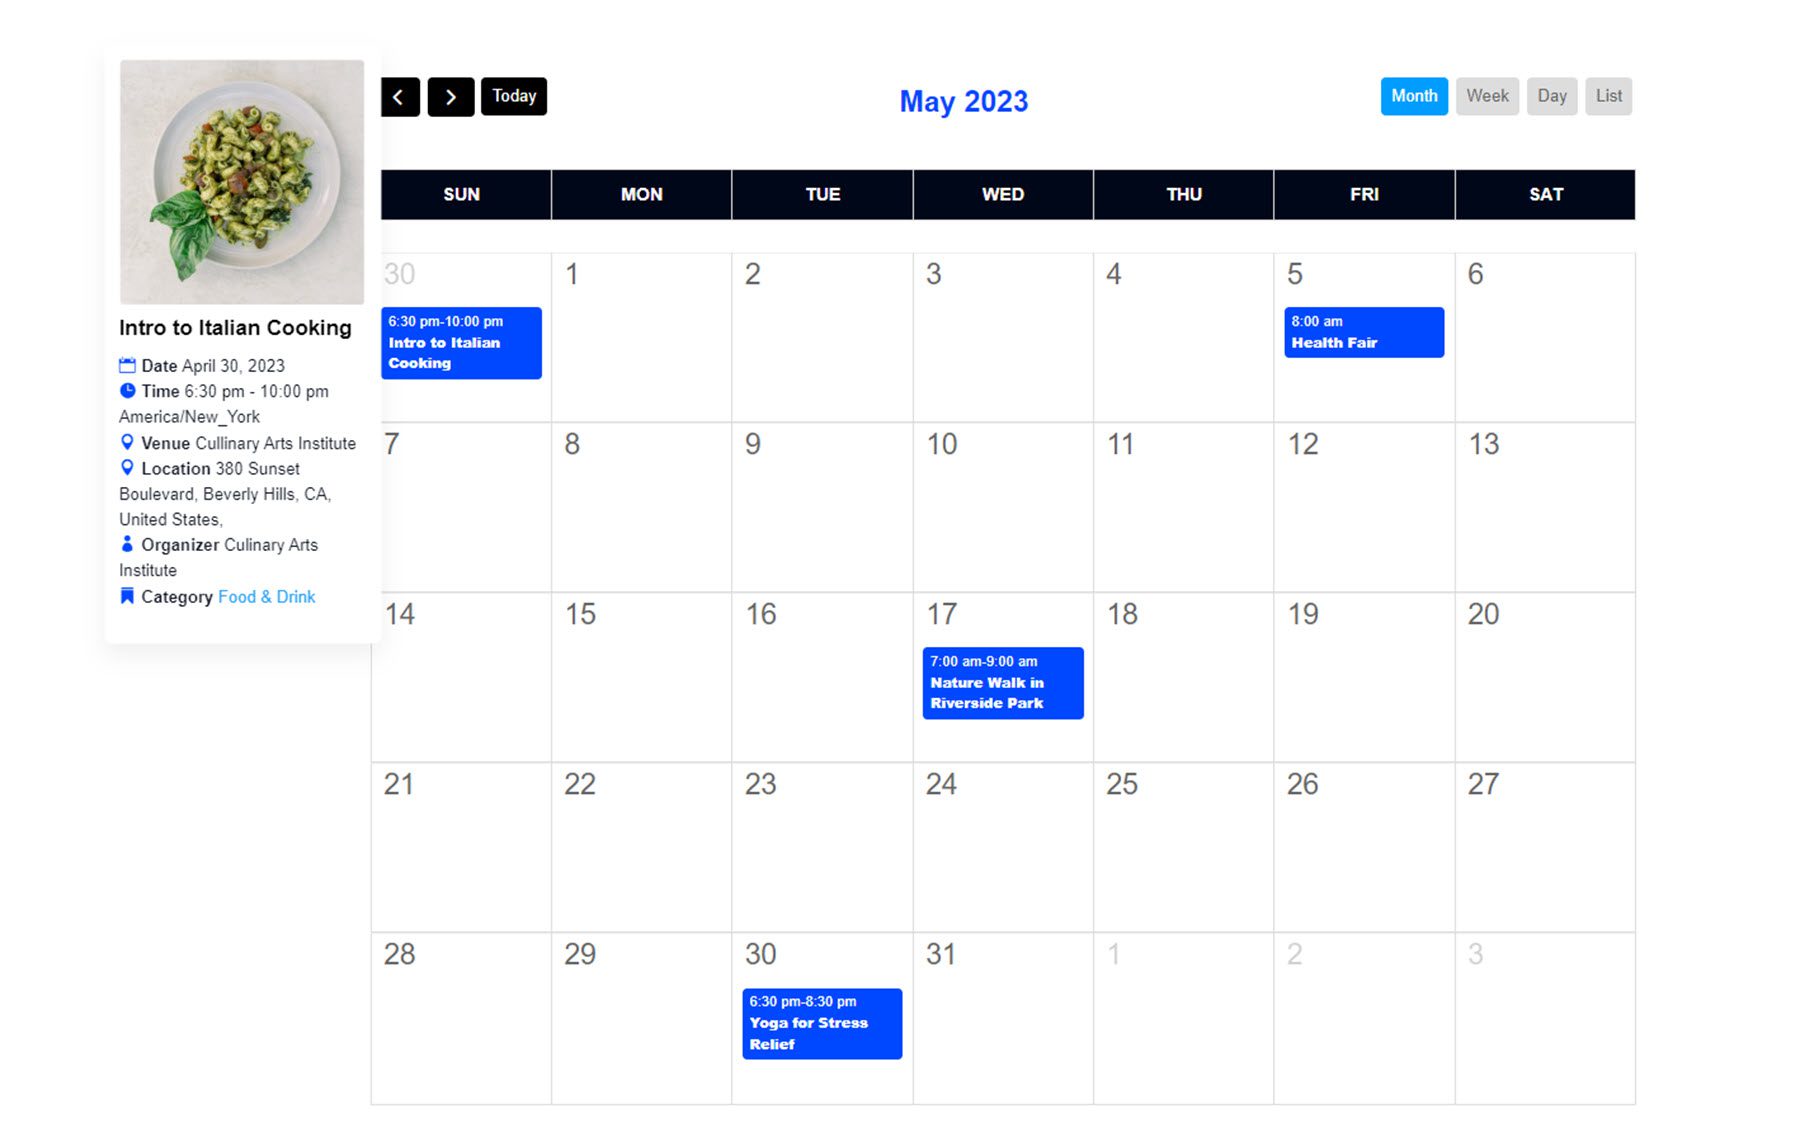
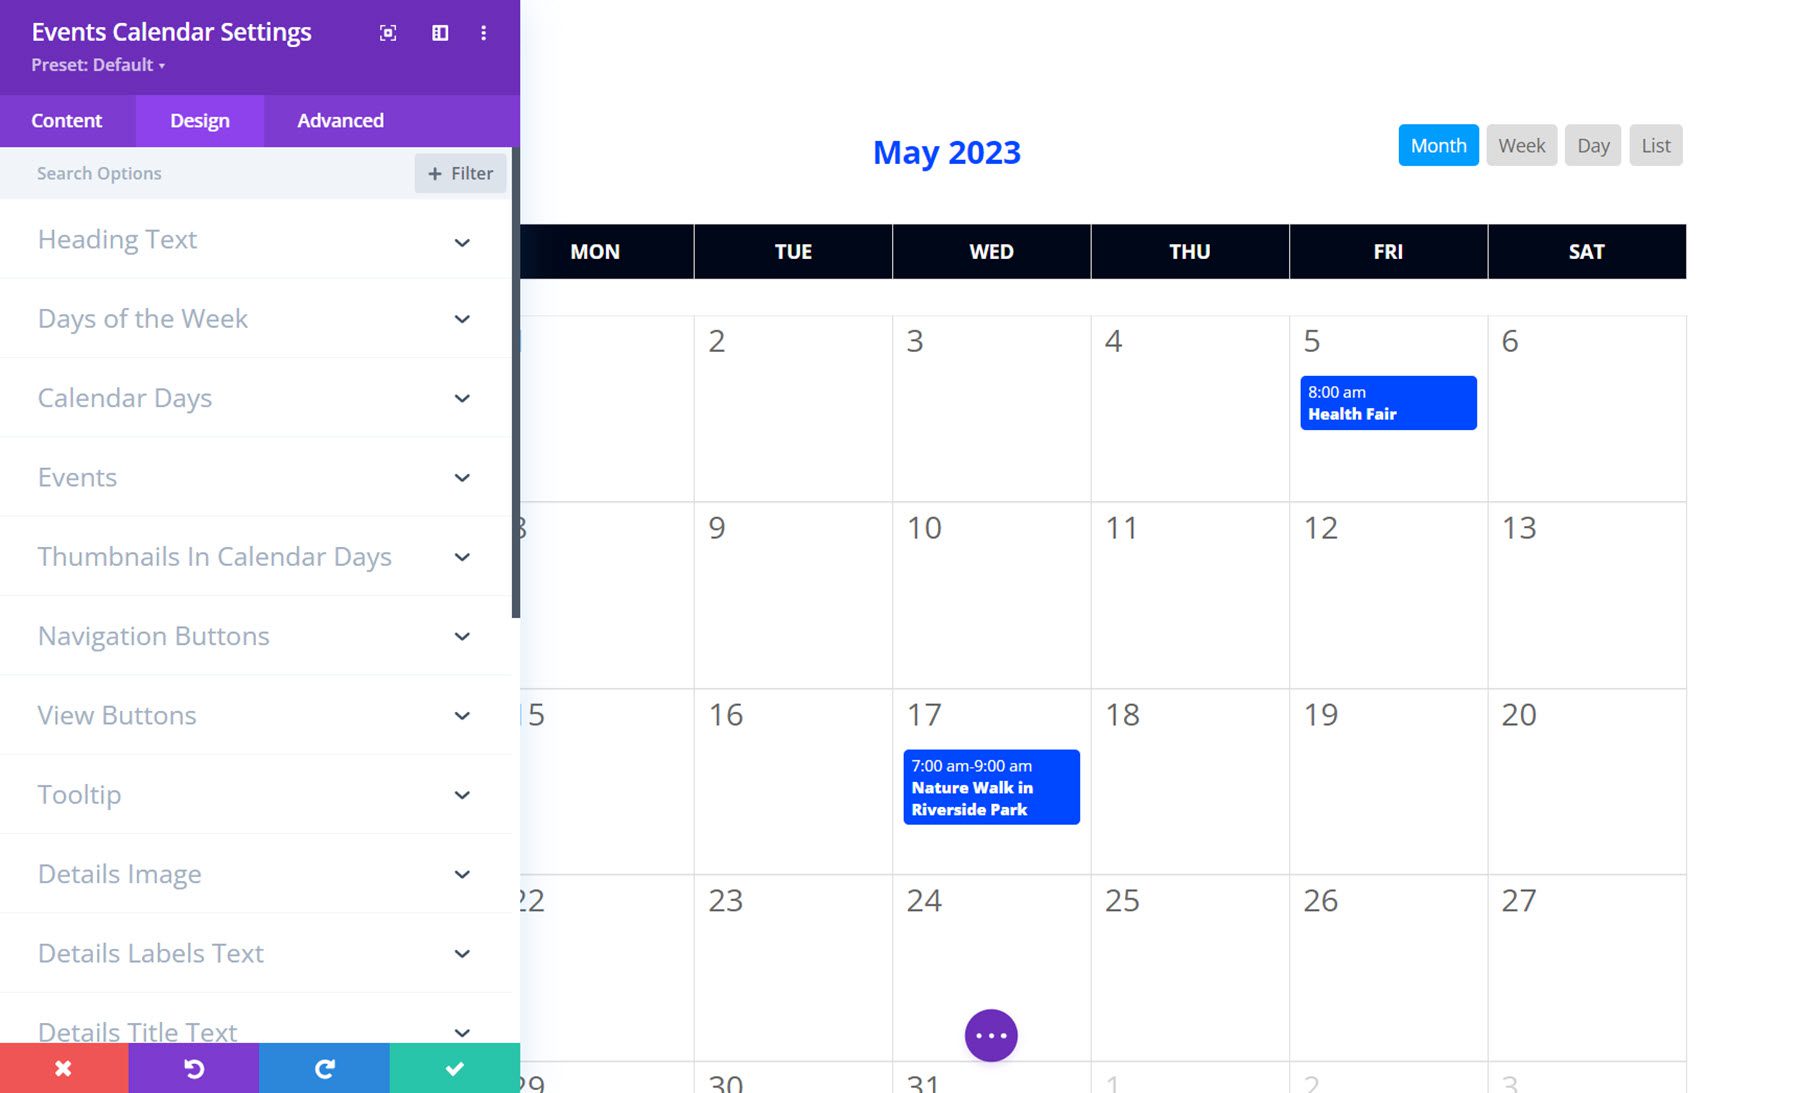
The events calendar module displays a calendar of all of your events. Here is what the calendar module looks like before any additional customization. The tabs at the top right allow you to switch between different calendar views. The event details appear in a card on hover, and the event page opens on click.
Content Settings
Now, let’s take a look at the module settings.
Content
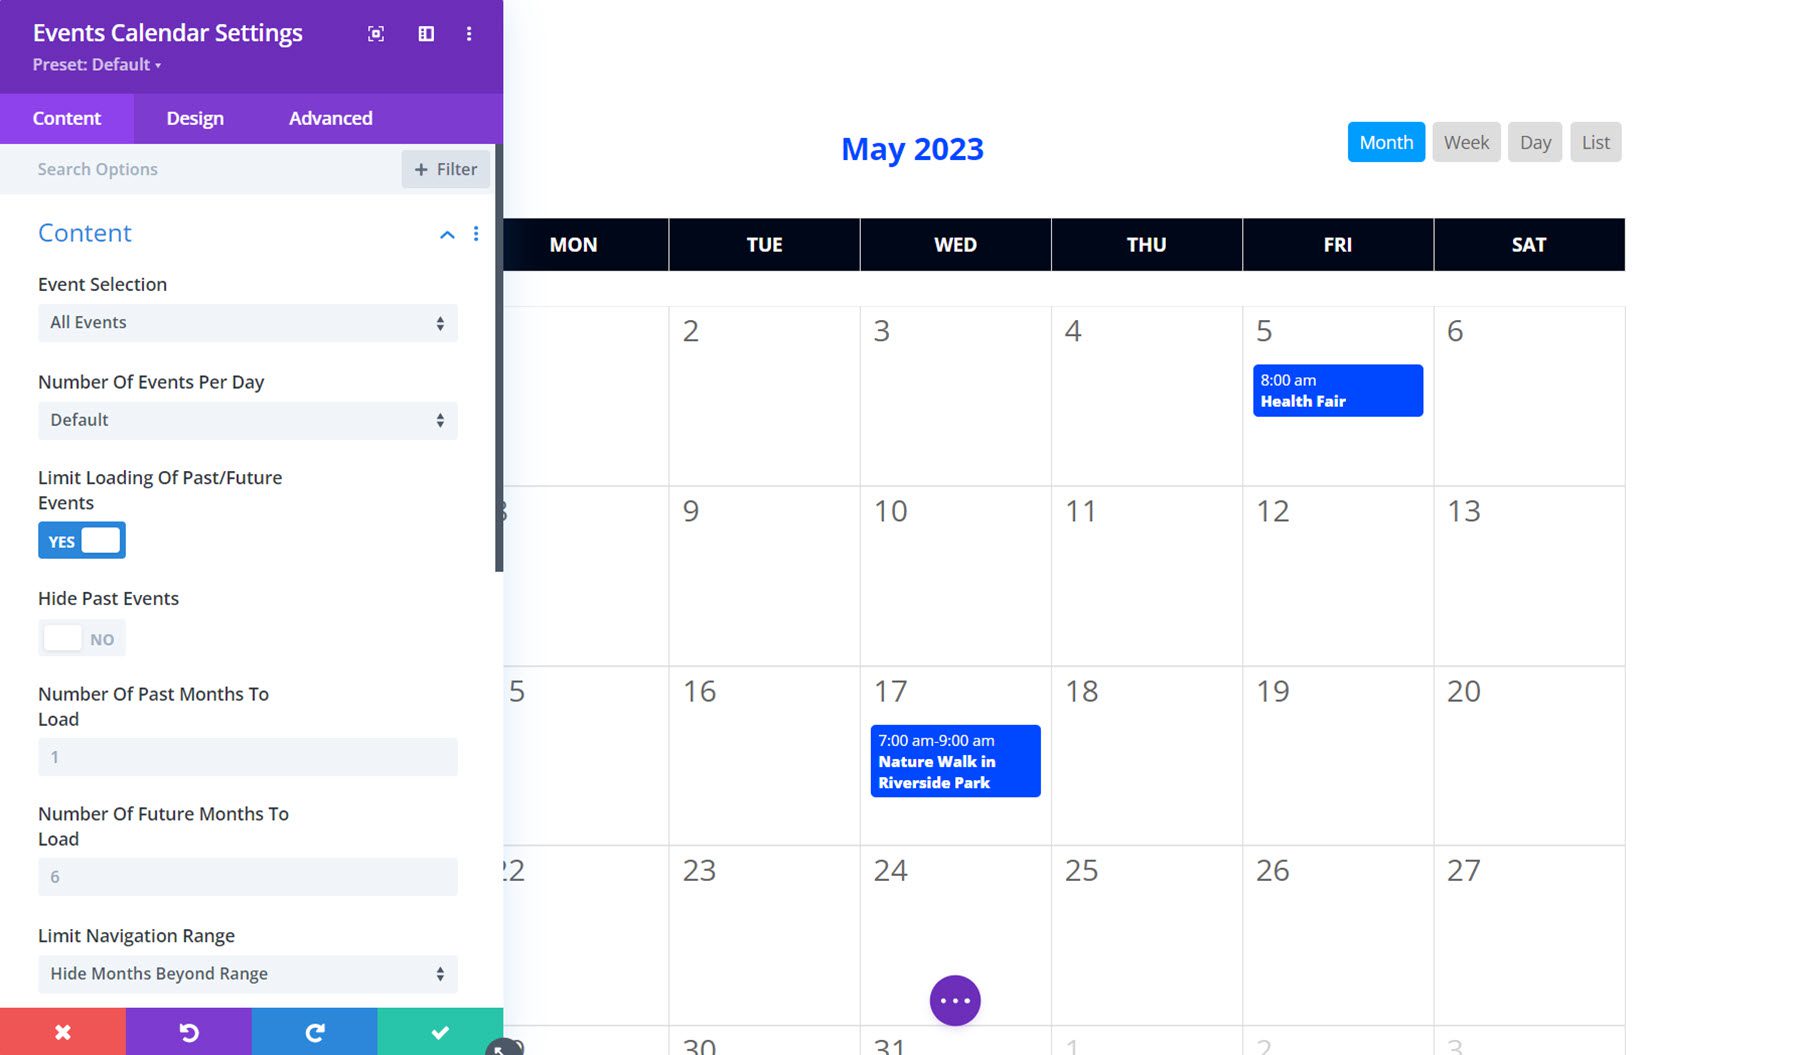
In the content tab, you can select the type of events to display, the number of events per day, choose to limit loading past or future events past a certain number of months, and limit the navigation range.
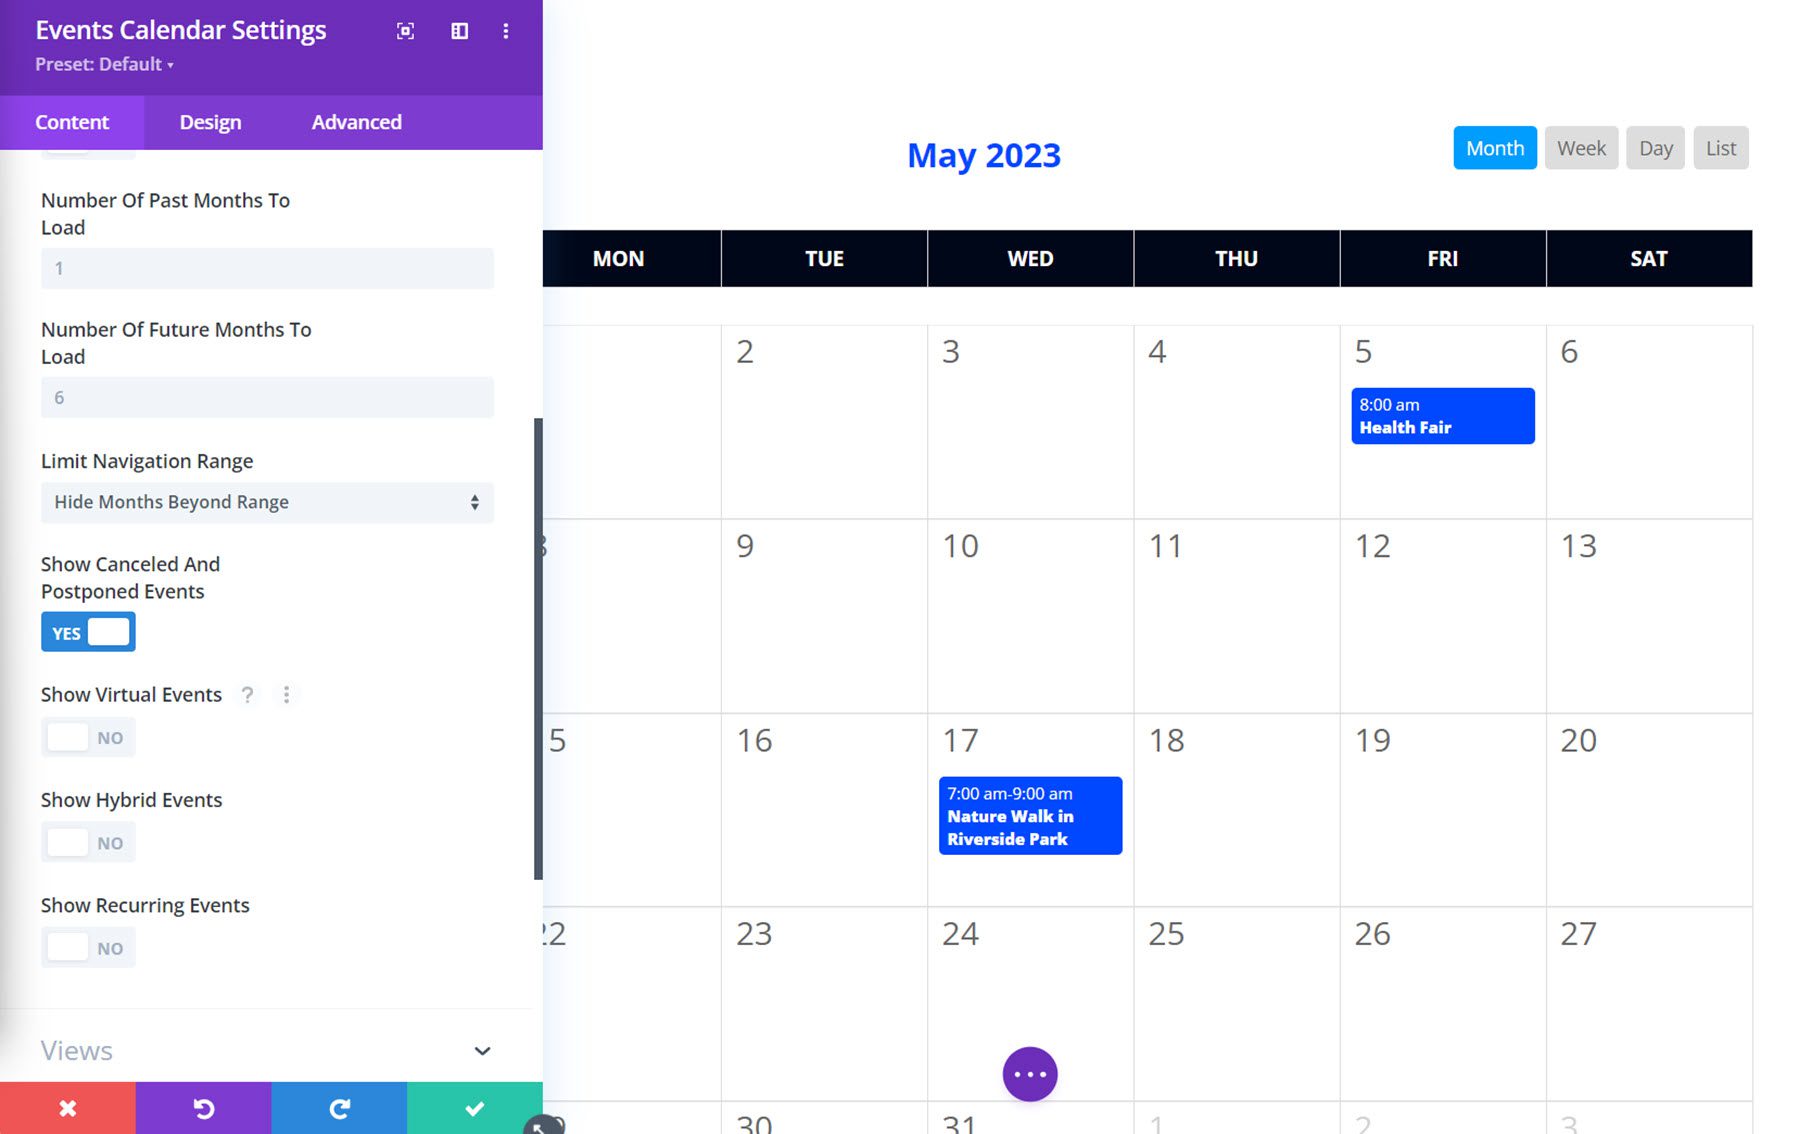
You can also choose to show or hide canceled or postponed events, virtual events, hybrid events, or recurring events, giving you a lot of control over what is displayed.
Views
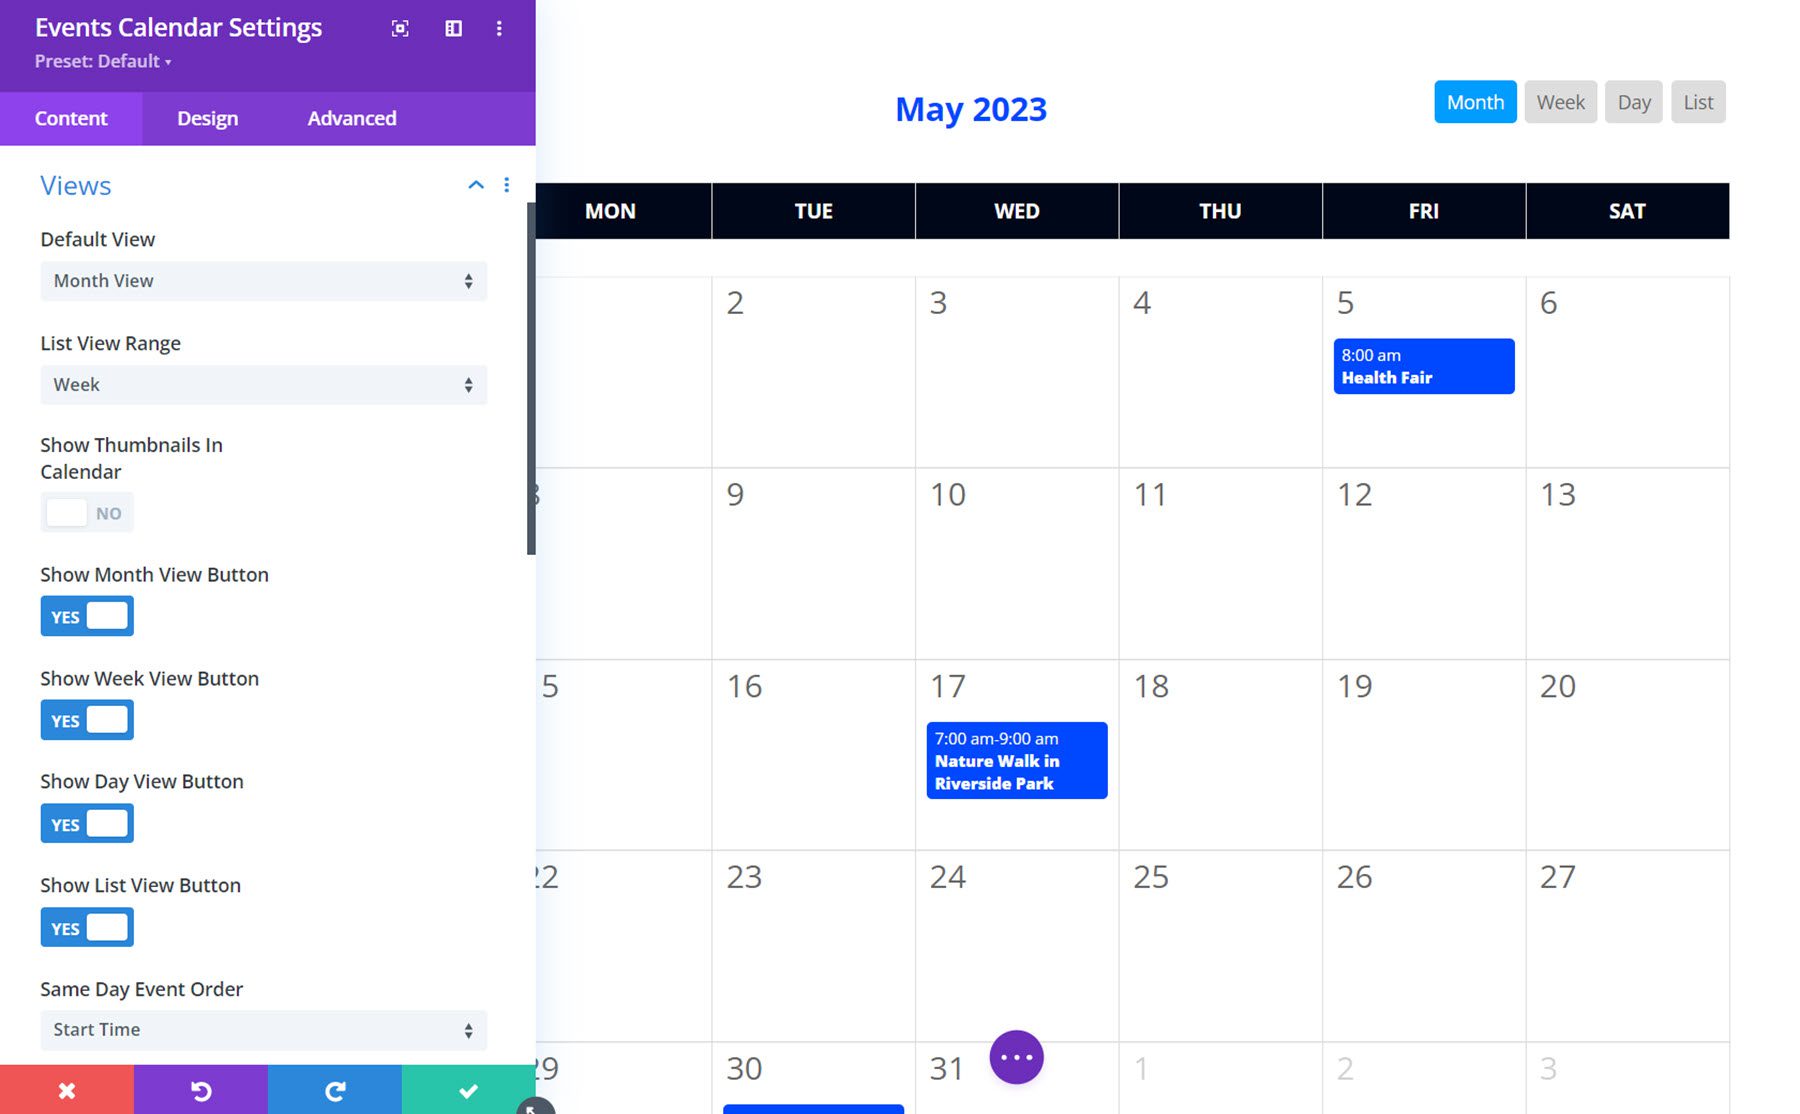
Under the views tab, you can set the default calendar view, set the list view range, choose to show or hide thumbnails in the calendar, and select which views are available.
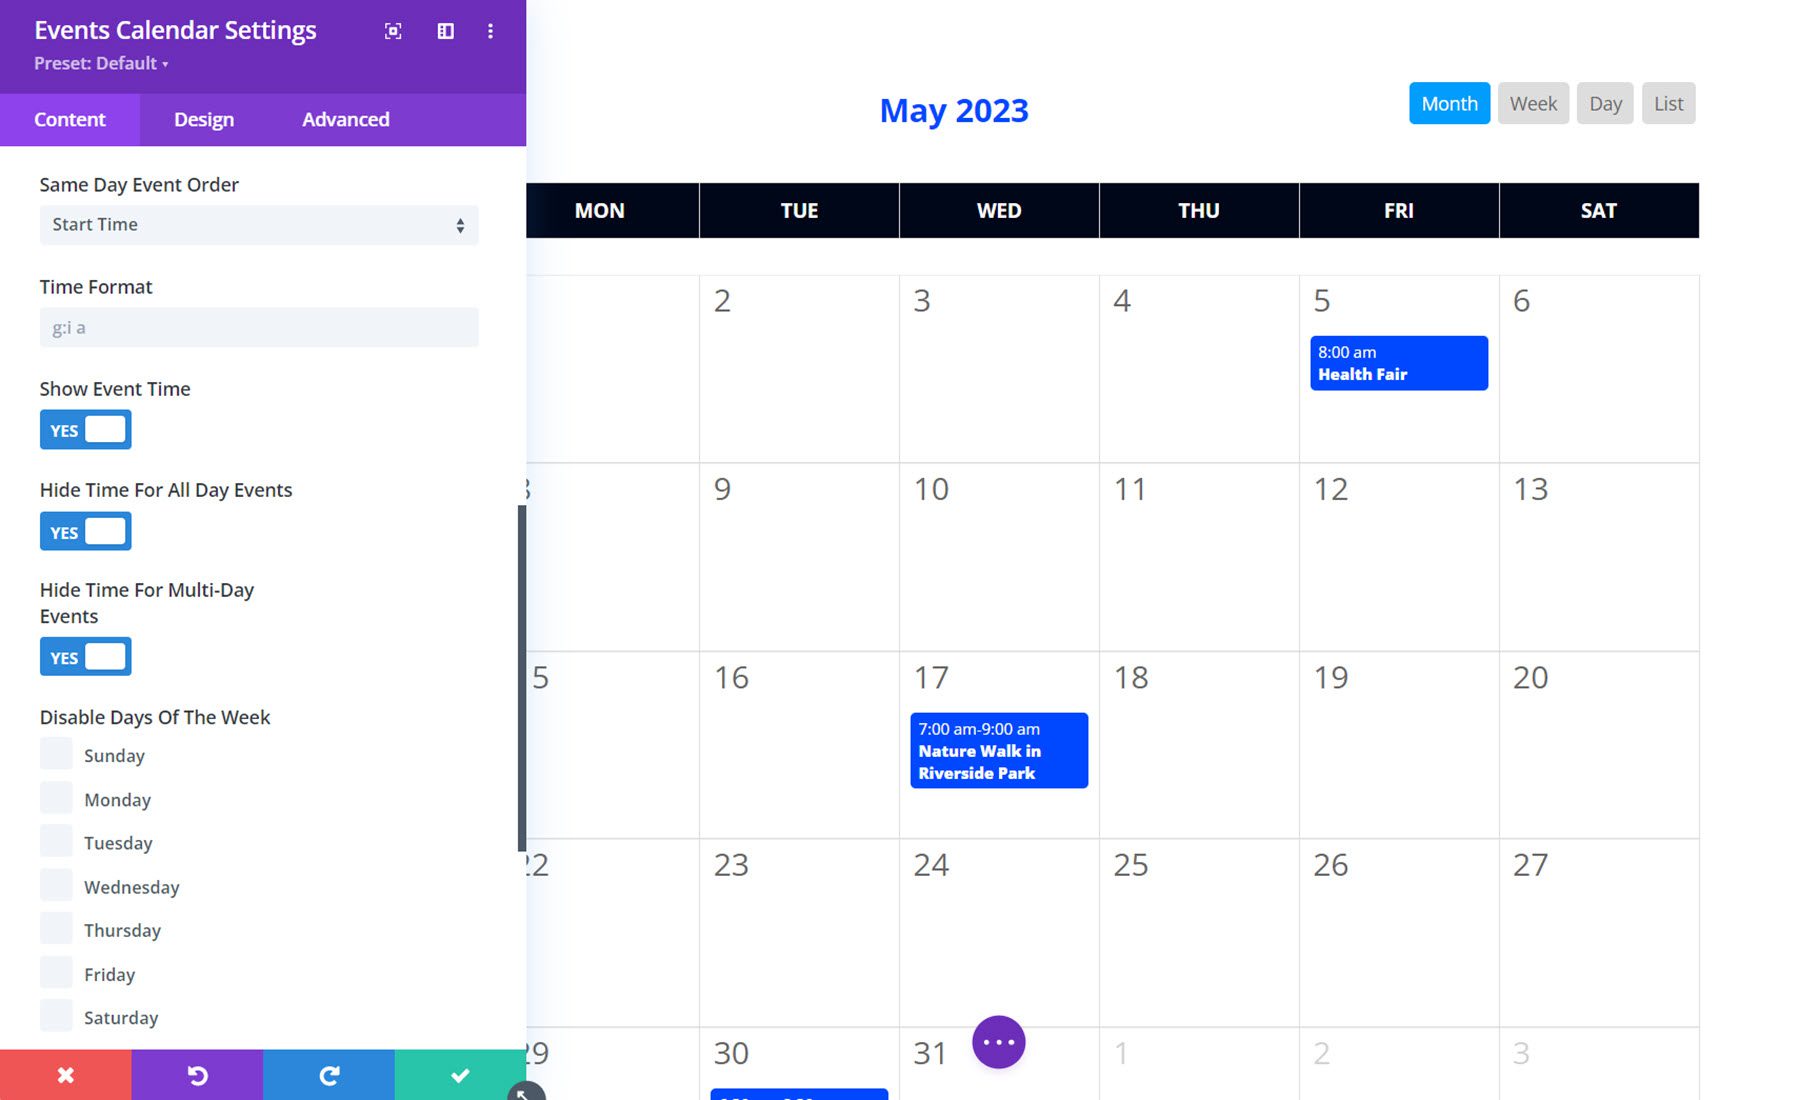
Additionally, you can set the order same day events are displayed, set the time format, show or hide the event time for different event types, disable certain days of the week, and set the day the week starts.
Details
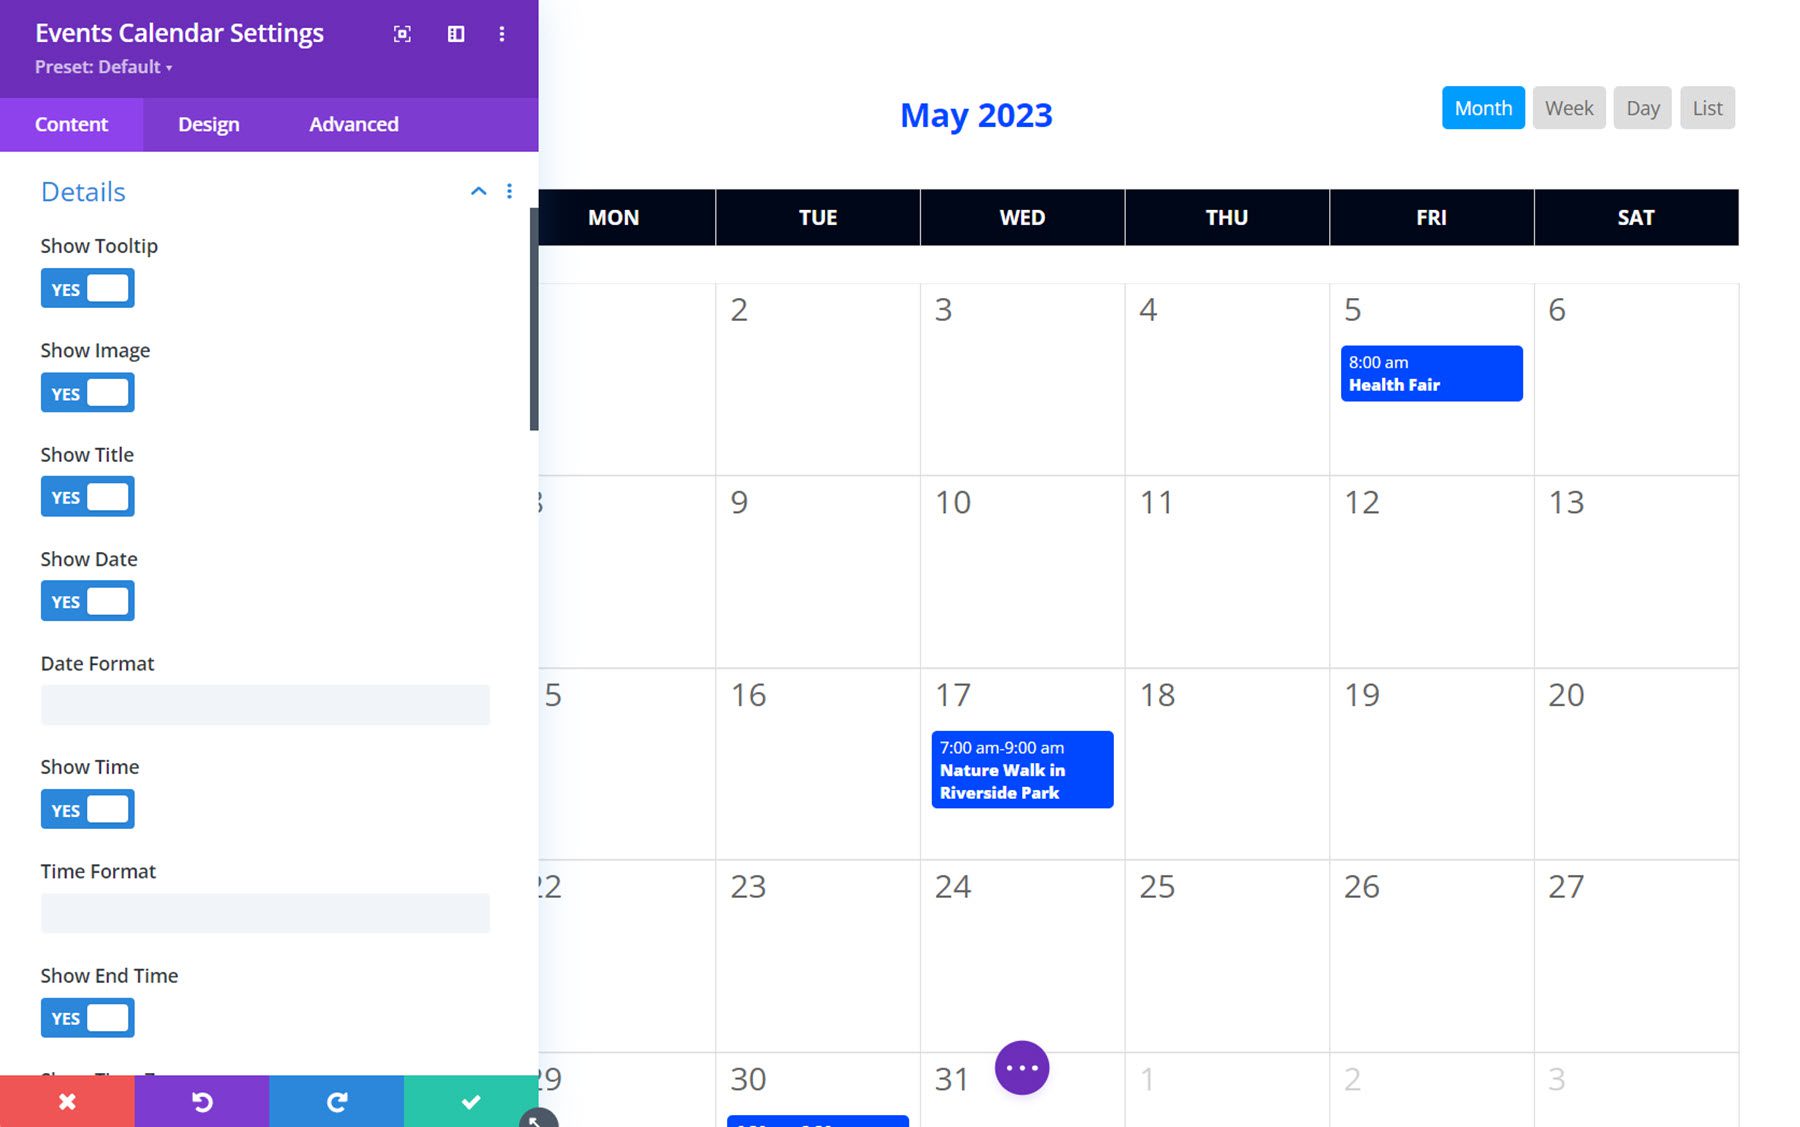
The details tab is where you can control what event details are displayed. Here is a list of the details you can show or hide: tooltip, image, title, date, time, end time, time zone, venue, location, street address, comma after address, locality, comma after locality, state, comma after state, postal code, comma after postal code, country, comma after country, organizer, price, category, website, and excerpt. Additionally, you can set the date and time format and choose to show the postal code before the locality.
Links
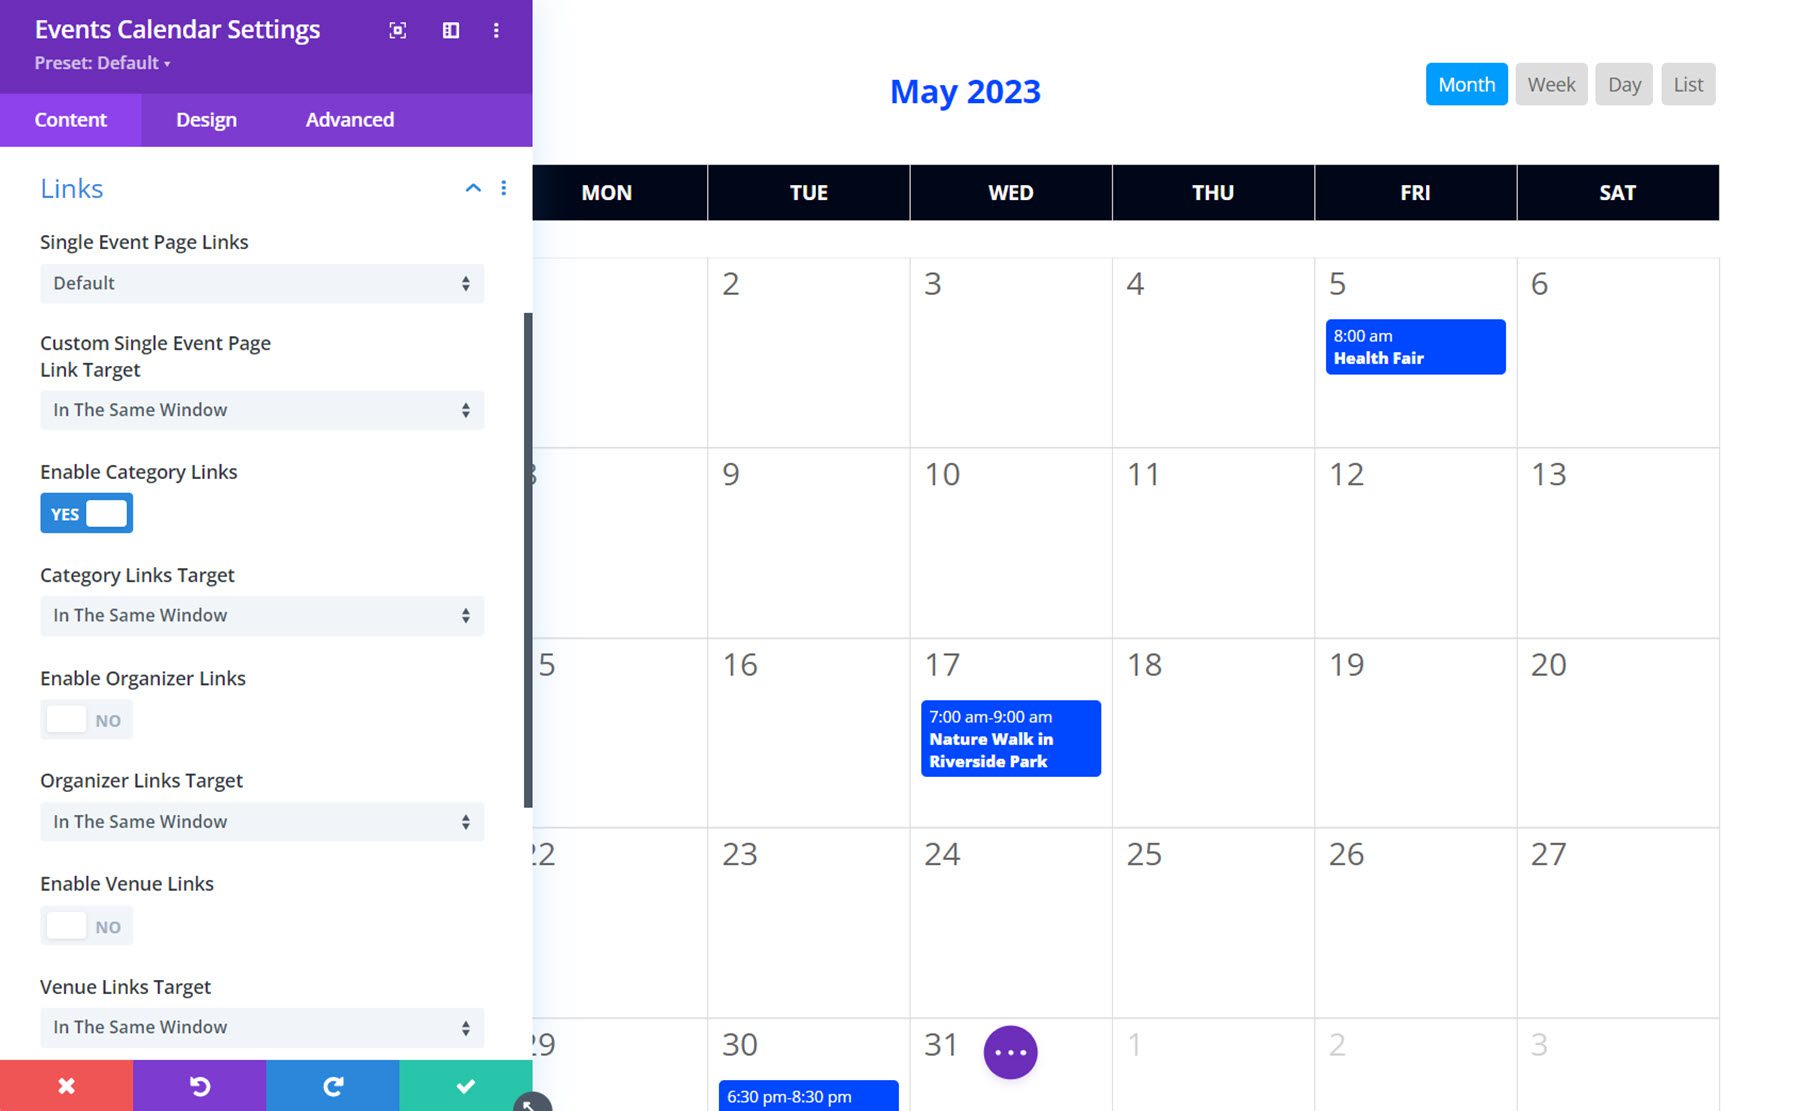
The links tab gives you some control over how items in the calendar are linked. You can enable or disable the single event page links, or you can choose to replace them with a custom link or redirect to a website. You can also enable or disable category links, organizer links, and venue links, and you can choose whether any of these links open in the same window or open in a new tab.
Design Settings
In the design tab, you can modify the look of just about every aspect of the event calendar module. There are design settings to modify the heading text, days of the week, calendar days, events, thumbnails in calendar days, navigation buttons, view buttons, tooltip, details image, details labels text, details title text, details text, details excerpt text, and of course, many of the default Divi design settings such as sizing, spacing, border, box shadow, filters, transform, and animation. The extensive design options available with this module make it easy to customize the calendar to match the design of your website.
Events Carousel
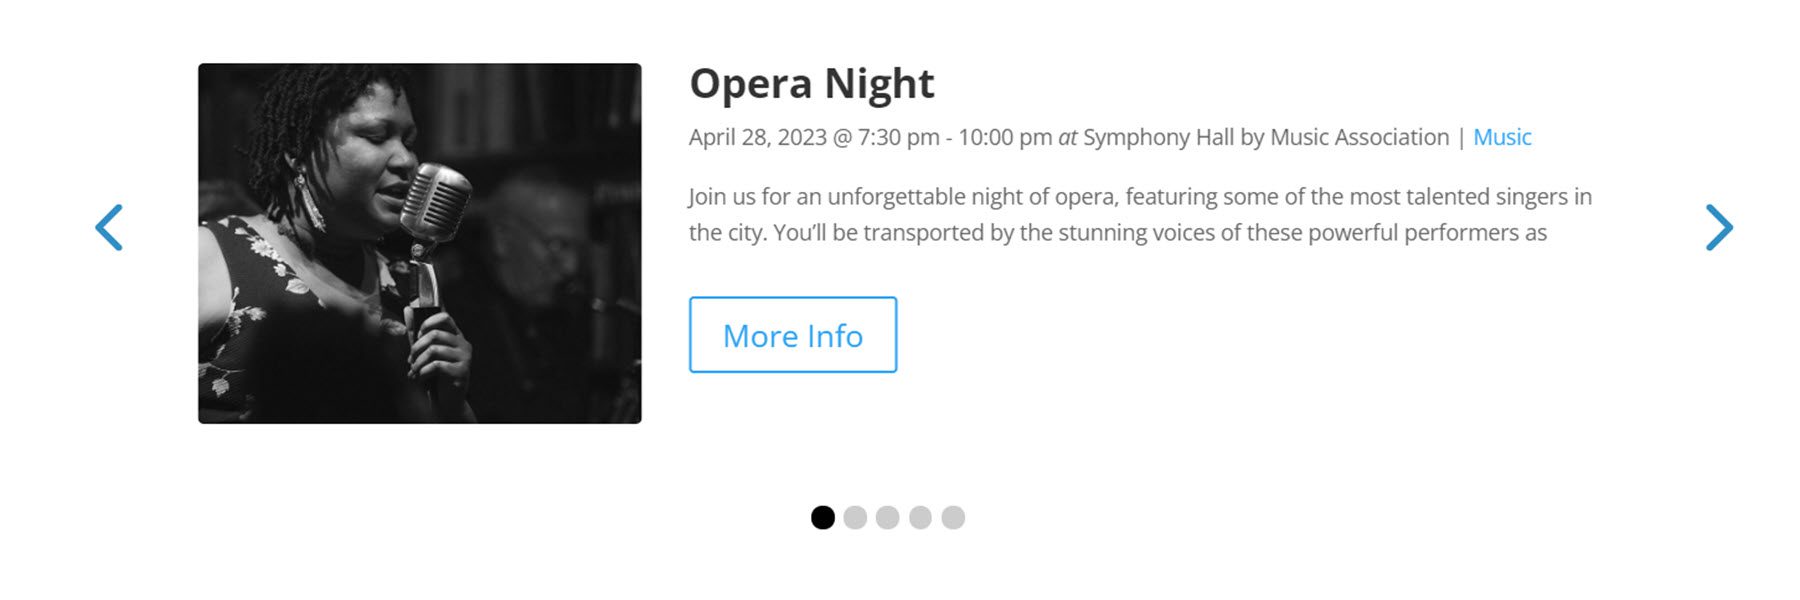
The Events Carousel module adds a carousel with event information to the page. This is a great way to display multiple events on a page in a condensed format. Here is what the module looks like without any design customization.
Now, let’s take a look at the module settings.
Content Settings
First, let’s explore the content tab.
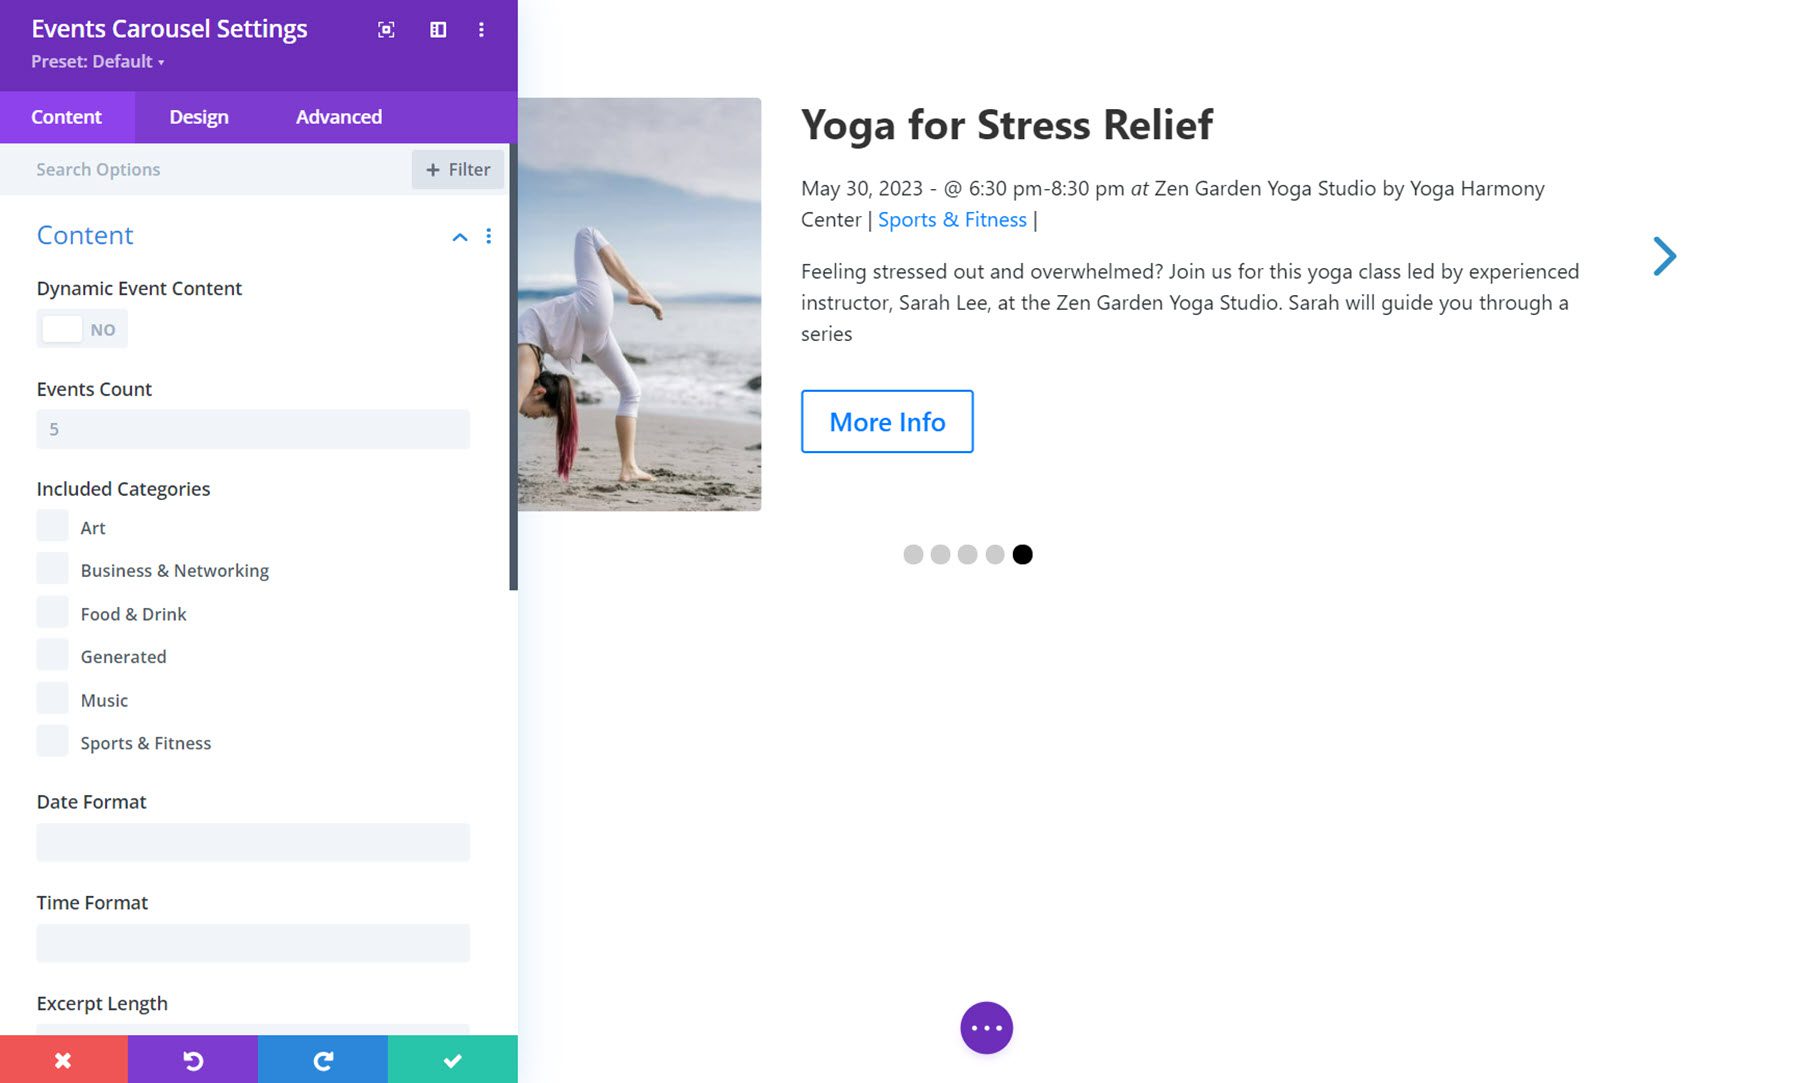
Content
In the content settings, you can enable or disable dynamic event content. If enabled, this feature allows you to place the module in a Divi Theme Builder layout and dynamically display event categories for the current category or page. You can also modify the number of events and the categories shown, customize the date and time format and excerpt length, set the events offset number, and choose to only show past events.
Elements
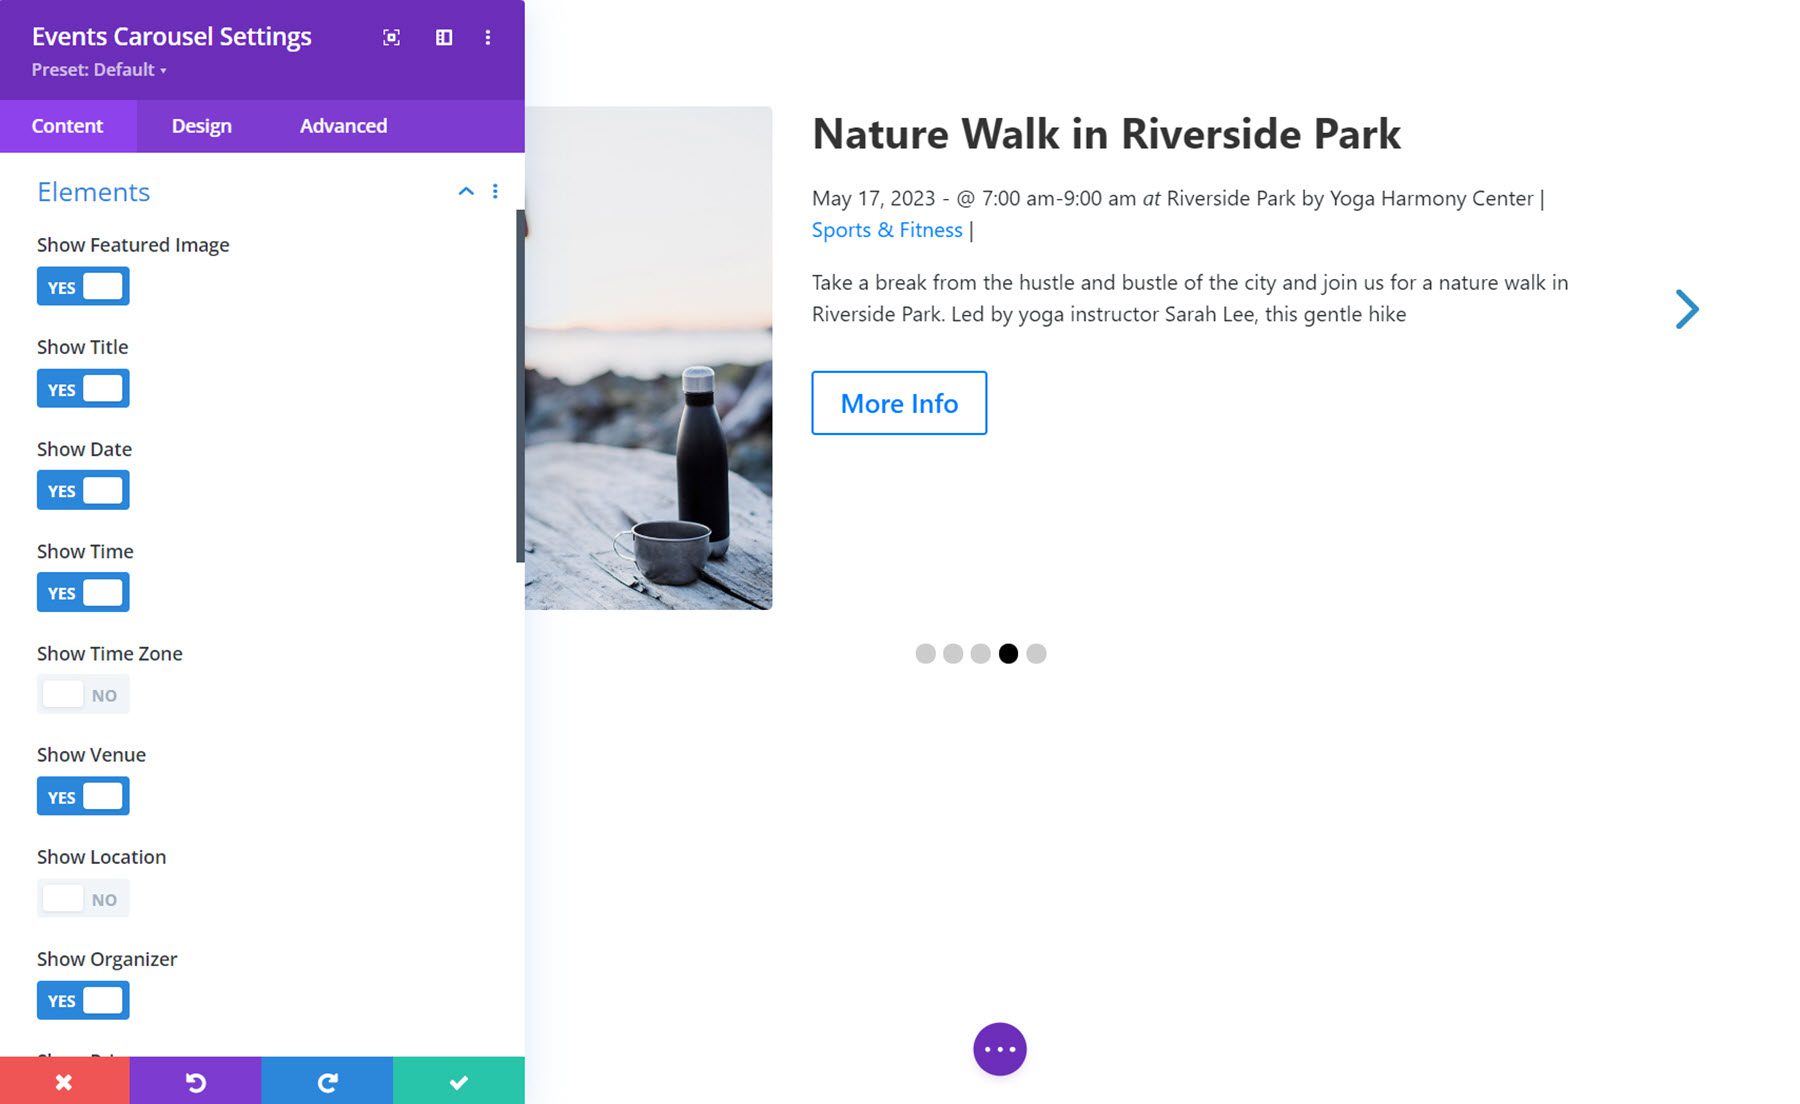
The elements tab is where you can select the elements shown in the carousel. You can enable or disable the following: featured image, title, date, time, time zone, venue, location, organizer, price, category, website, excerpt, more info button, prepositions and dividers, and event details.
Carousel Options
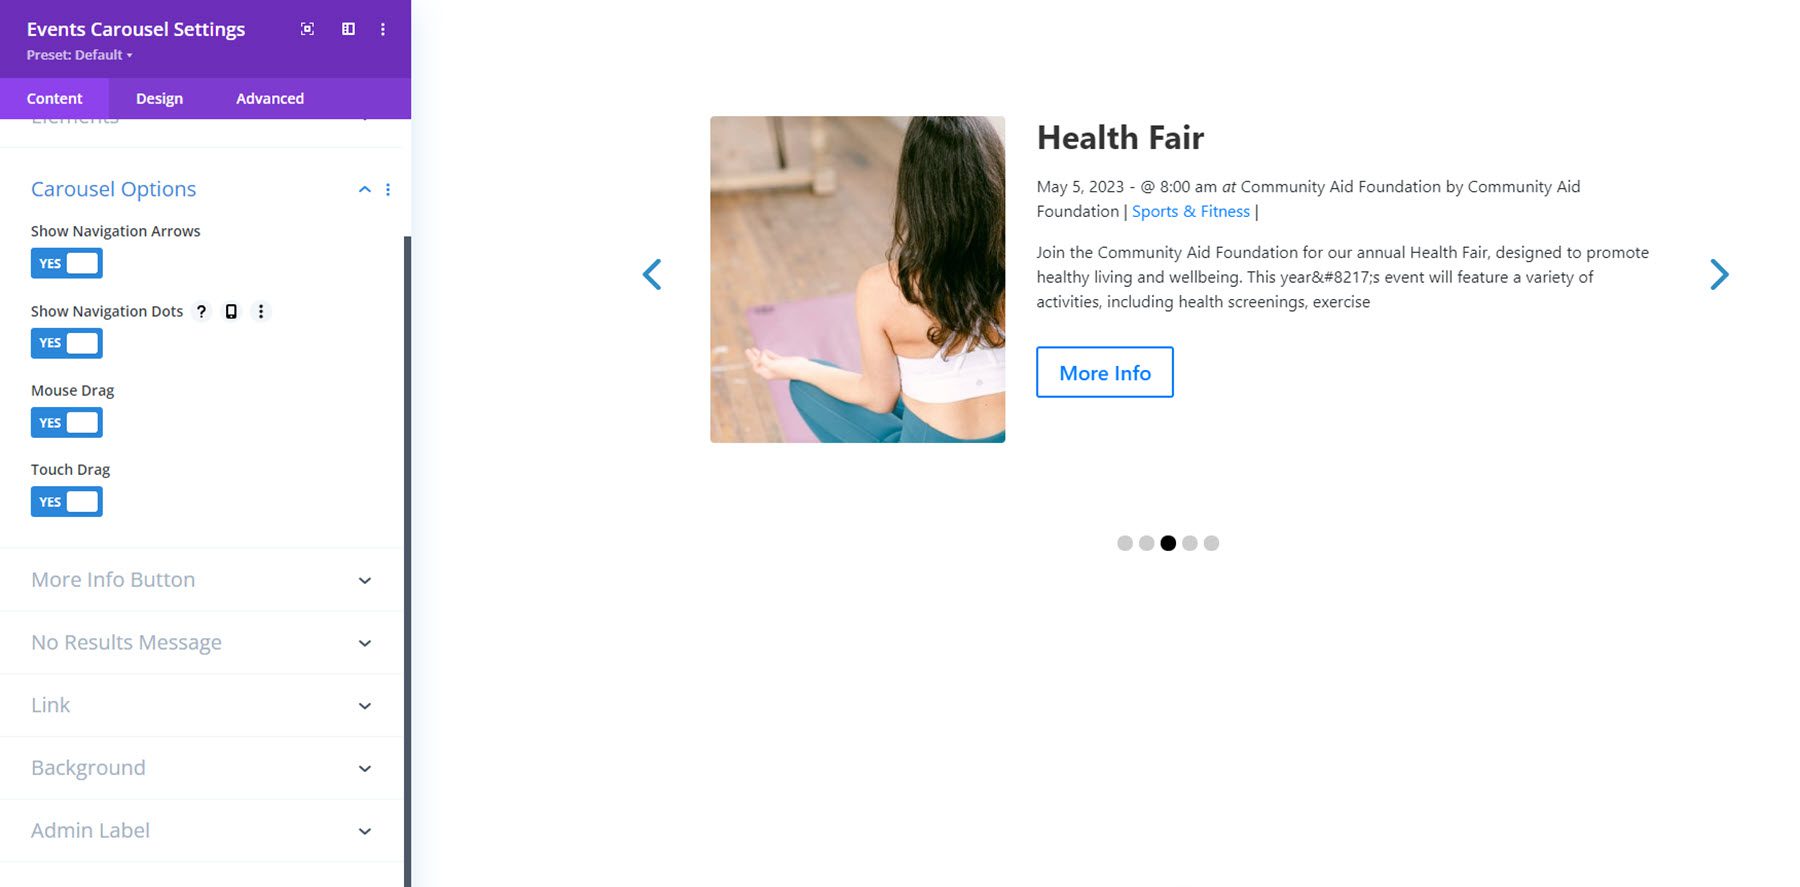
You can show or hide navigation arrows and dots in the carousel options tab. You can also enable or disable mouse drag and touch drag.
More Info Button and No Results Message
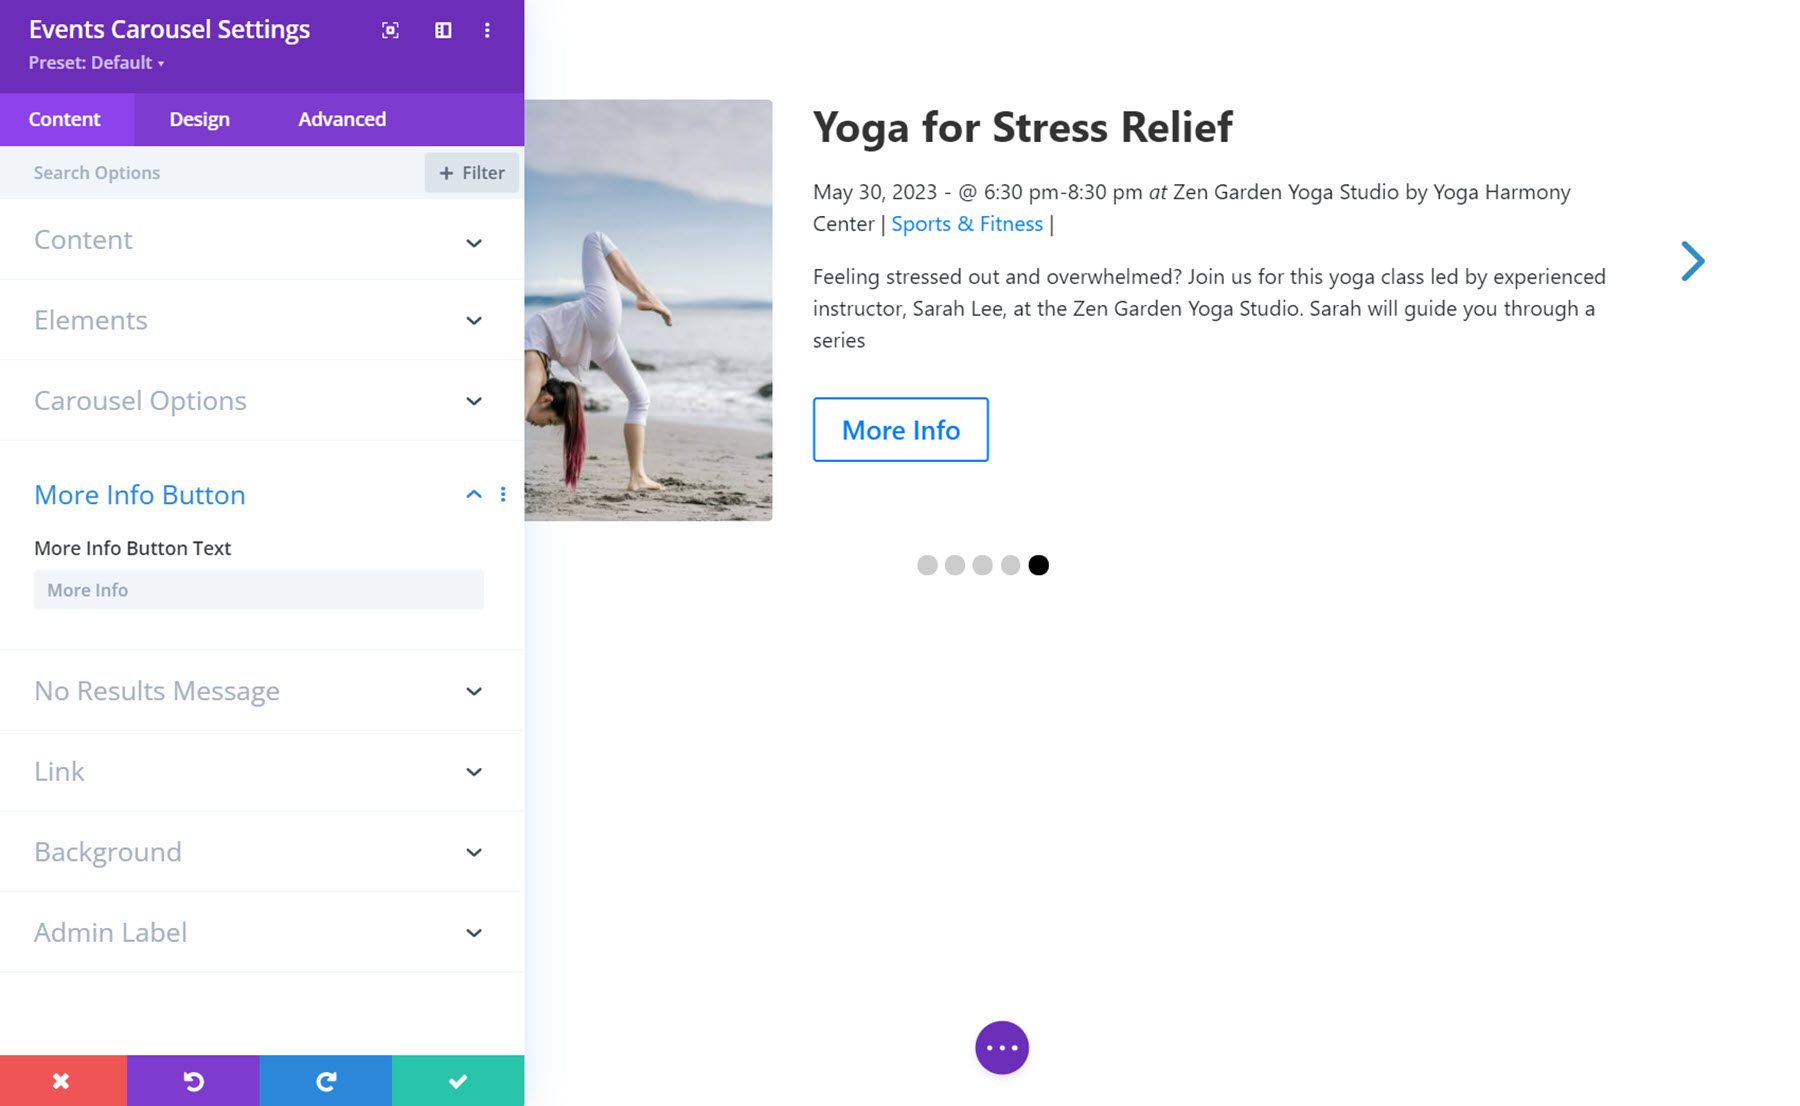
The more info button and no results message settings allow you to control the text that is shown.
Design Settings
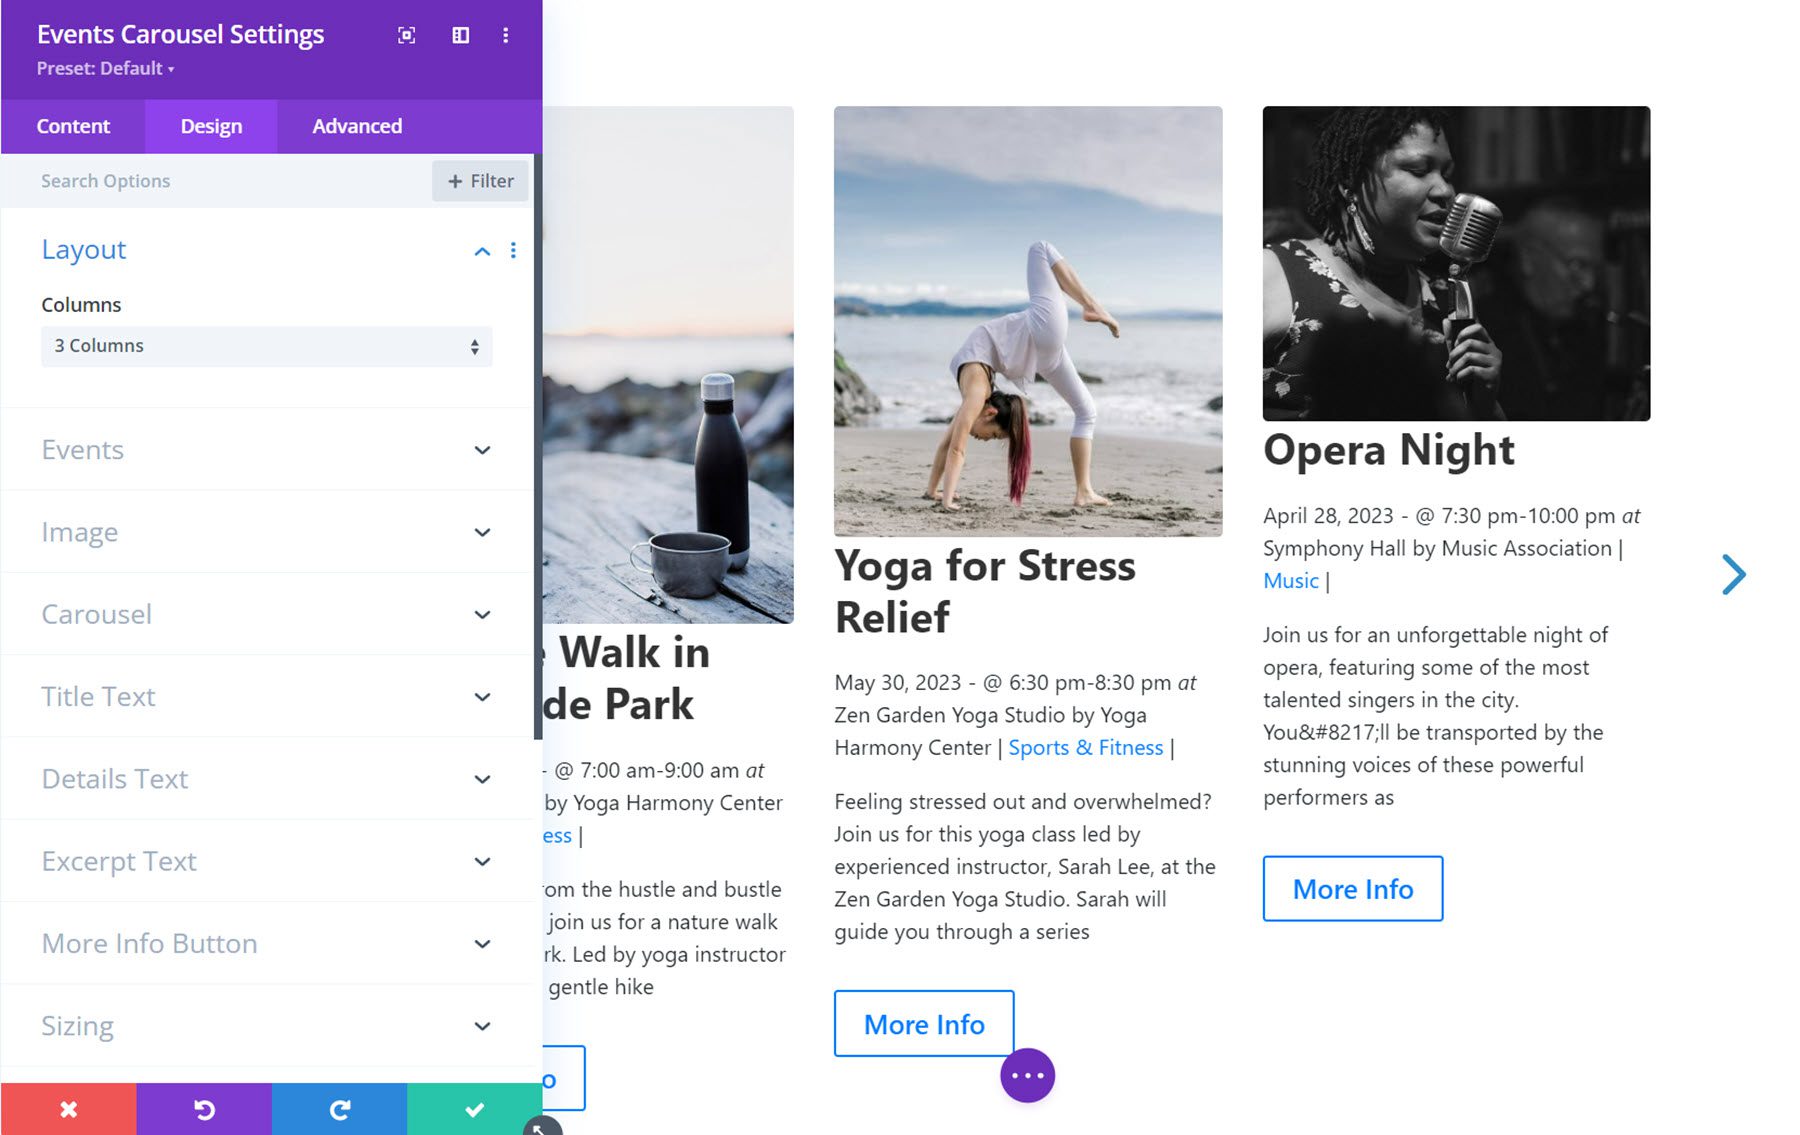
In the design tab, you can change the design of the layout, events, image, carousel, title text, details text, excerpt text, and more info button, as well as the typical sizing, spacing, border, box shadow, filters, transform, and animation options.
Events Feed
This module adds a feed of events to the page. Here is how it looks without any design customization.
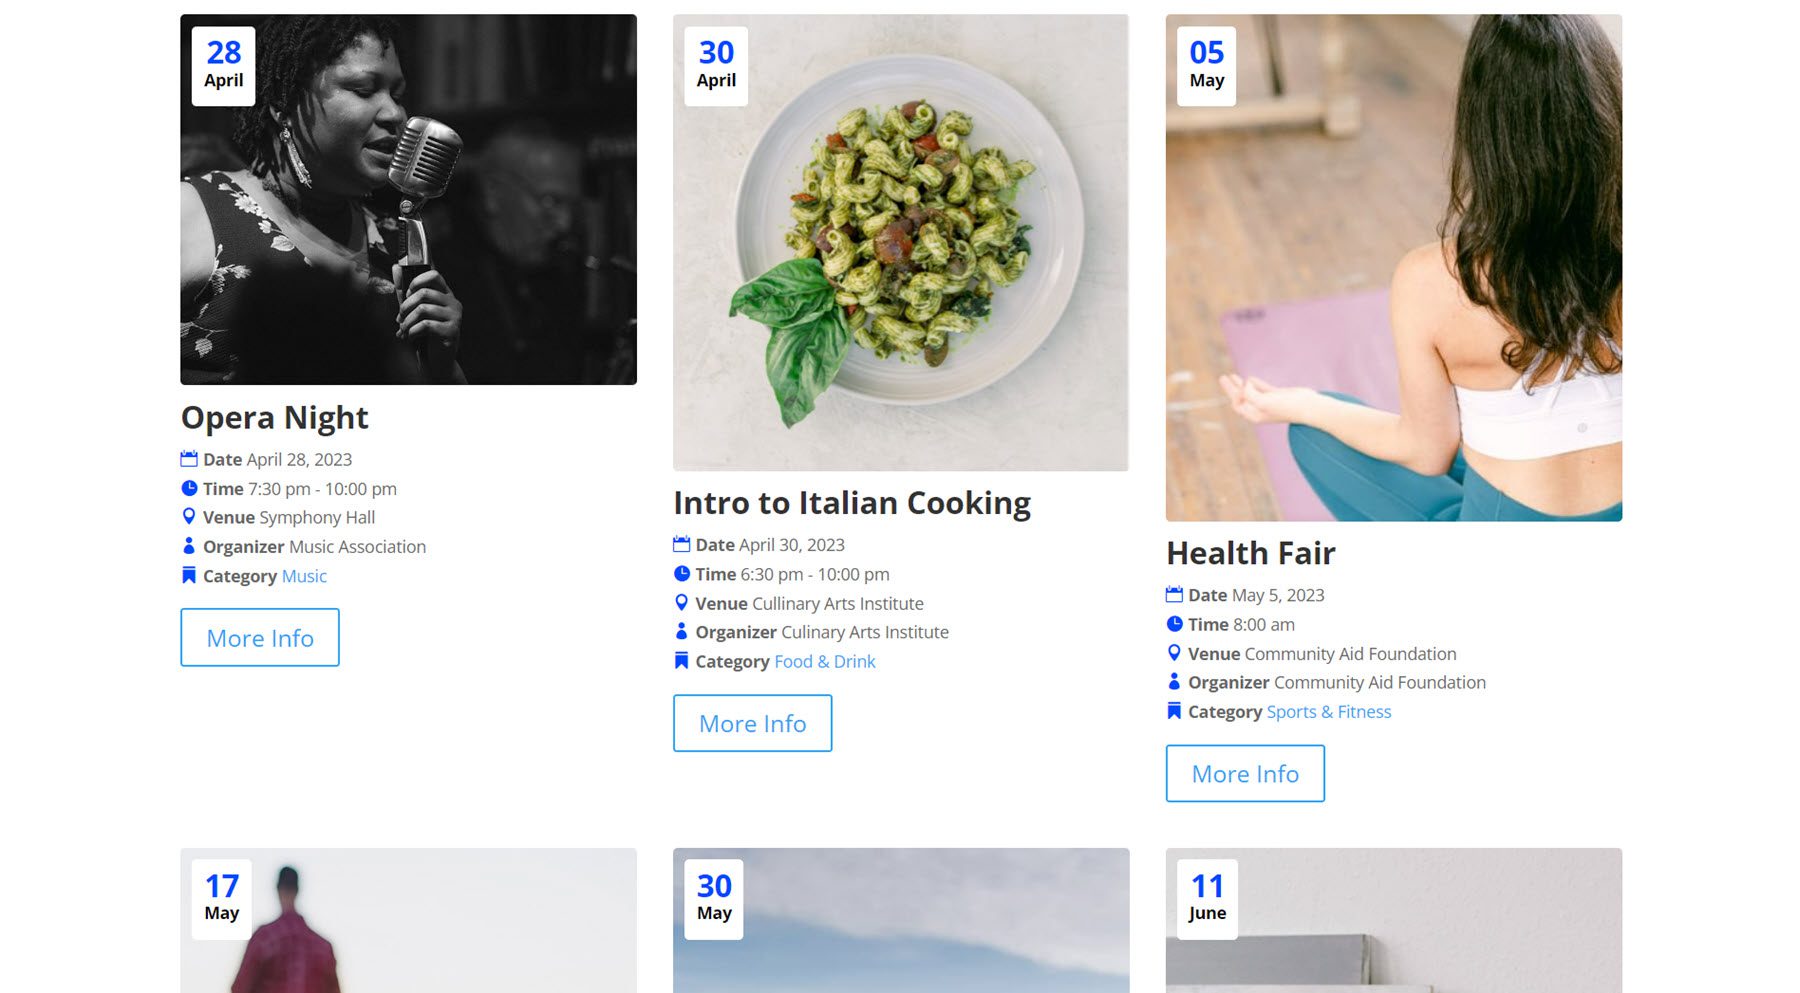
In the module settings, you can customize the event feed content and design. Let’s take a look.
Content Settings
First, let’s look at the settings in the content tab.
Content
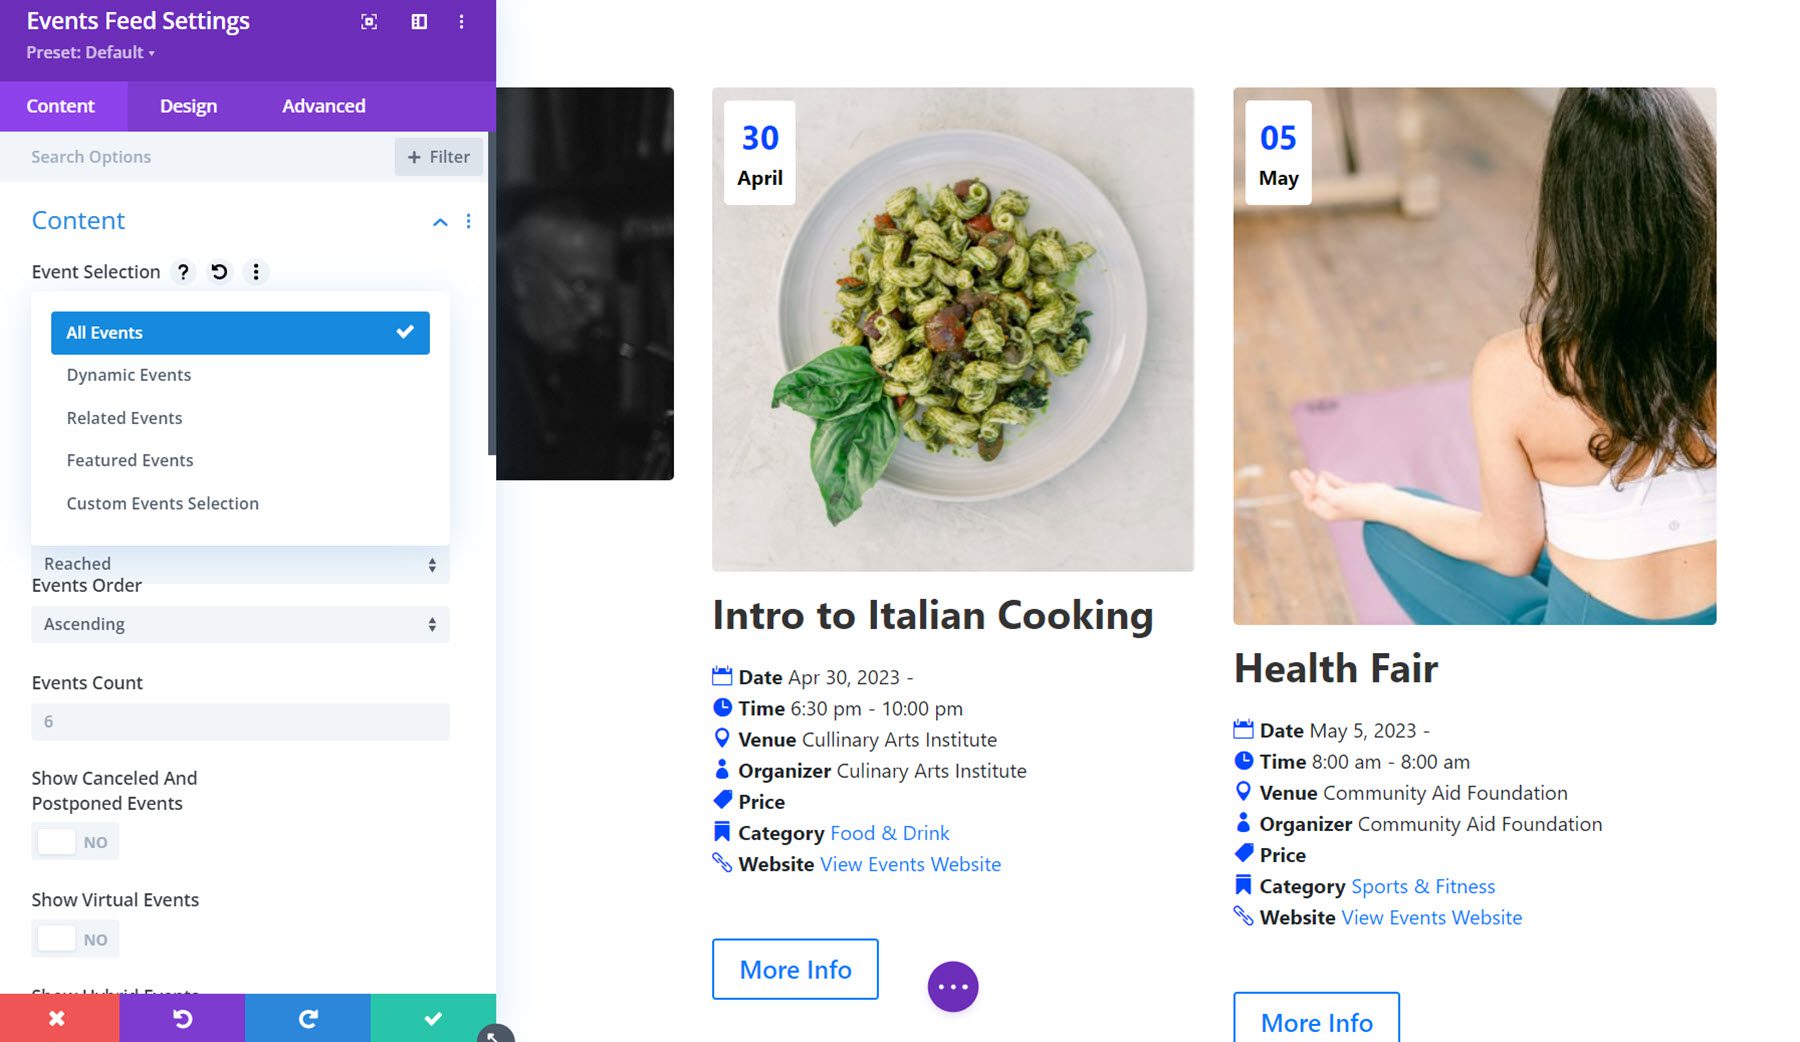
Here, you can set the type of events shown in the feed. You can choose from all events, dynamic events, related events, featured events, or a custom events selection.
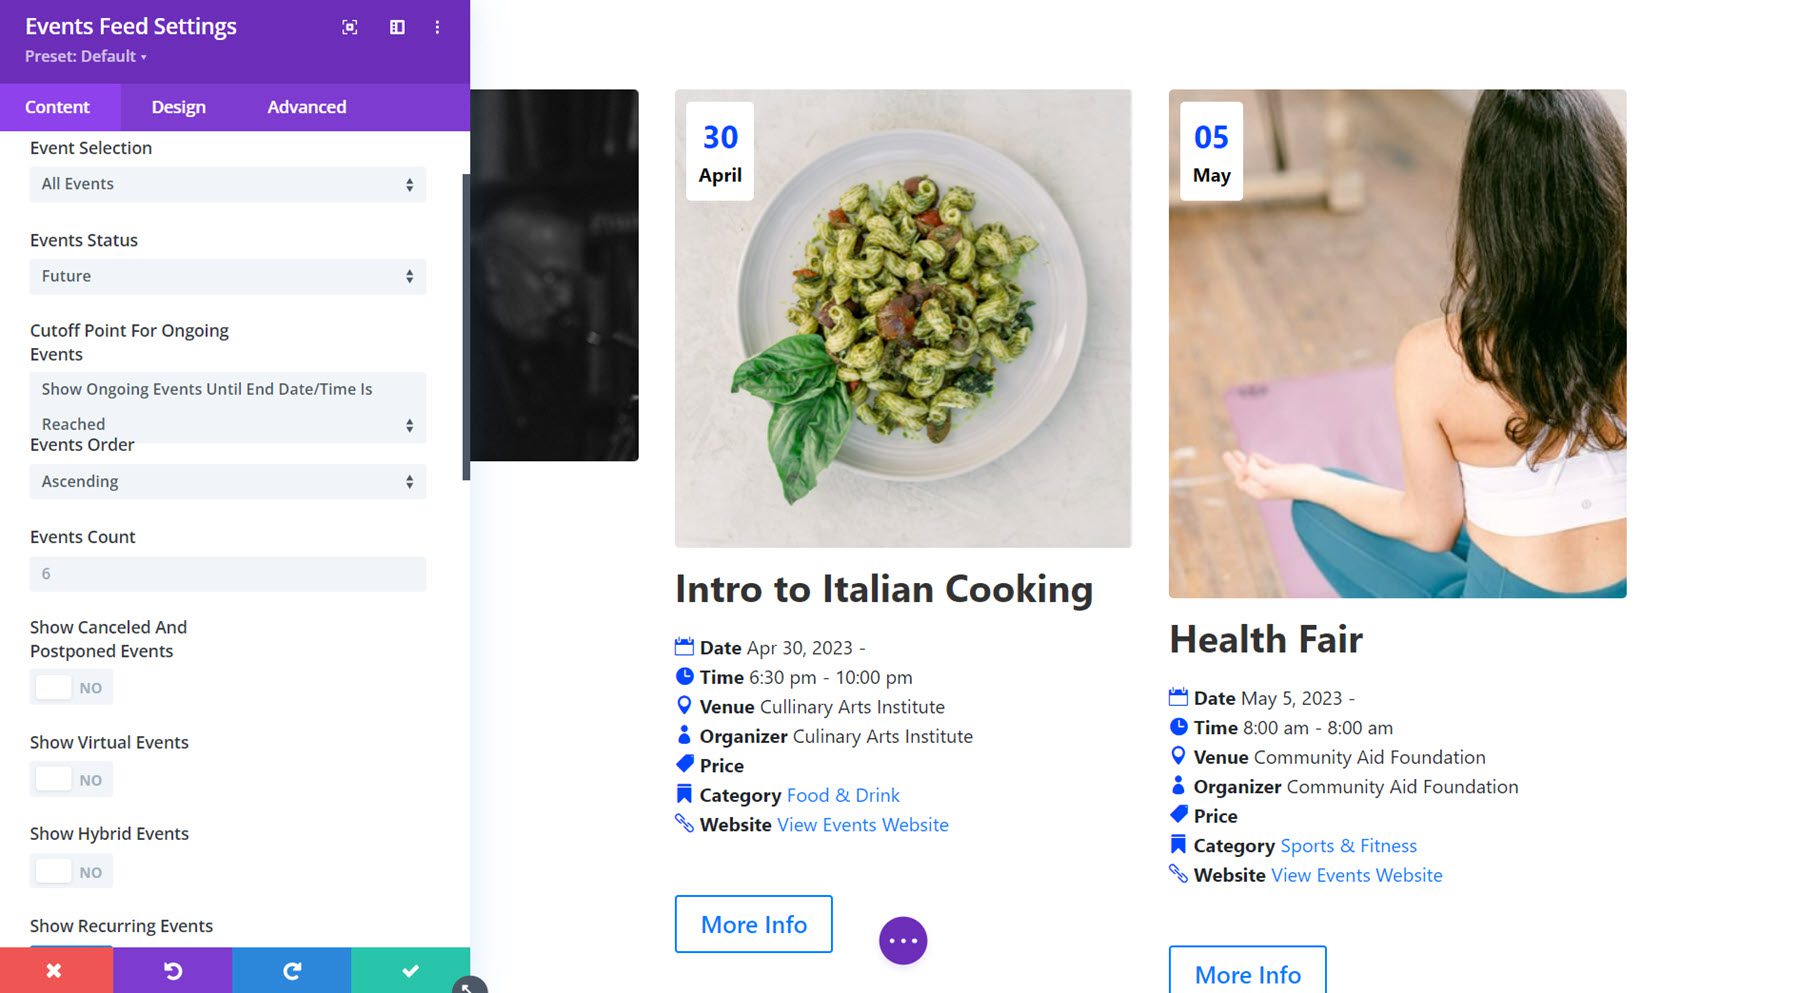
Here, you can set the events status (future, past, or both), the cutoff point for ongoing events, the events order, and the events count. You can specify the status of events (upcoming, previous, or both), the cutoff point for ongoing events, the order of events, and the number of events to display. You can hide canceled and postponed, virtual, hybrid, or recurring events in the feed, limit the number of recurring events shown, and set an events offset number.
Elements
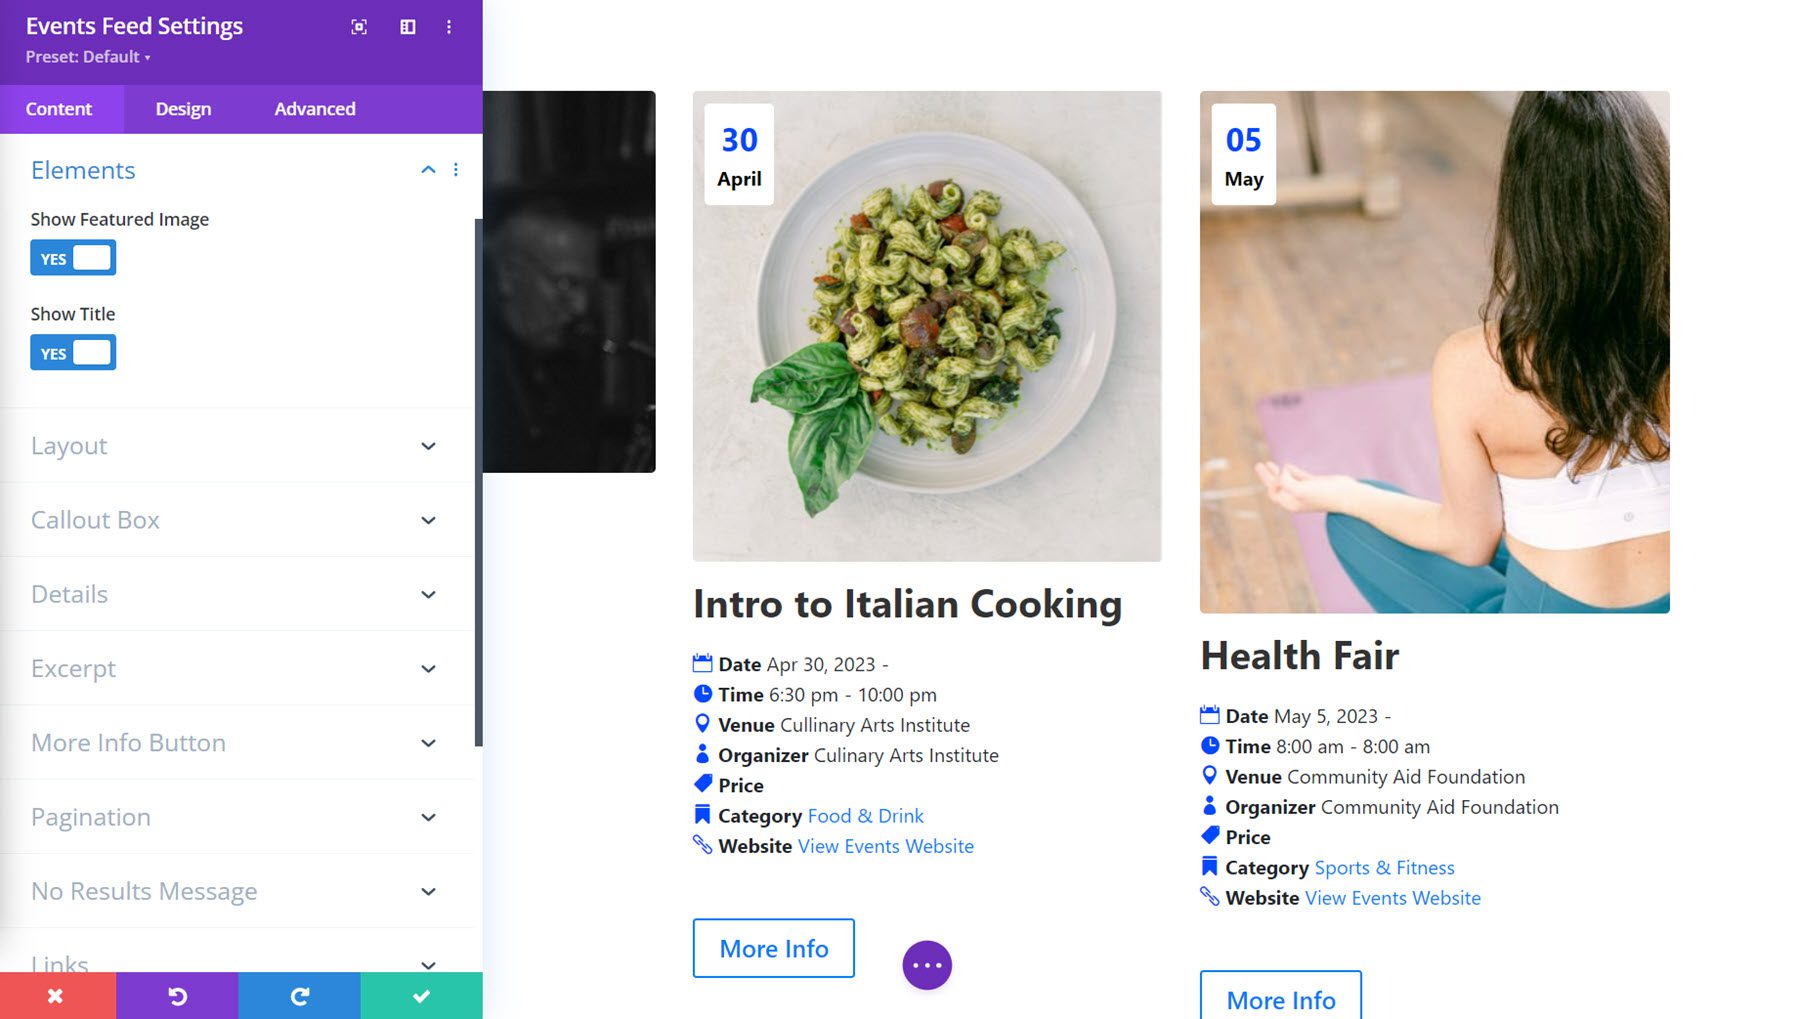
In the elements options, you can show or hide the featured image and title.
Layout
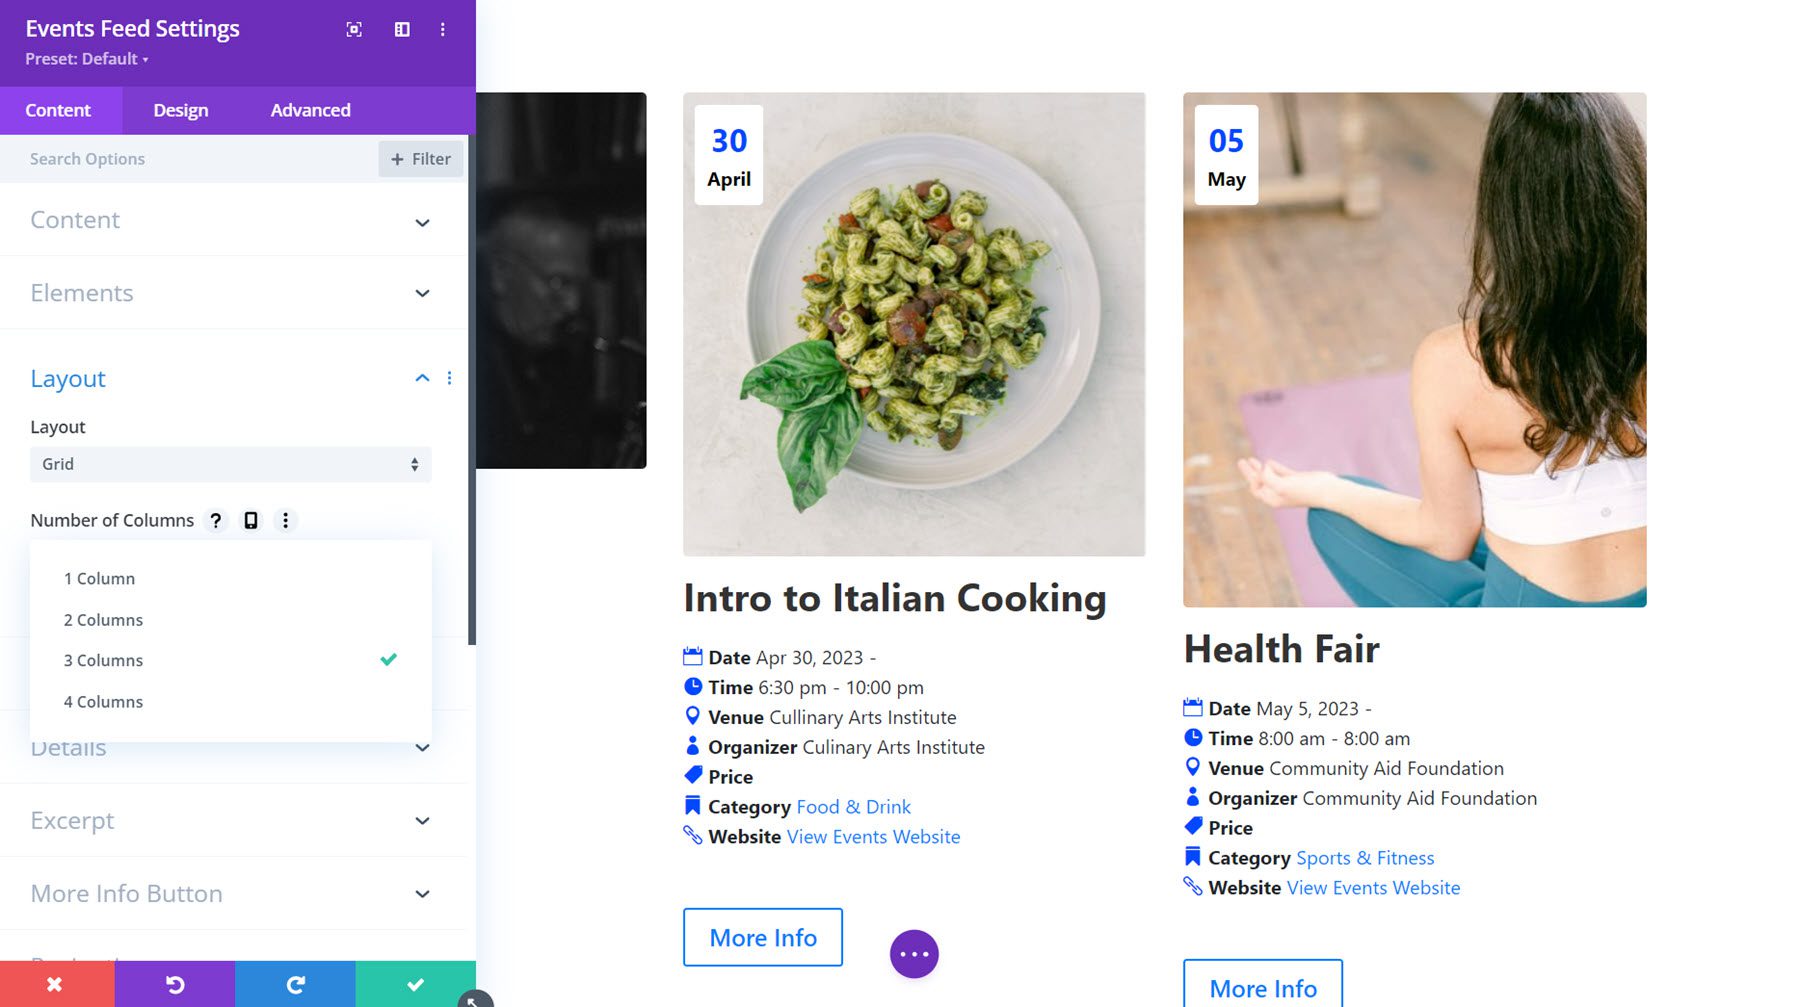
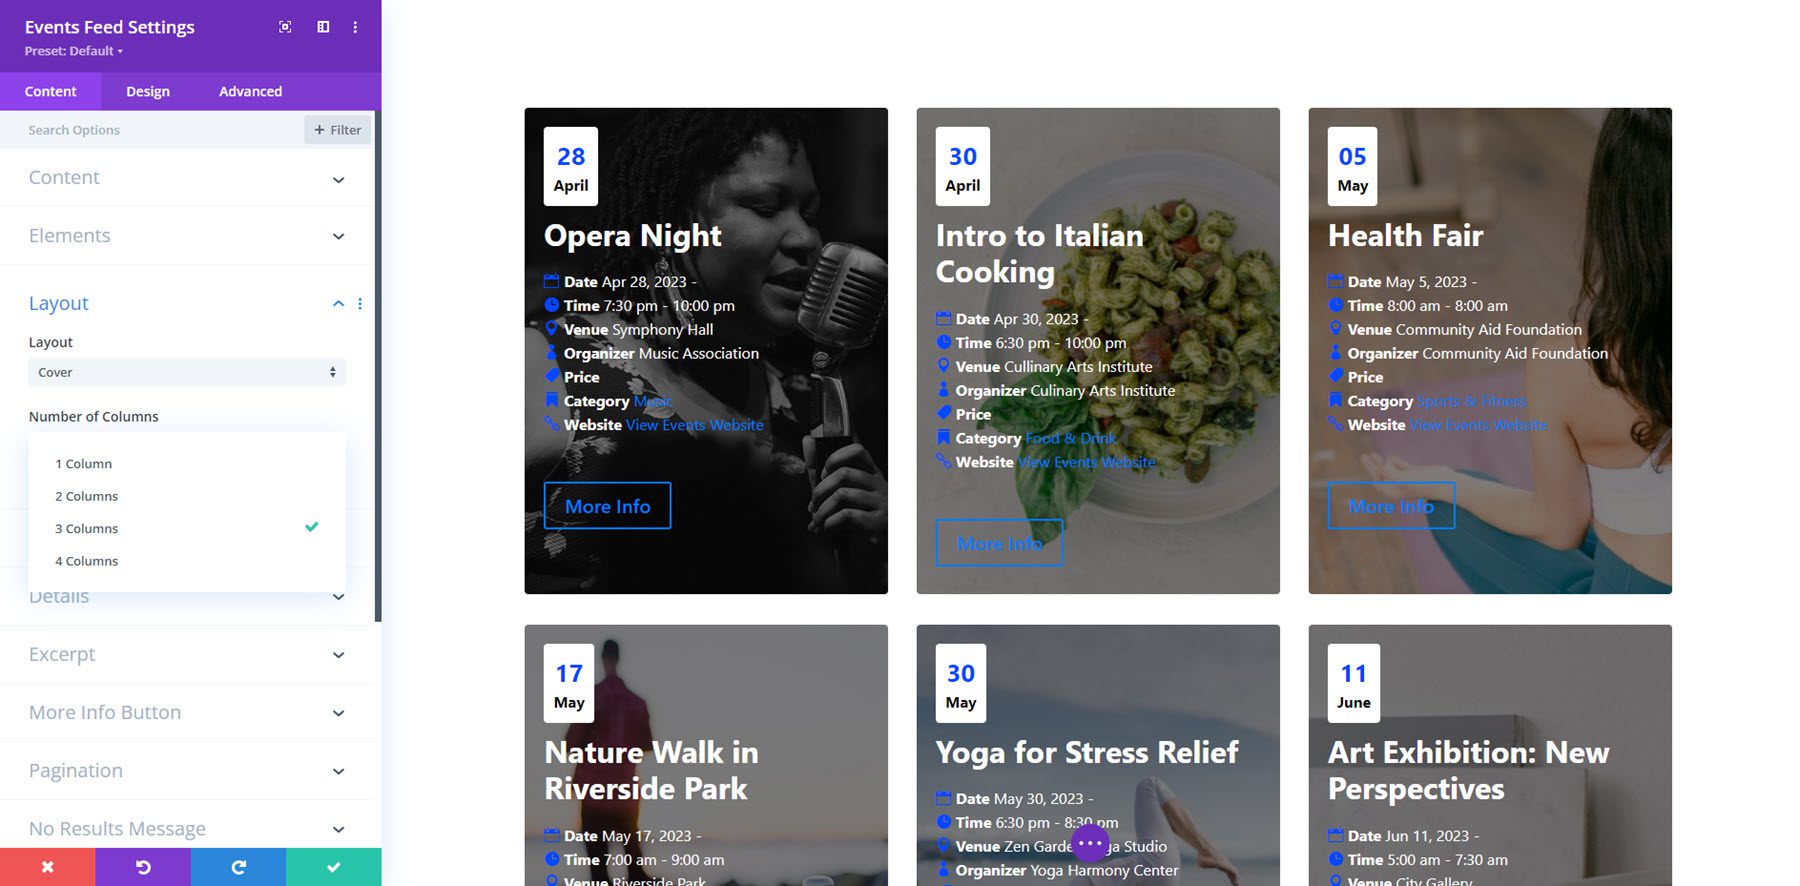
In the layout settings, you can change between the grid layout, list layout, or cover layout. With the grid layout, you can select between 1-4 columns.
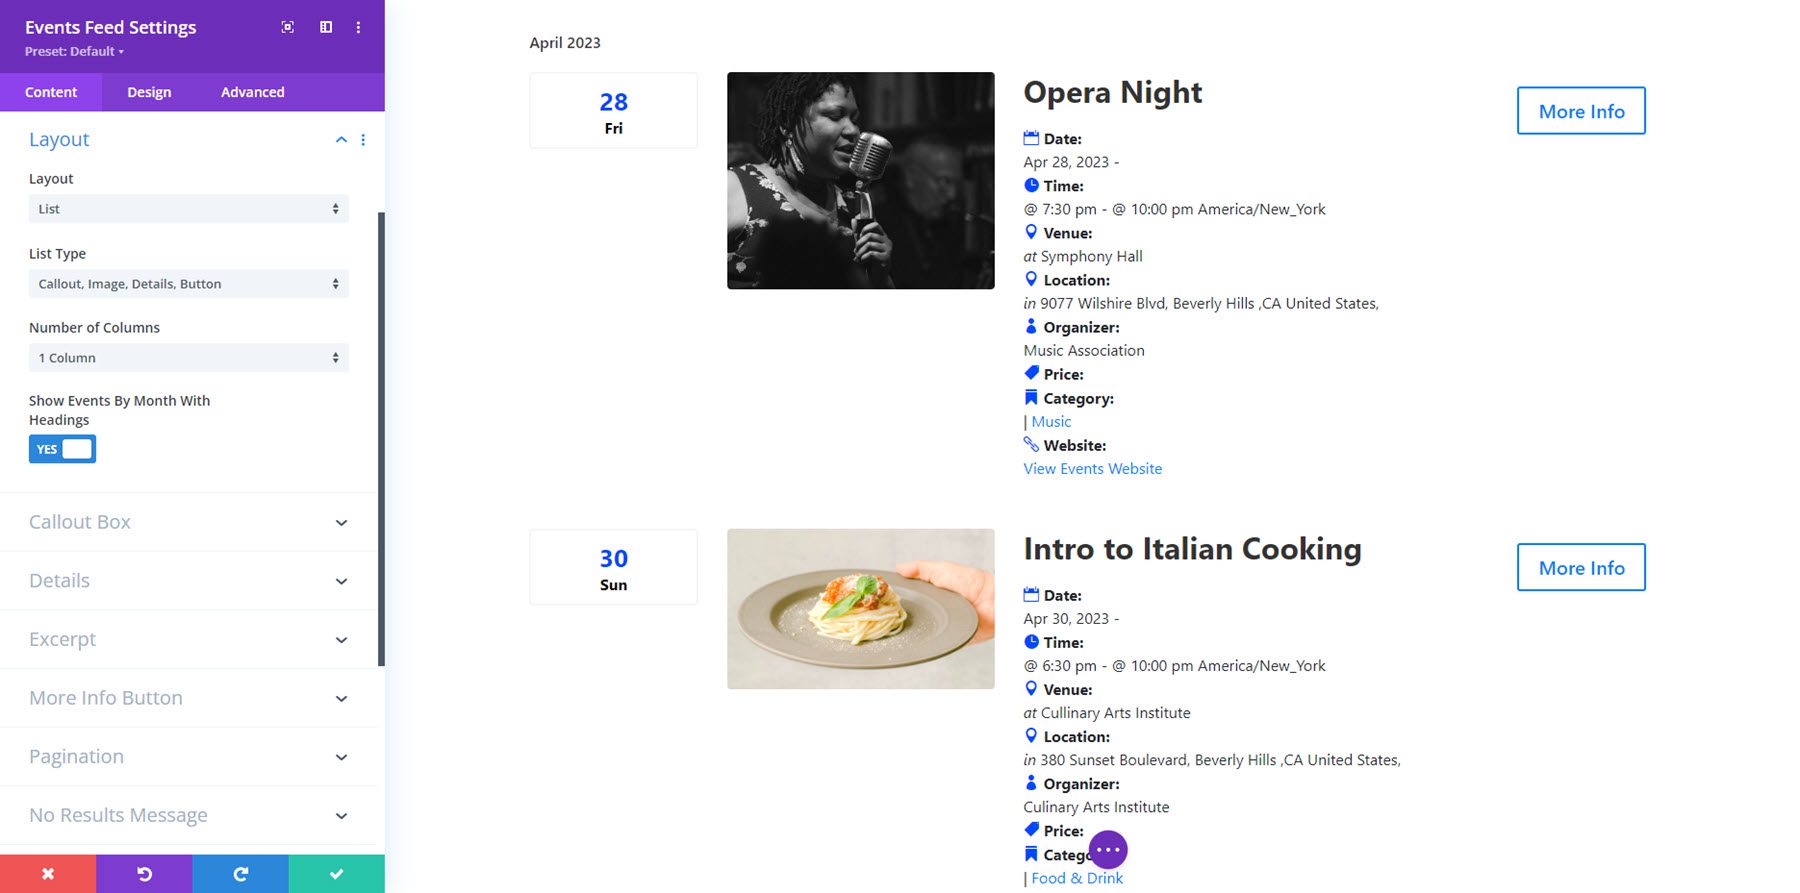
Here’s the list layout. You can change the list type, choose from 1 or 2 columns, and enable or disable showing the events by month with headings.
This is the cover layout. It uses the event’s featured image as the background and features the event information above. You can choose from 1-4 columns.
Callout Box
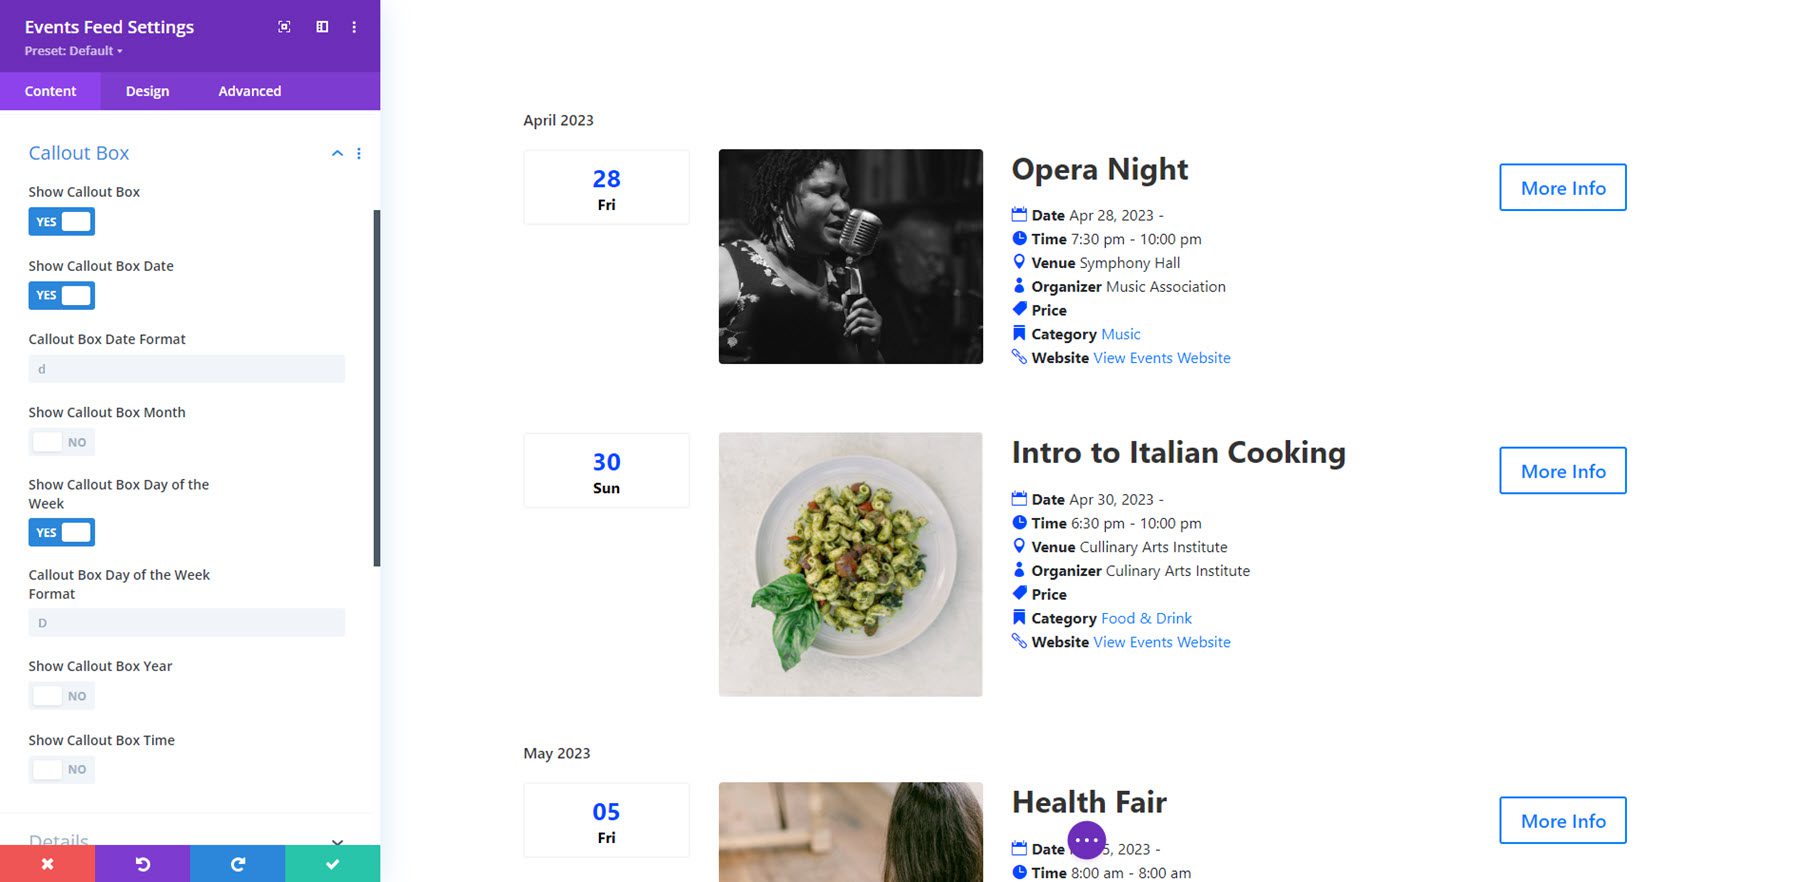
The callout box is where the date and time information can be displayed, to the left of the image in this layout. You can choose to show or hide the callout box. You can also choose to show or hide the date, month, day of the week, year, and time. For each element you enable, you can specify the date format.
Details
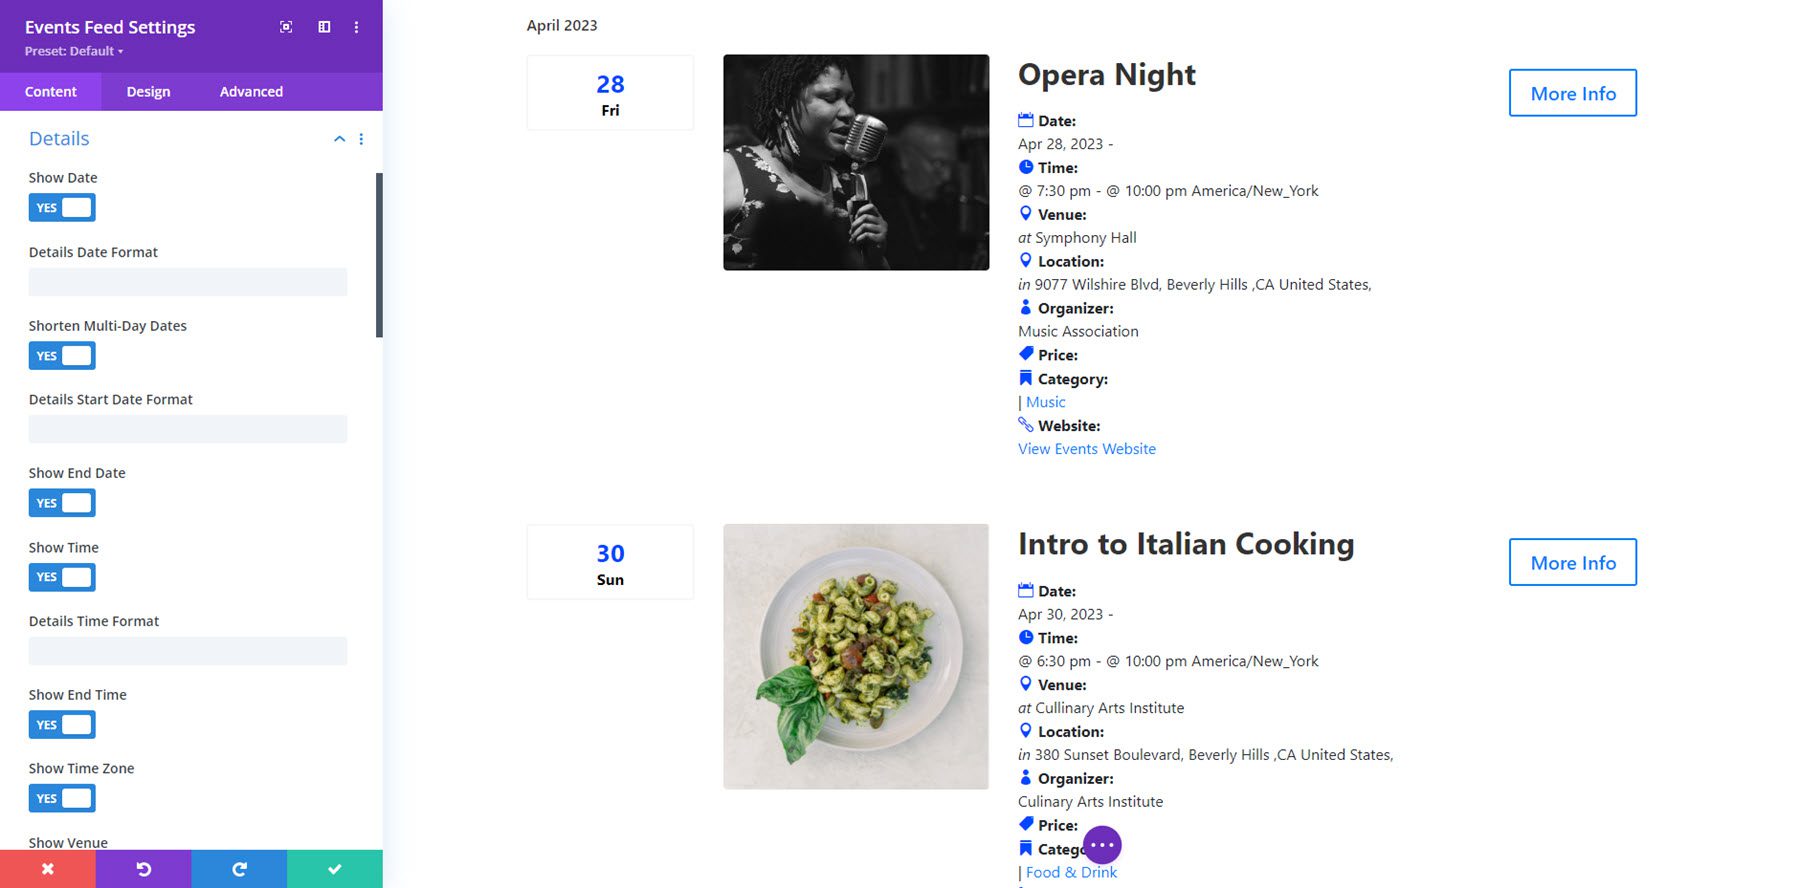
In the details tab, you can show or hide the following event elements: date, multi-day dates, end date, time, end time, time zone, venue, location, street address, comma after address, locality, comma after locality, state, comma after state, postal code, comma after postal code, country, comma after country, organizer, price, category, website, and excerpt.
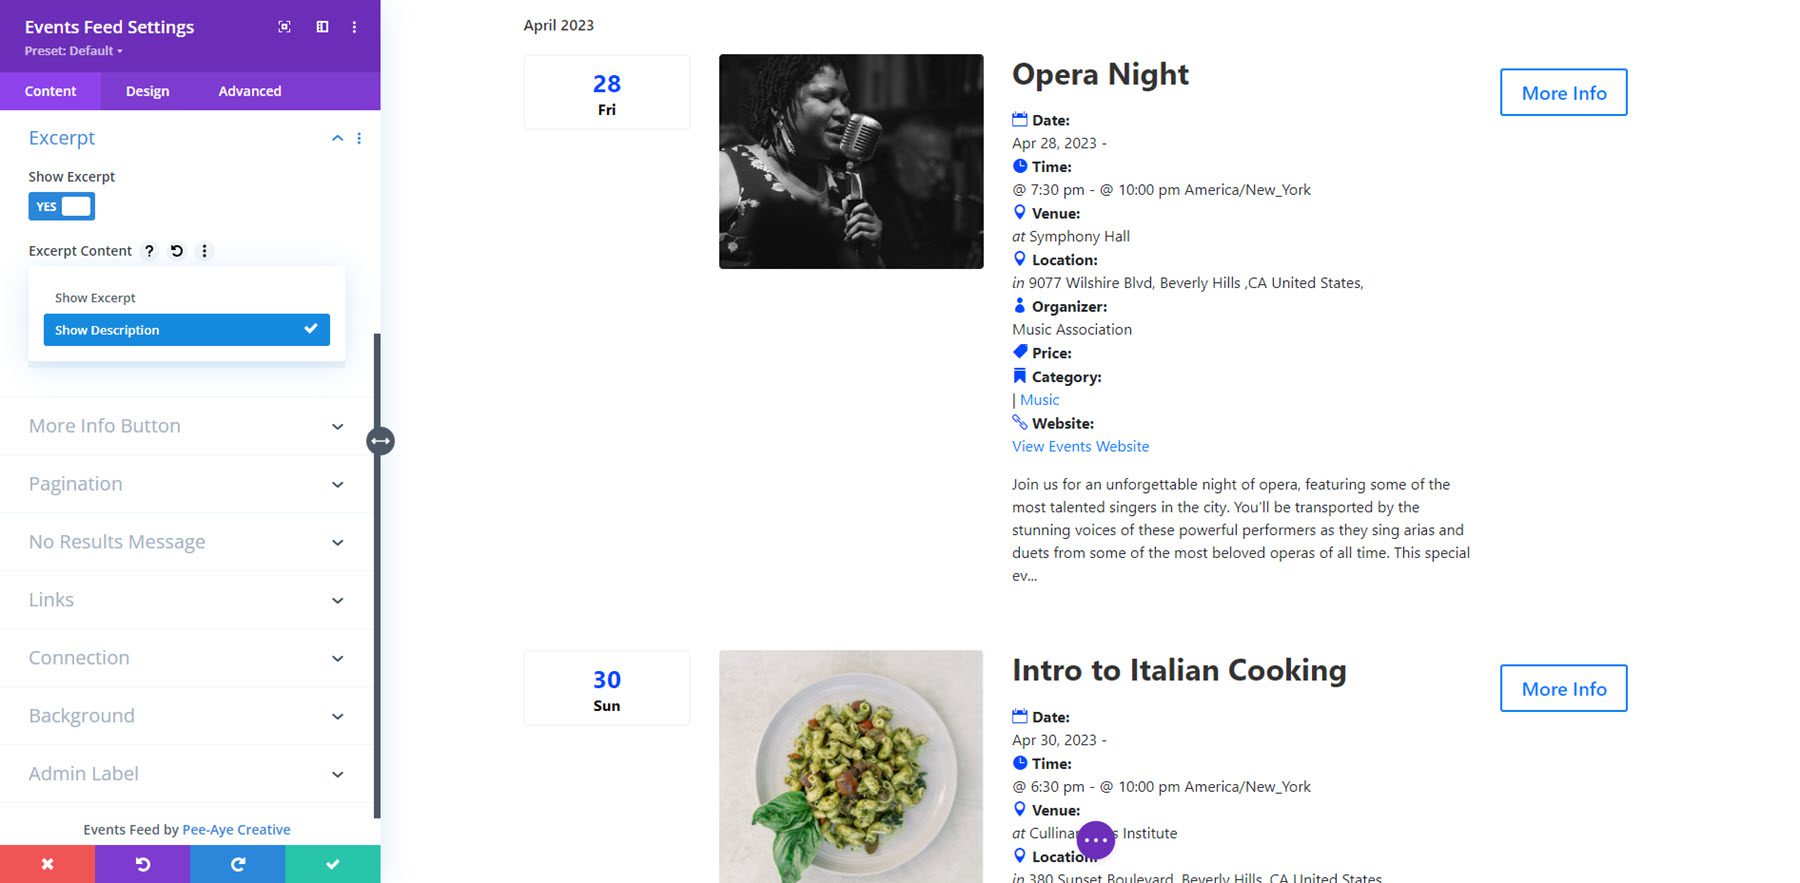
Excerpt
Here, you can show or hide the excerpt, show the description or the excerpt, and set the excerpt length.
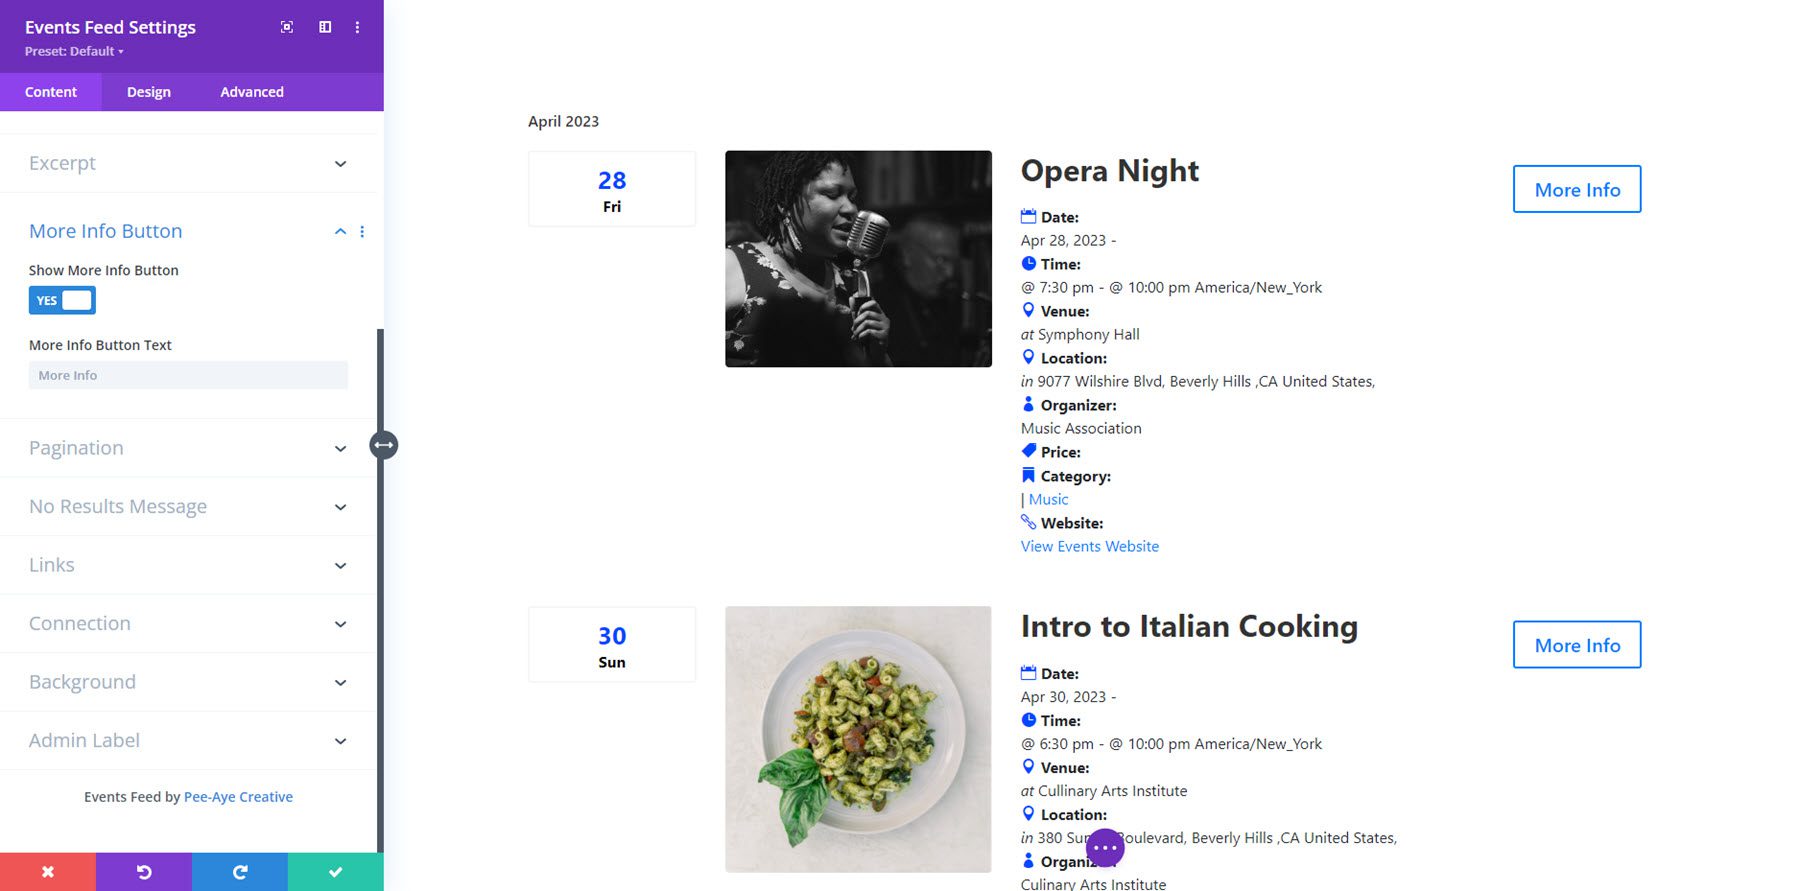
More Info Button
In the more info button settings, you can change the button text and choose to show or hide the button.
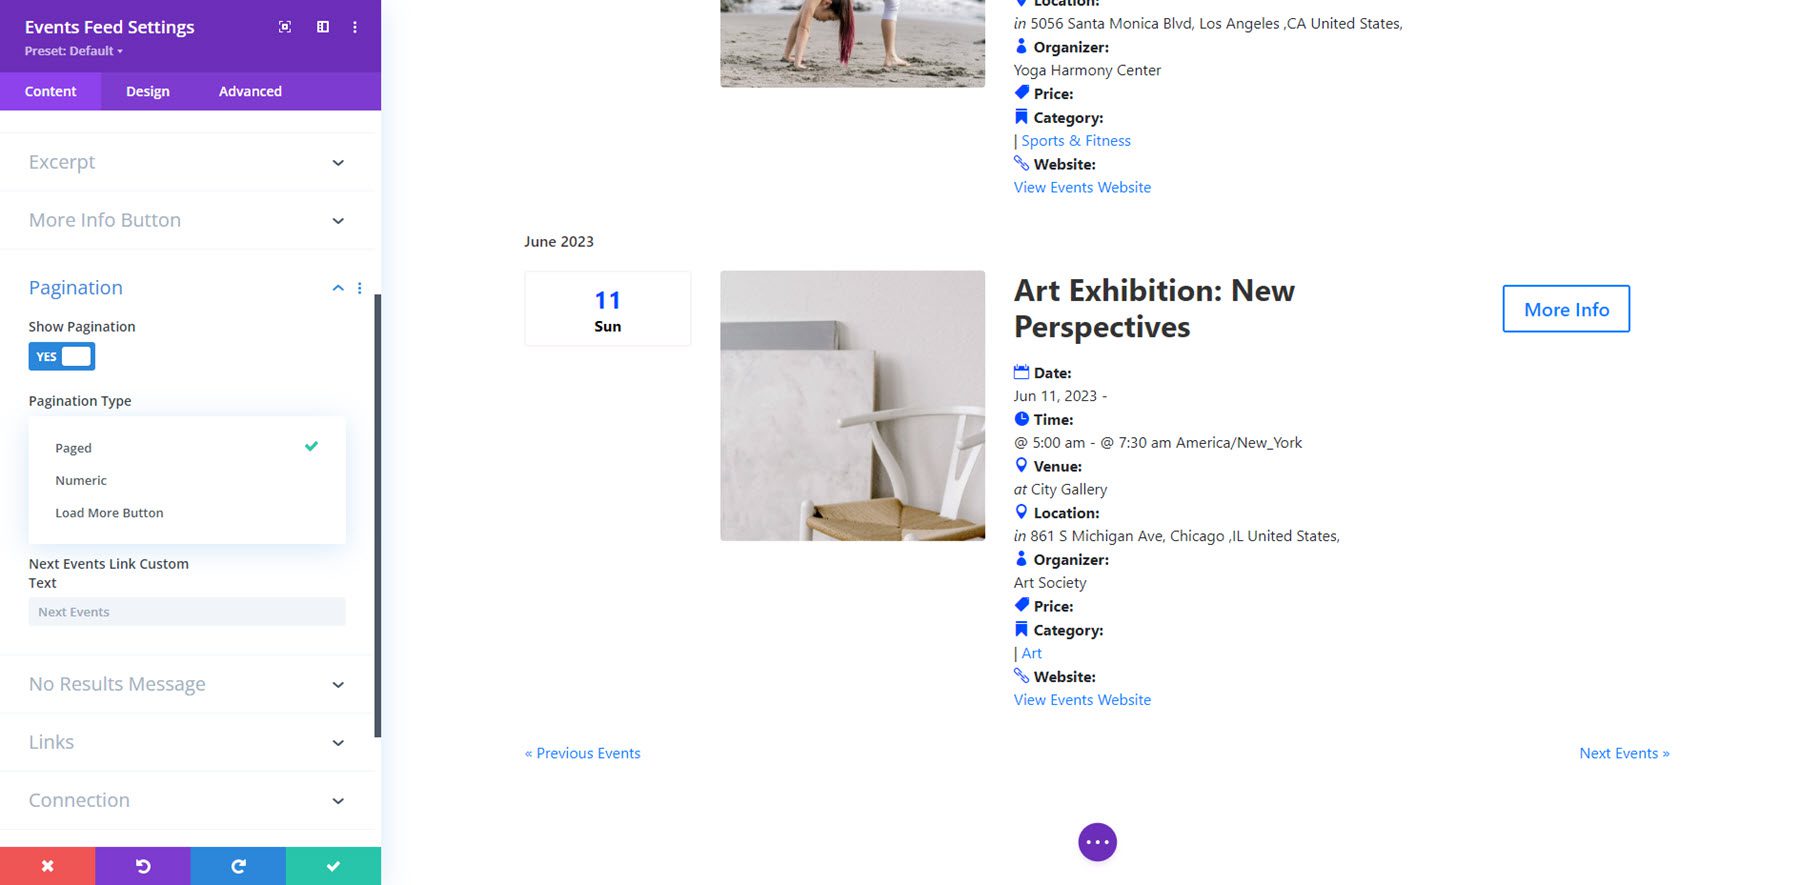
Pagination
Here, you can enable or disable pagination and set the pagination type.
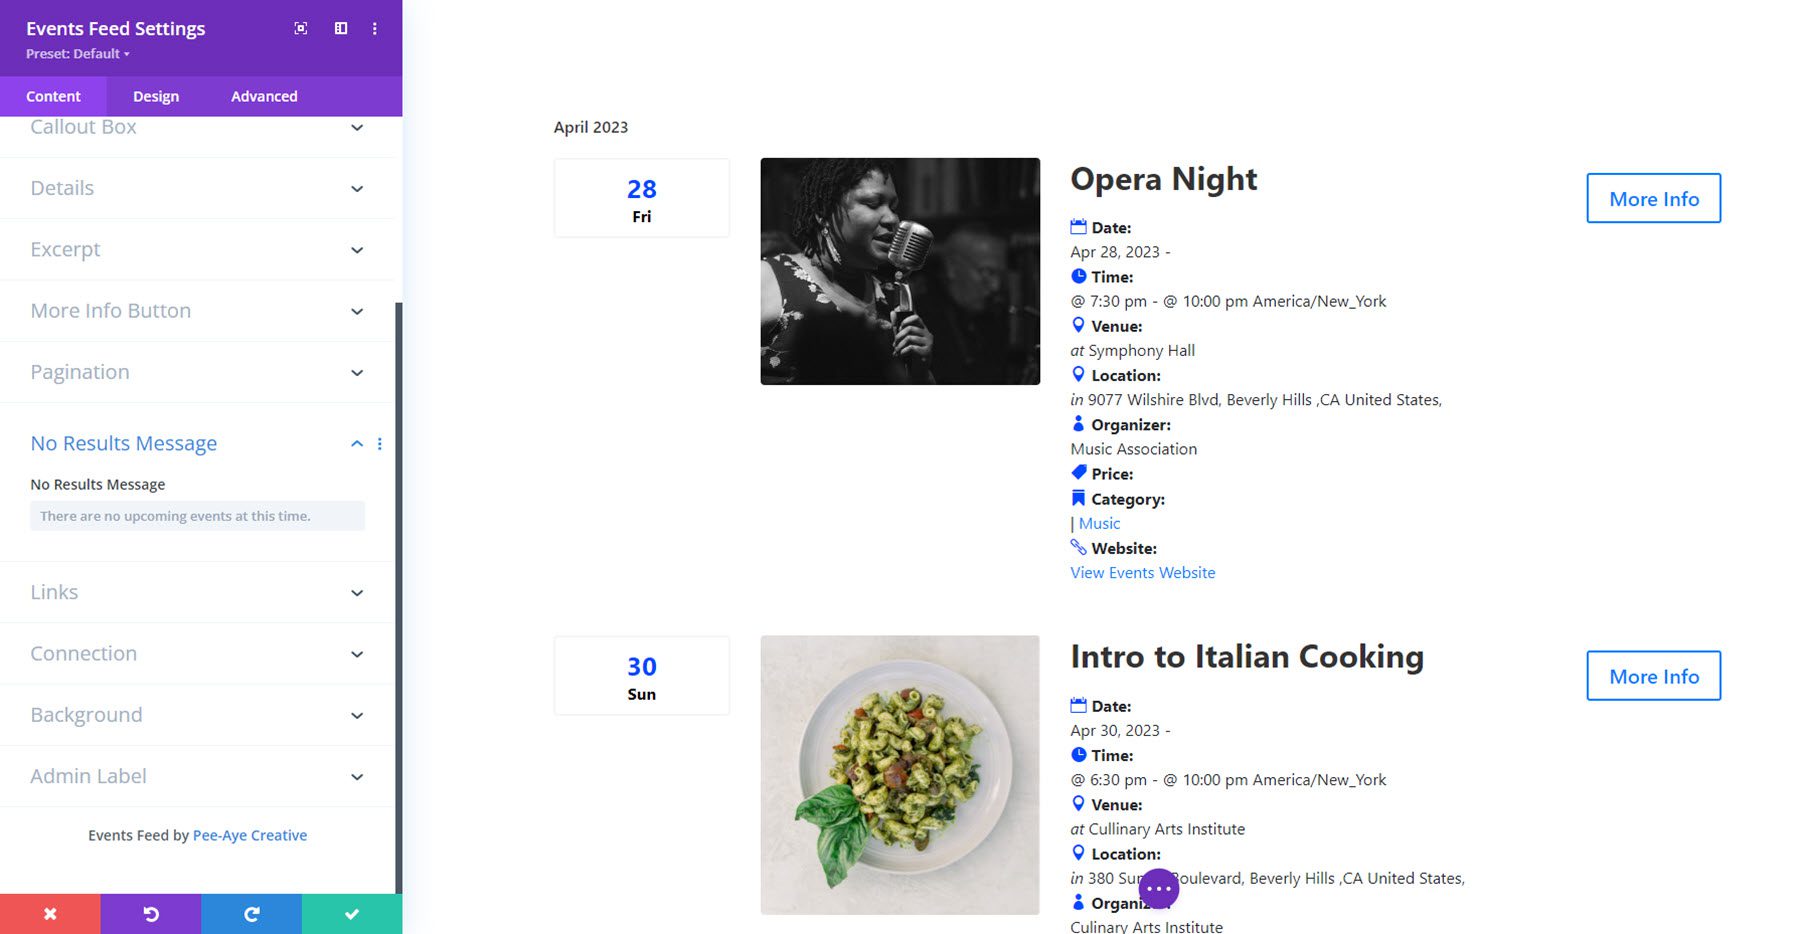
No Results Message
The no results message tab is where you can set the text that appears when no results can be shown.
Links
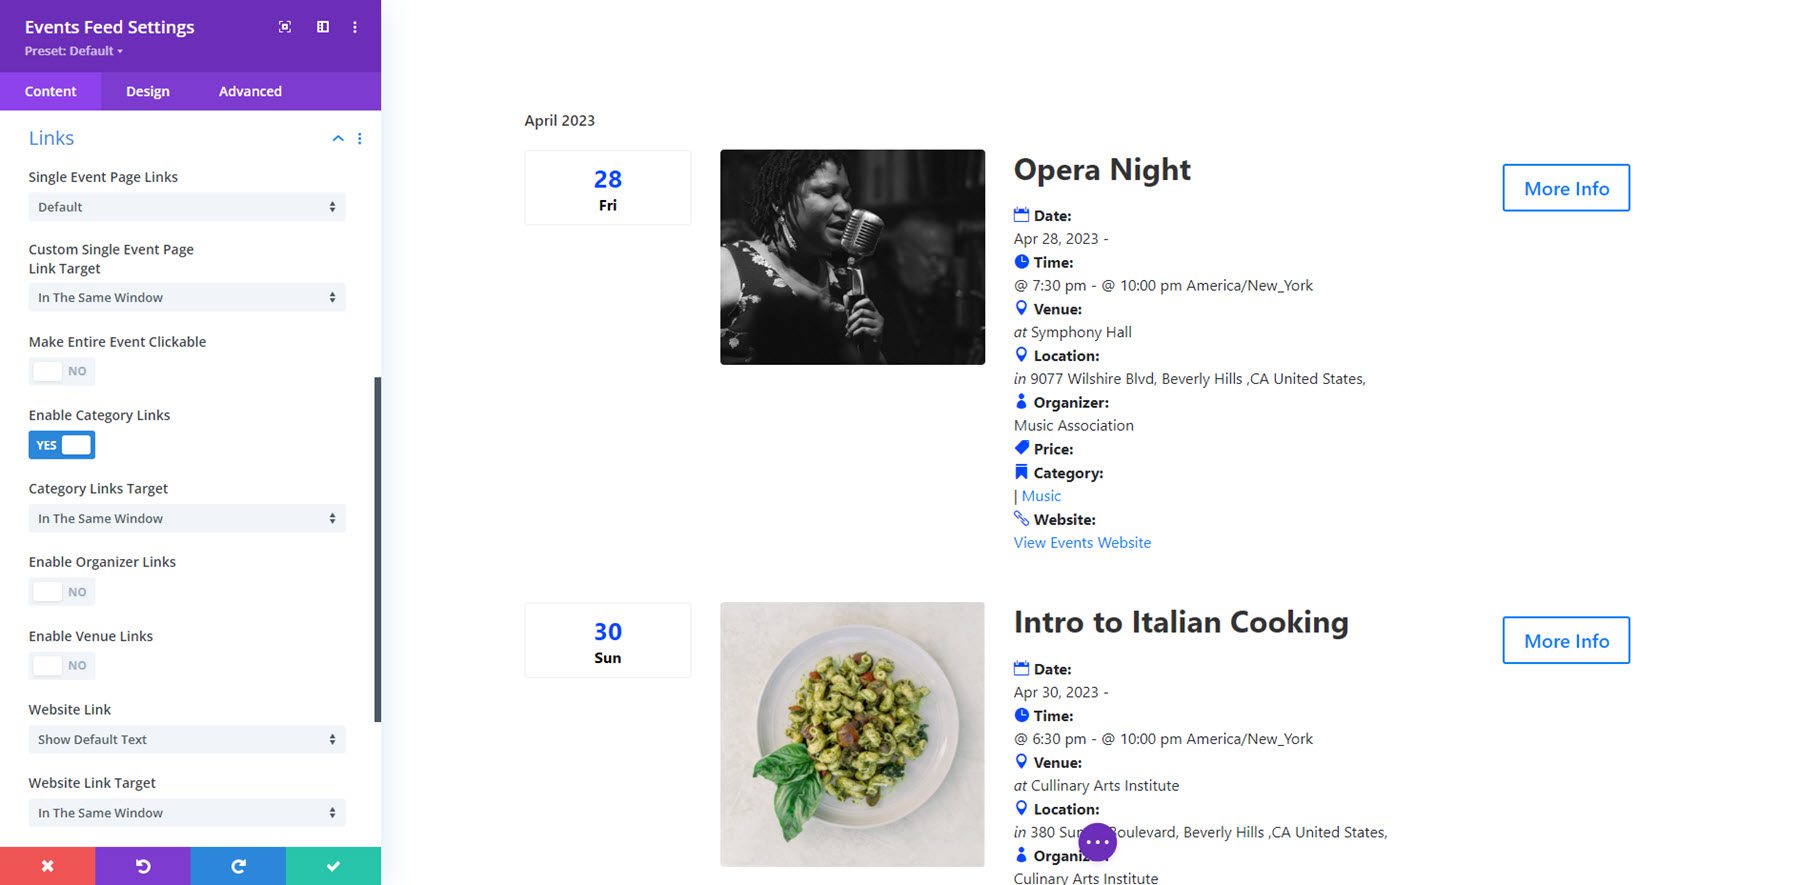
The links tab is where you can choose what elements are linked and how linked items behave. You can set the event page link, make the entire event clickable, enable category, organizer, and venue links, and set the website link.
Connection
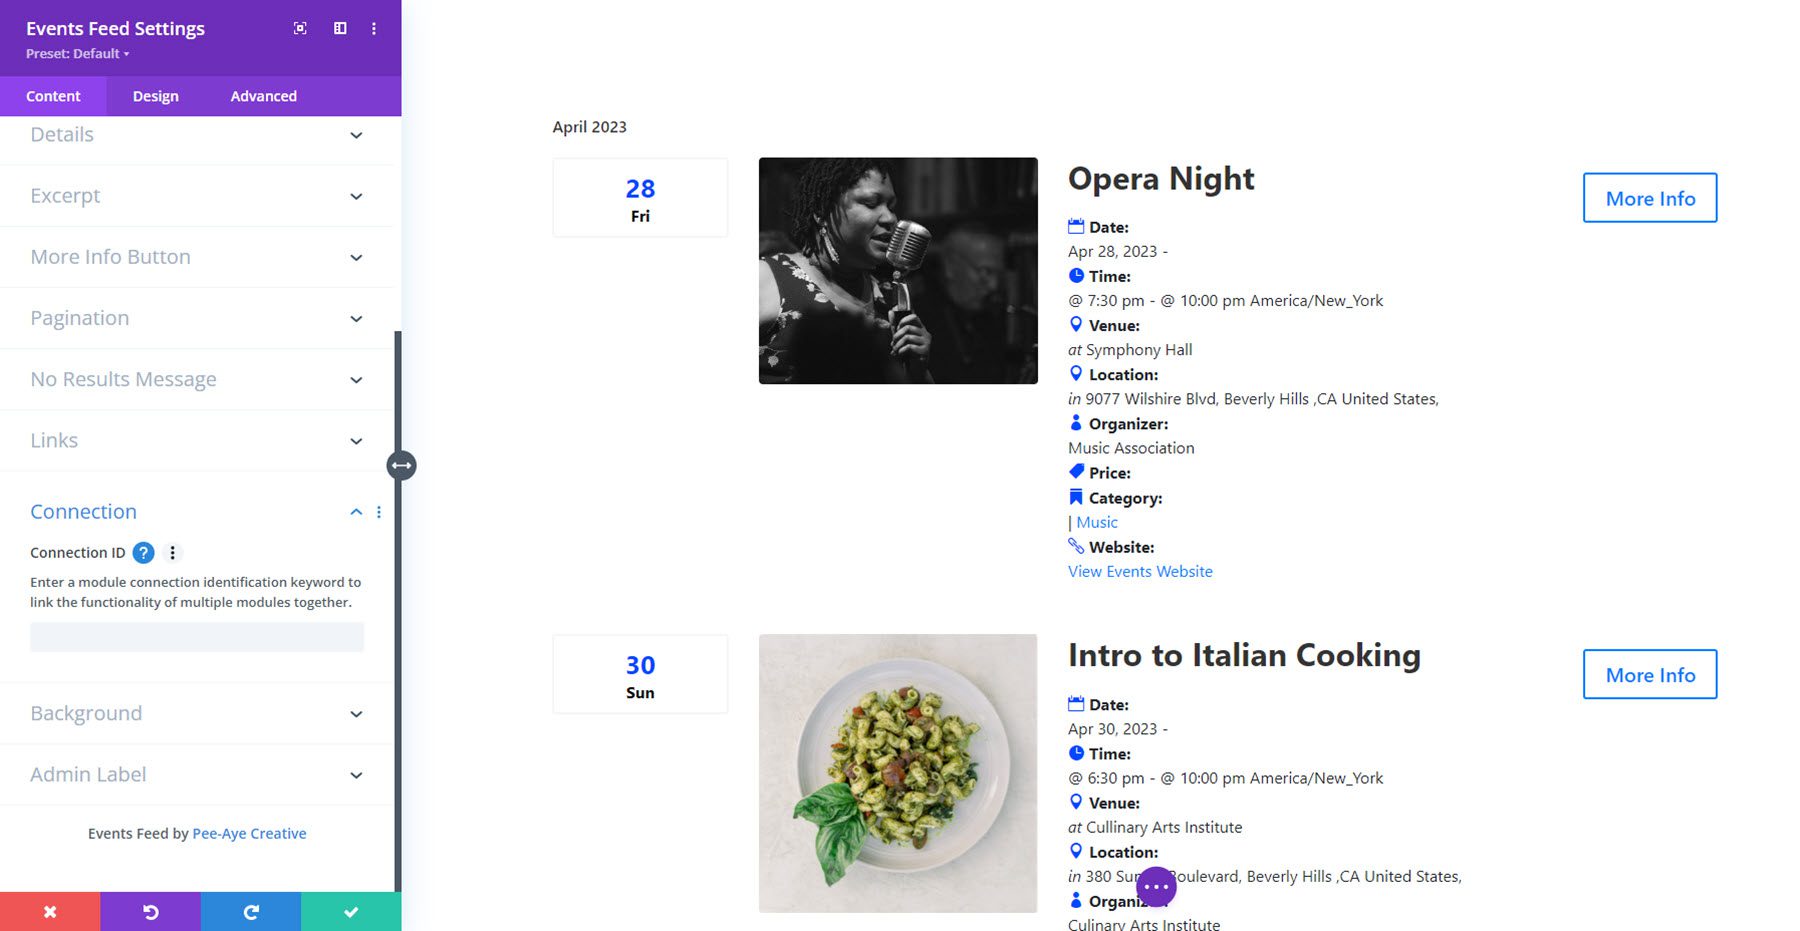
Finally, in the connection tab, you can add a keyword that will connect the feed module to another module. For example, you can use this to connect the feed module to the events filter module, making it so you can filter the events shown in the feed. Note that the connection ID is only necessary if there are multiple event filter and event feed modules on the page. If there are only one of each, the filter will connect to the feed module automatically. We’ll cover the events filter module in detail below.
Design Settings
In the design tab, you have full control over the design of the events feed. You can modify the events, image, details, callout, title text, details text, details labels text, excerpt text, callout date, month, day of the week, year, and time text, no results message text, more info button, load more button pagination, paged pagination, numeric pagination, sizing, spacing, border, box shadow, filters, transform, and animation. 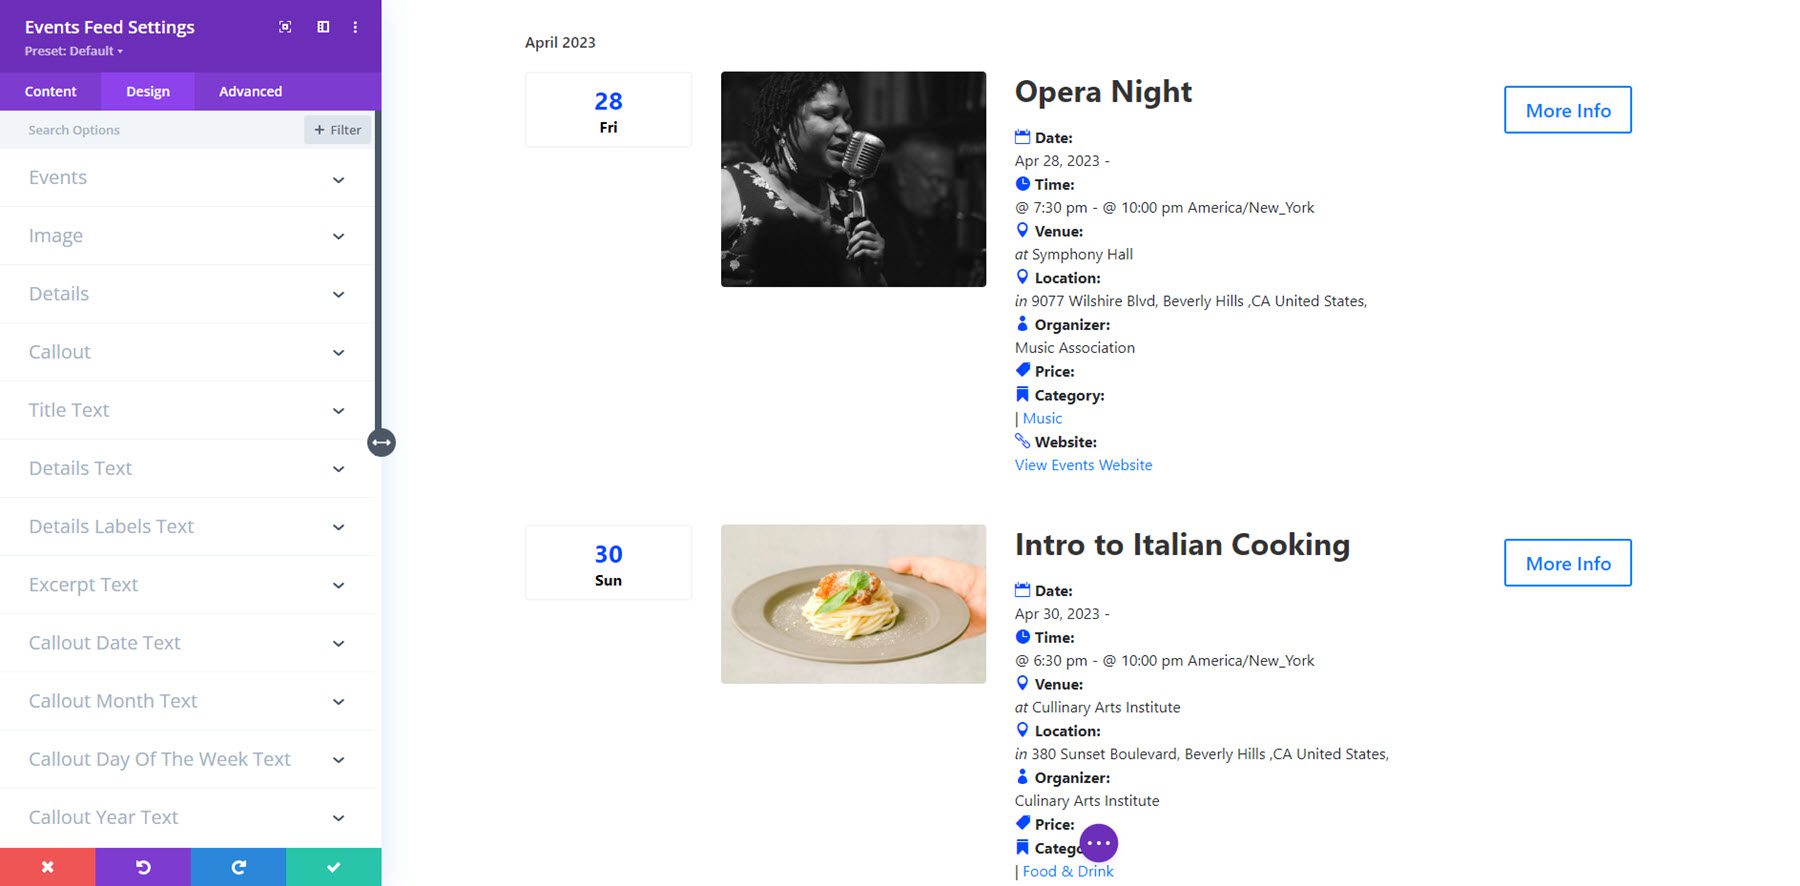
Events Filter
Let’s take a look at the events filter module. You can use this module to filter other Divi Events Calendar modules, modifying the content shown. Currently, this module only works with the Events Feed module, but the plugin author has indicated that support for the Events Calendar module is coming. Here is the Events Filter module on the front end, with the date range filter selected, filtering the contents of the Events Feed module below.
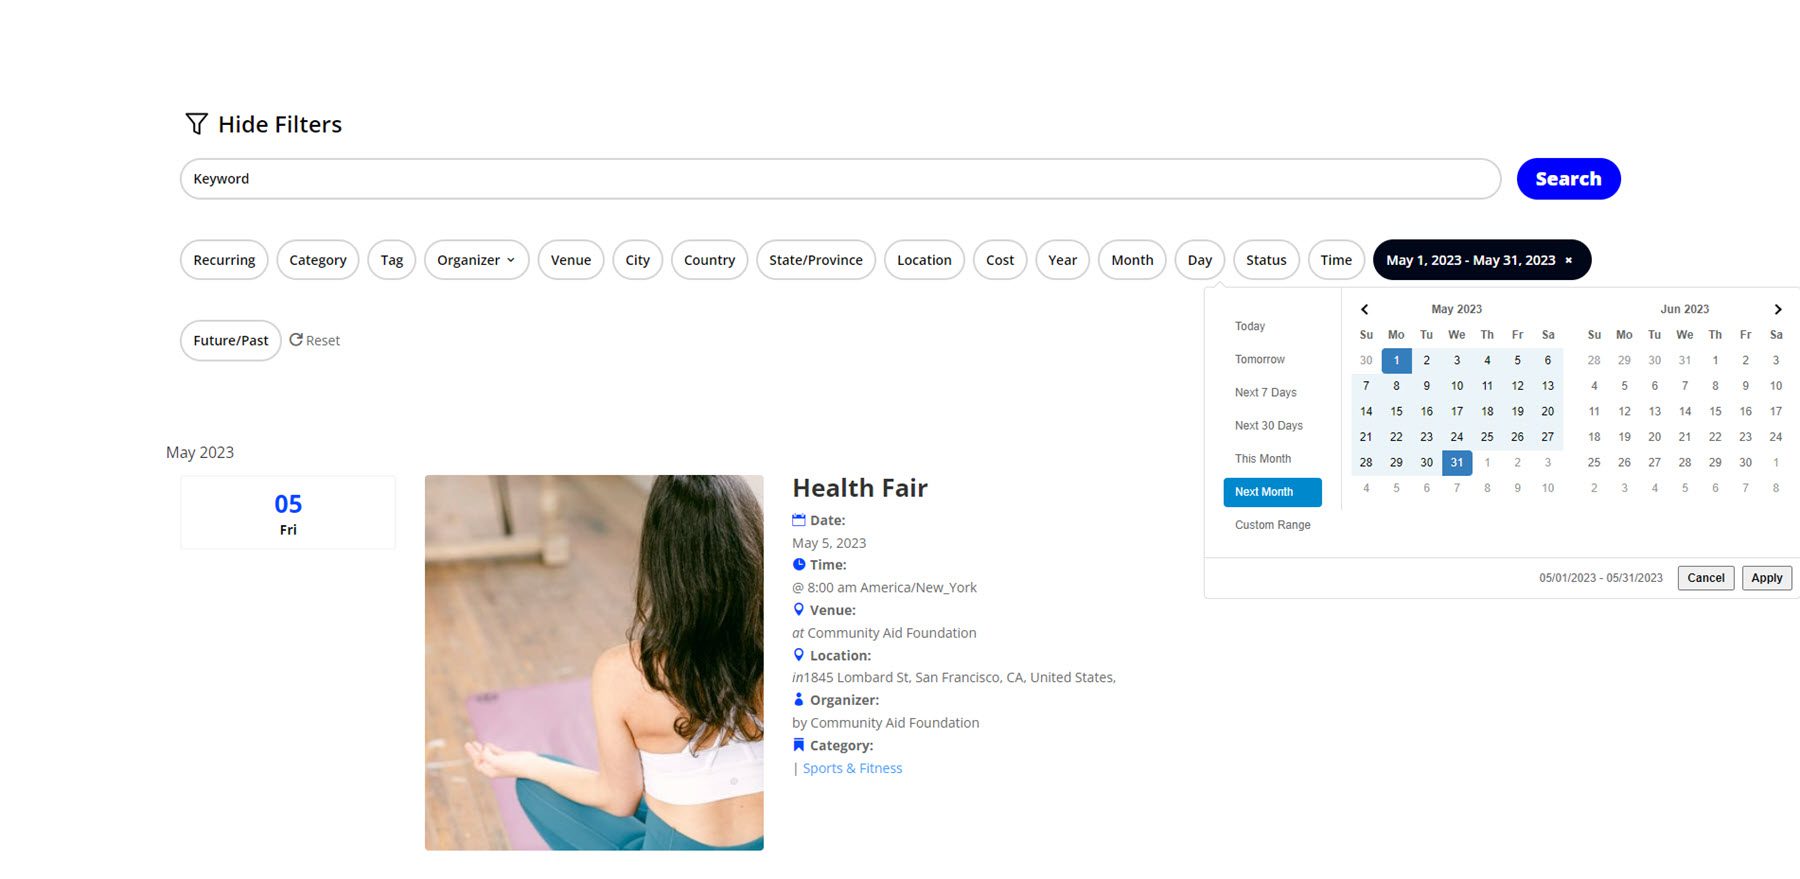
Let’s take a closer look at the module settings.
Filter Item Settings
The filter items allow you to filter the content shown in the Events Feed module in different ways. Every filter item is added as a child item within the Events Filter module settings, and each filter item has its own settings page.
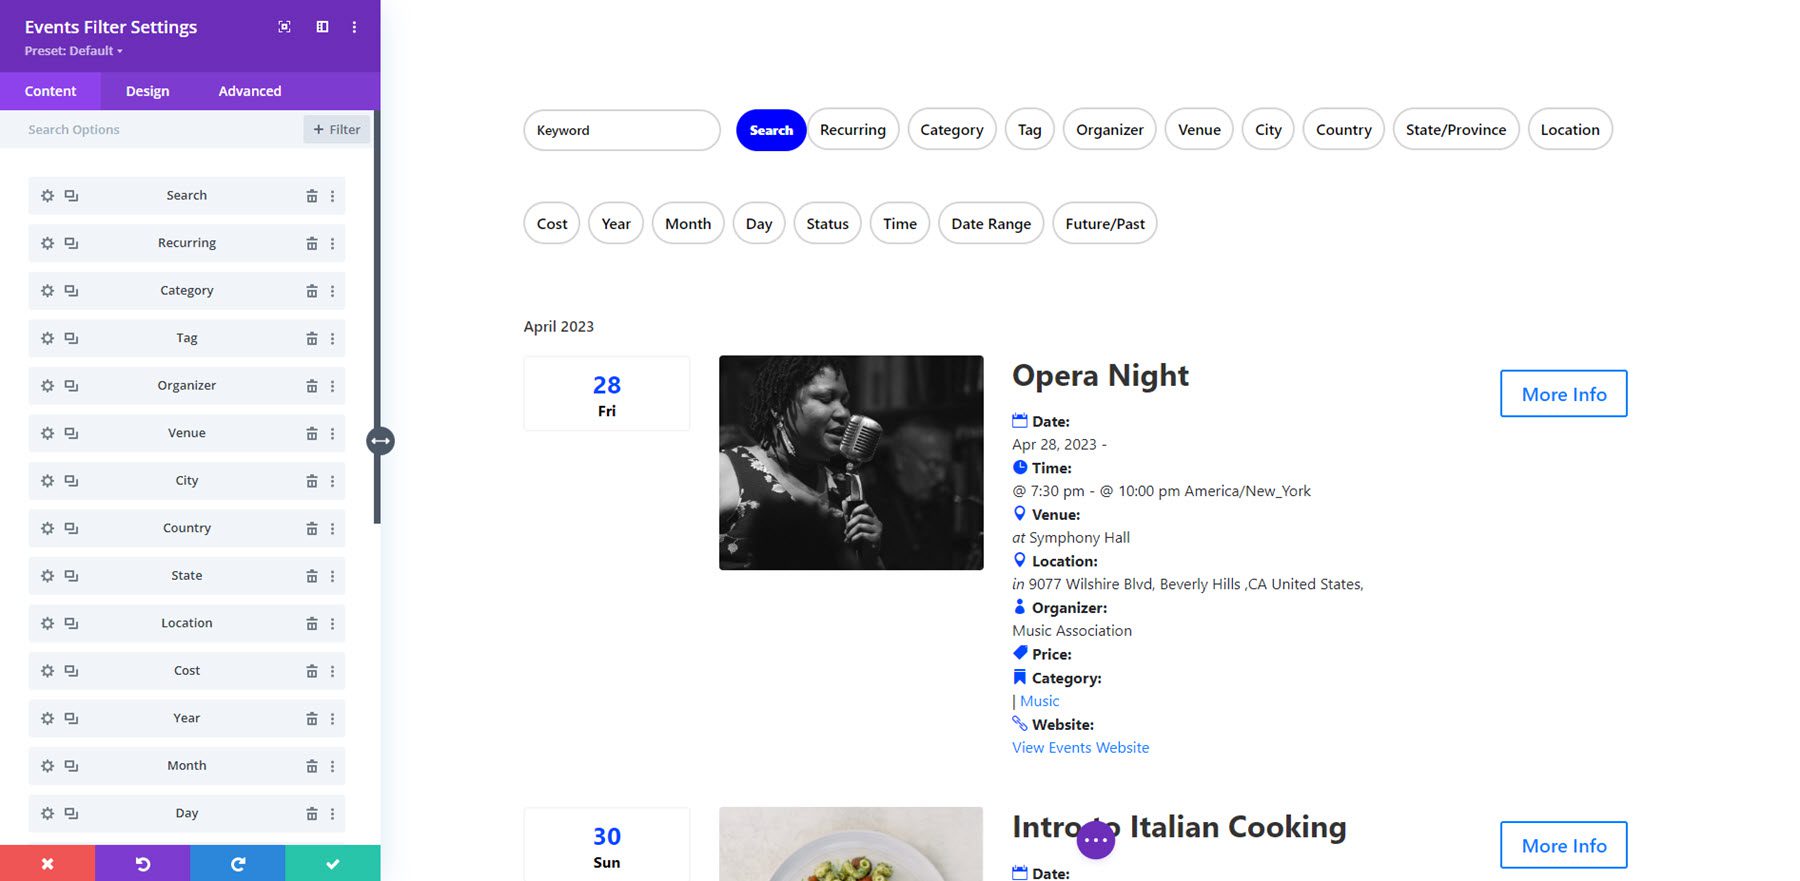
There are 16 different filters you can add to the module: search, recurring, category, tag, organizer, venue, city, country, state/province, location, cost, year, month, day, status, time, date range, order by, and future/past.
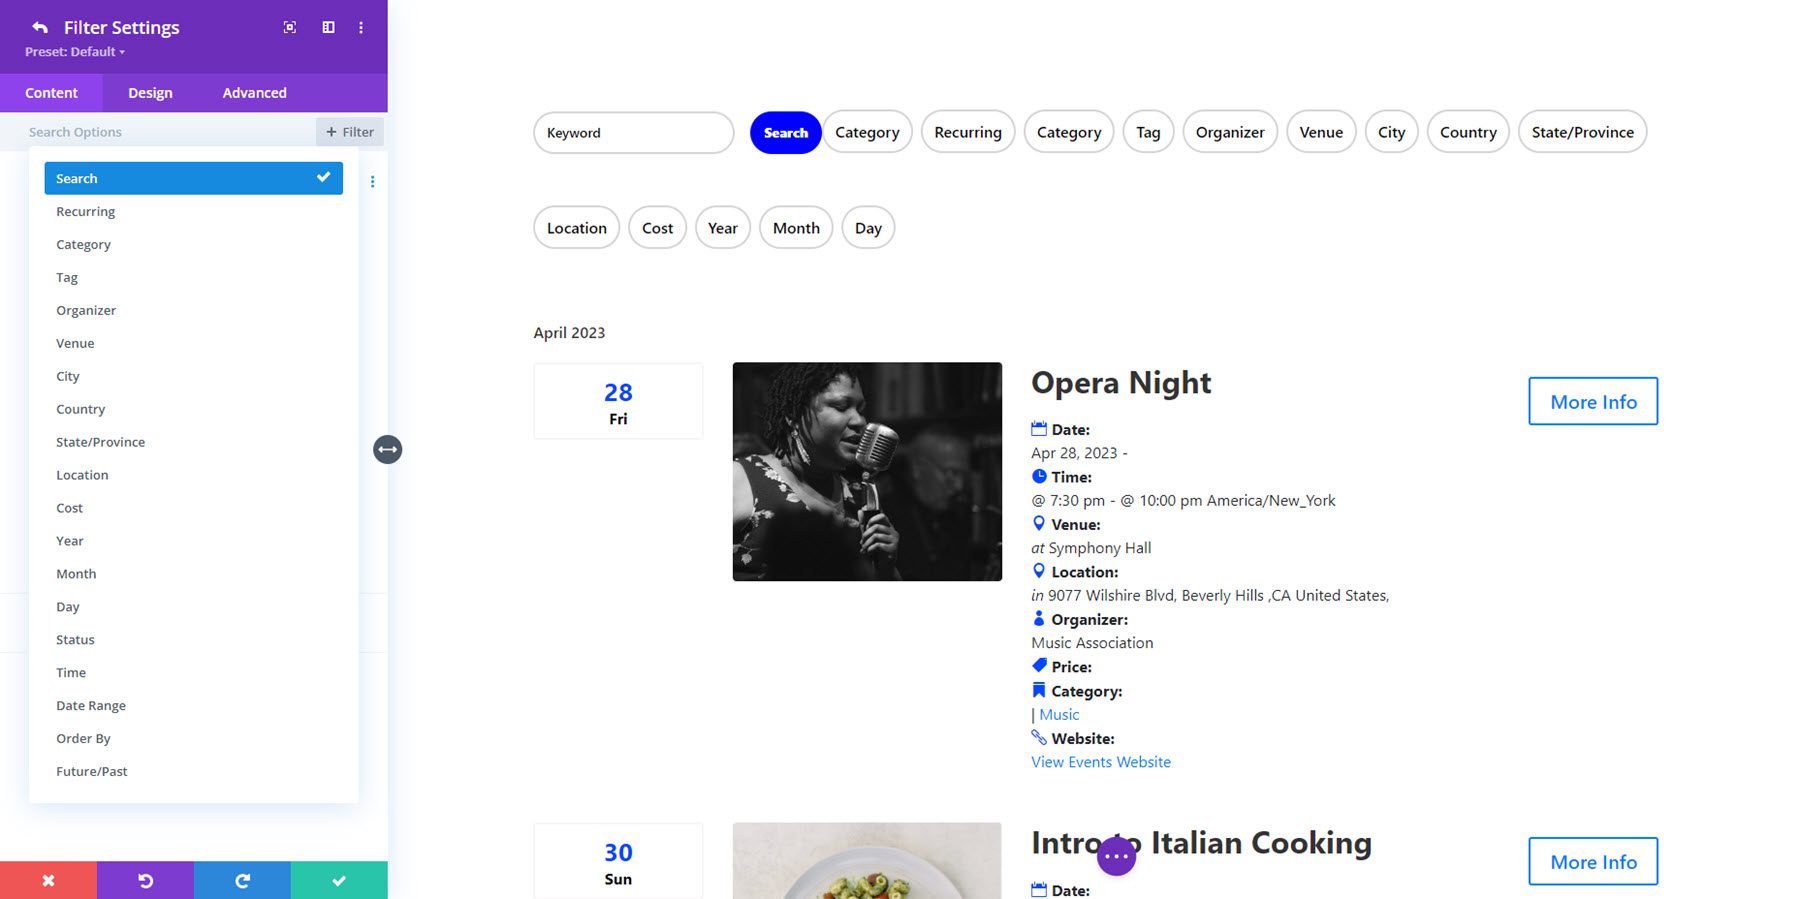
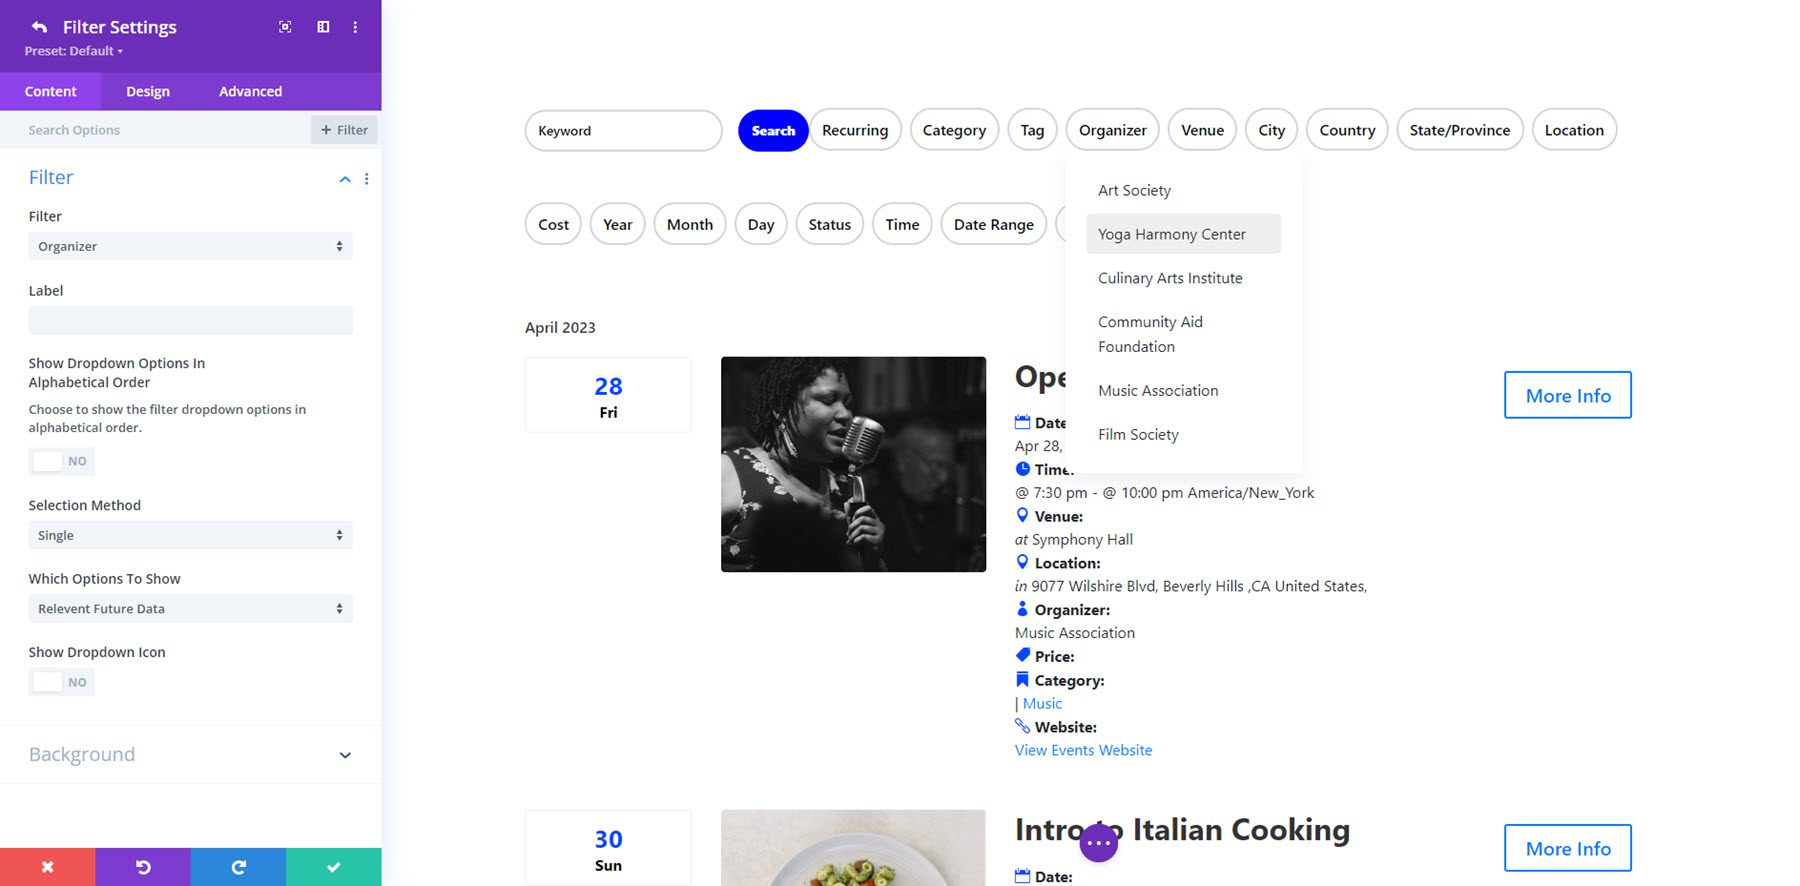
Within each item’s filter settings, you can set the filter type, label, and choose to show relevant future, past, or both event types. Depending on the type of filter you choose, additional options may be shown, such as selection method (single or multiple items), show/hide a dropdown icon, show dropdown items alphabetically, and search criteria.
Many of the filter types can be made full-width in the design settings, as seen here with the search filter.
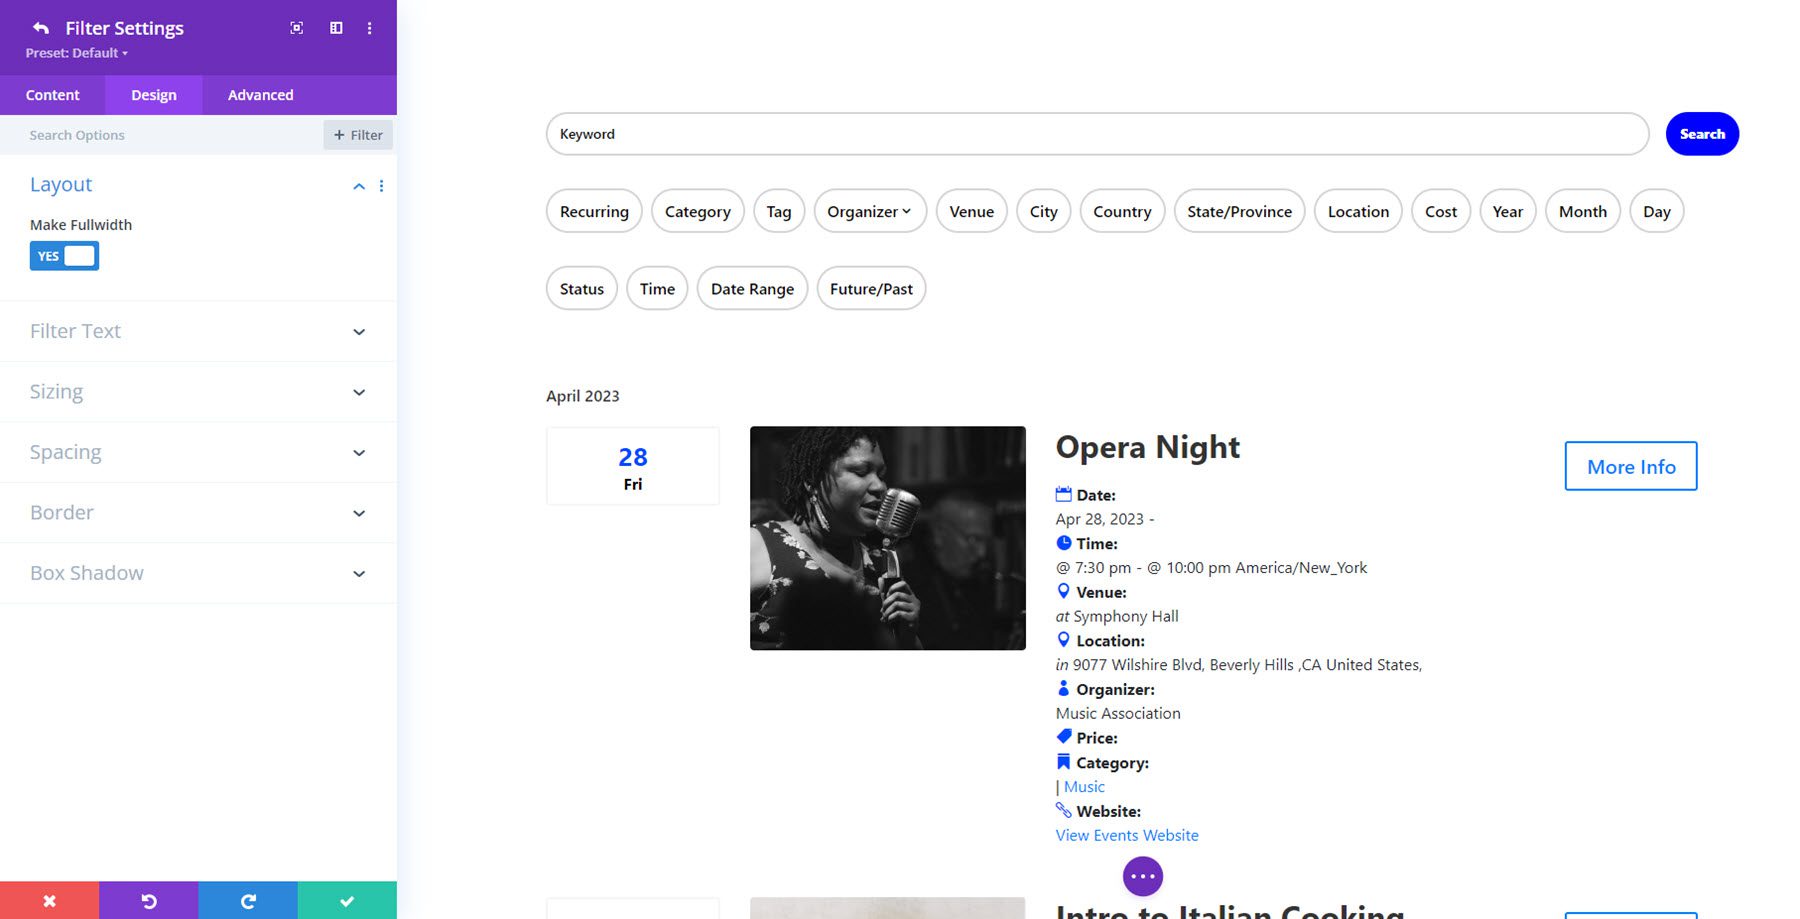
You can also customize the filter text, sizing, spacing, border, and box shadow design options for each filter item, allowing for lots of design flexibility. In the example below, I have added a dropdown icon to the Organizer filter.
![]()
Content Settings
Back in the content tab of the Events Filter module settings, you can set the connection to the filter module in the content tab. This is only necessary if you have more than one set of events feed and events filter modules on the same page. You can also set a background color for the filter.
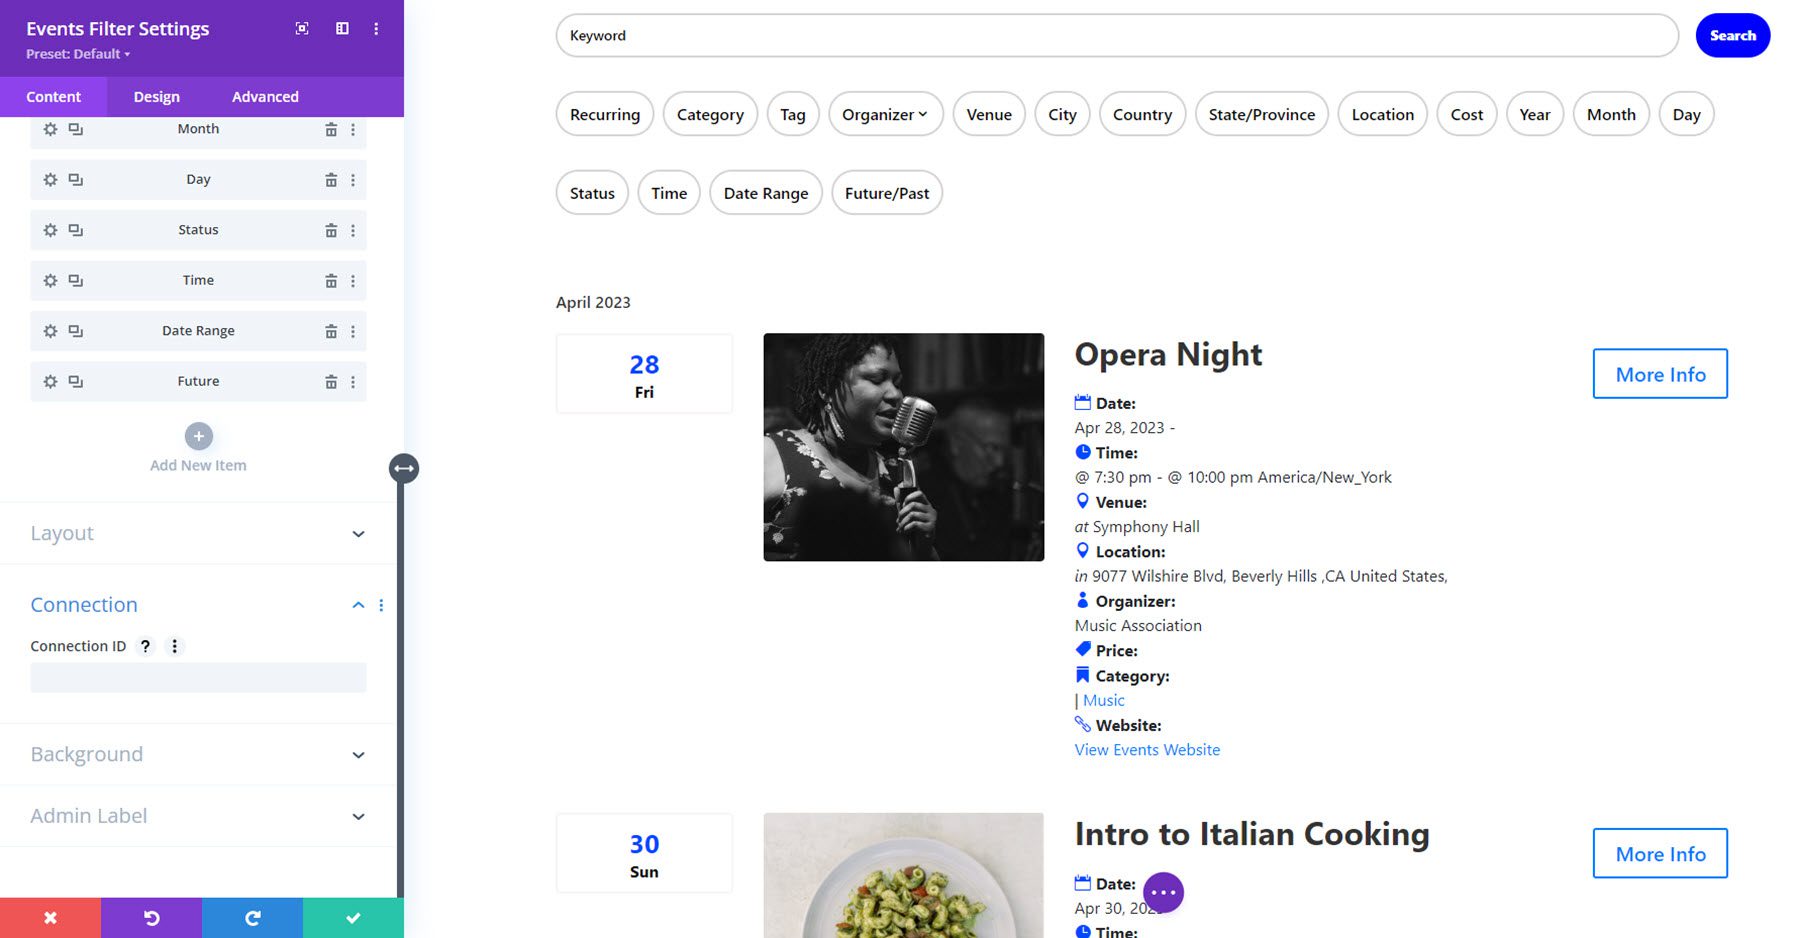
Also in the content tab is the layout setting. Currently, the horizontal layout is the only layout available. However, the plugin author has said that there are plans for a vertical layout to be added.
Design Settings
In the design tab of the events filter module settings, you can modify the design for the entire filter layout. You can customize the styles of the filters, active filters, filters dropdown, filters dropdown text, collapse filters, filter search button, sizing, spacing, border, box shadow, transform, and animation.
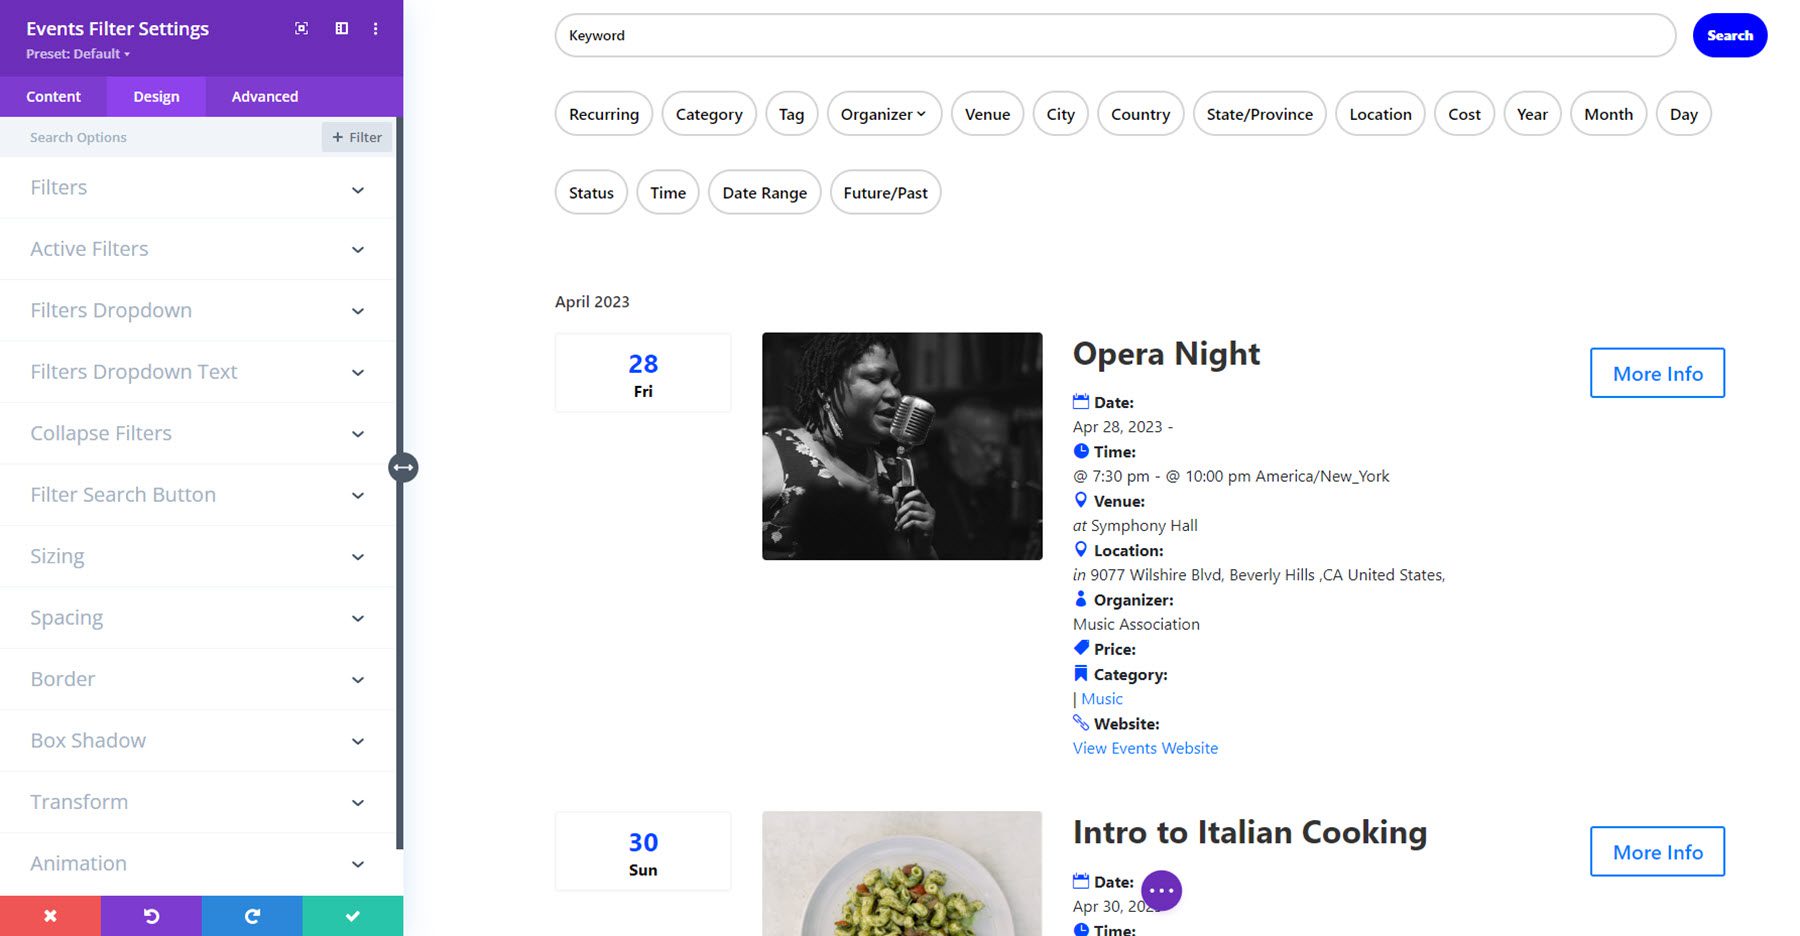
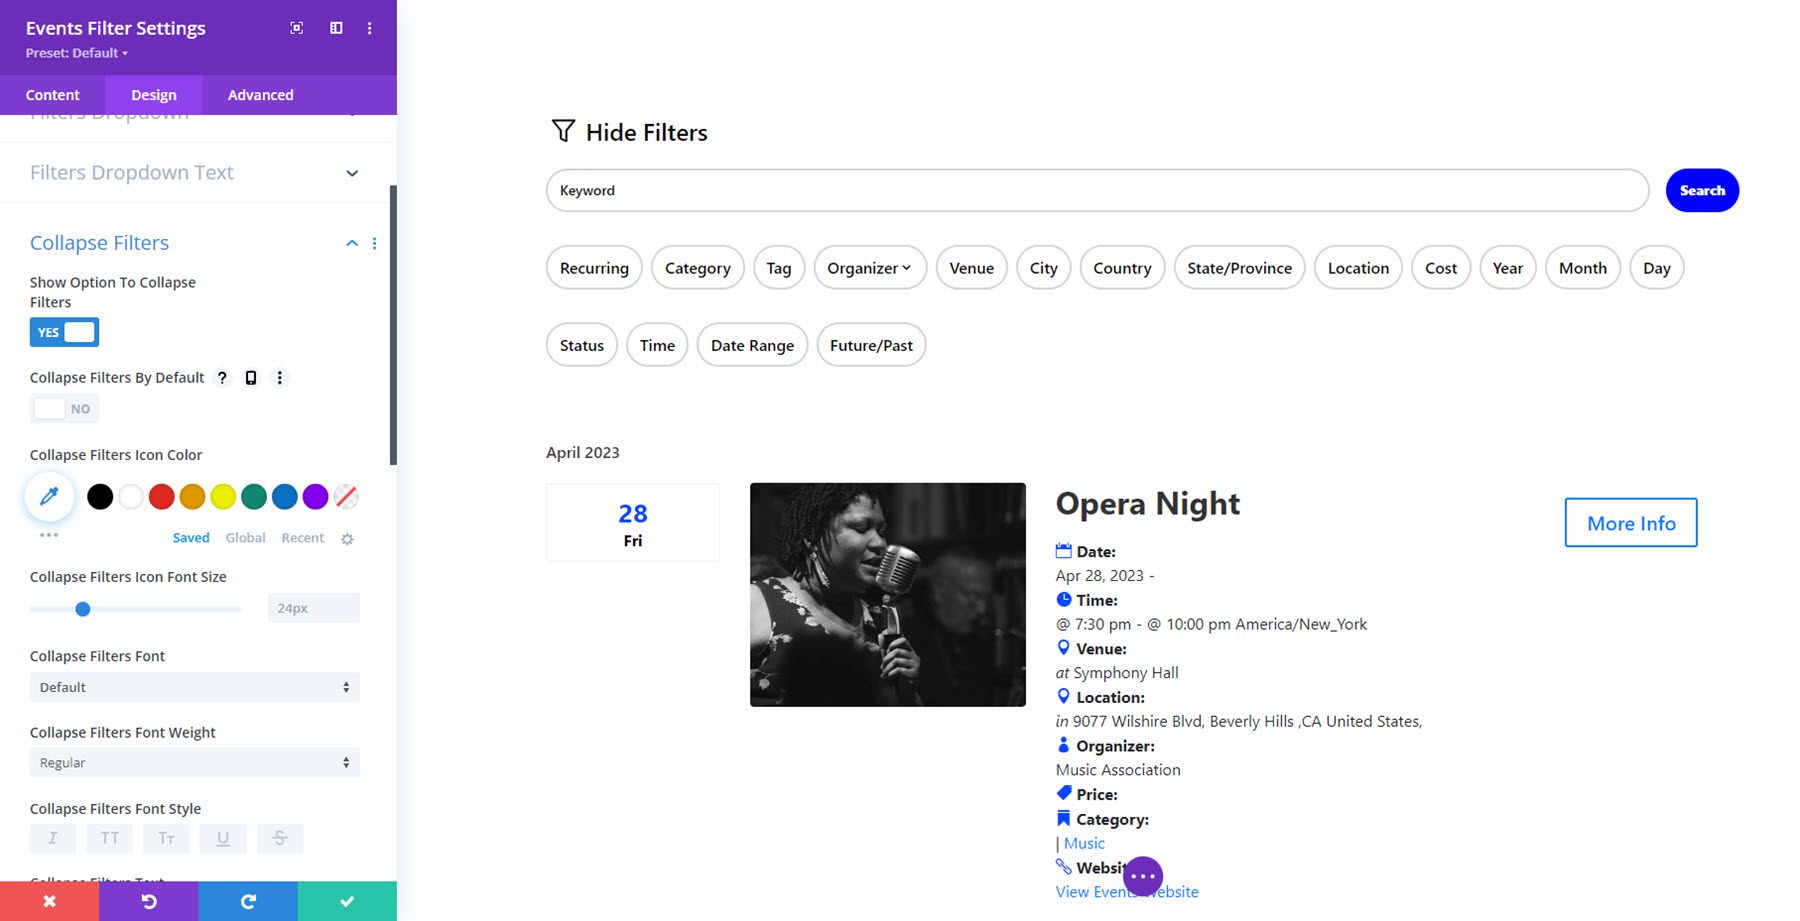
One notable option here is collapse filters. With this setting, you can display a “hide filters” option that allows you to show or hide the filters from view. You can also enable this option by default.
Events Page
The events page module allows you to completely customize how the event pages look by allowing you to dynamically display event elements and build custom events page layouts with the Divi Theme Builder. You can create Theme Builder layouts using the Events Page module, giving you total design flexibility.
Events Page Layout Examples
First, I am going to create a Divi Theme Builder template for all events.
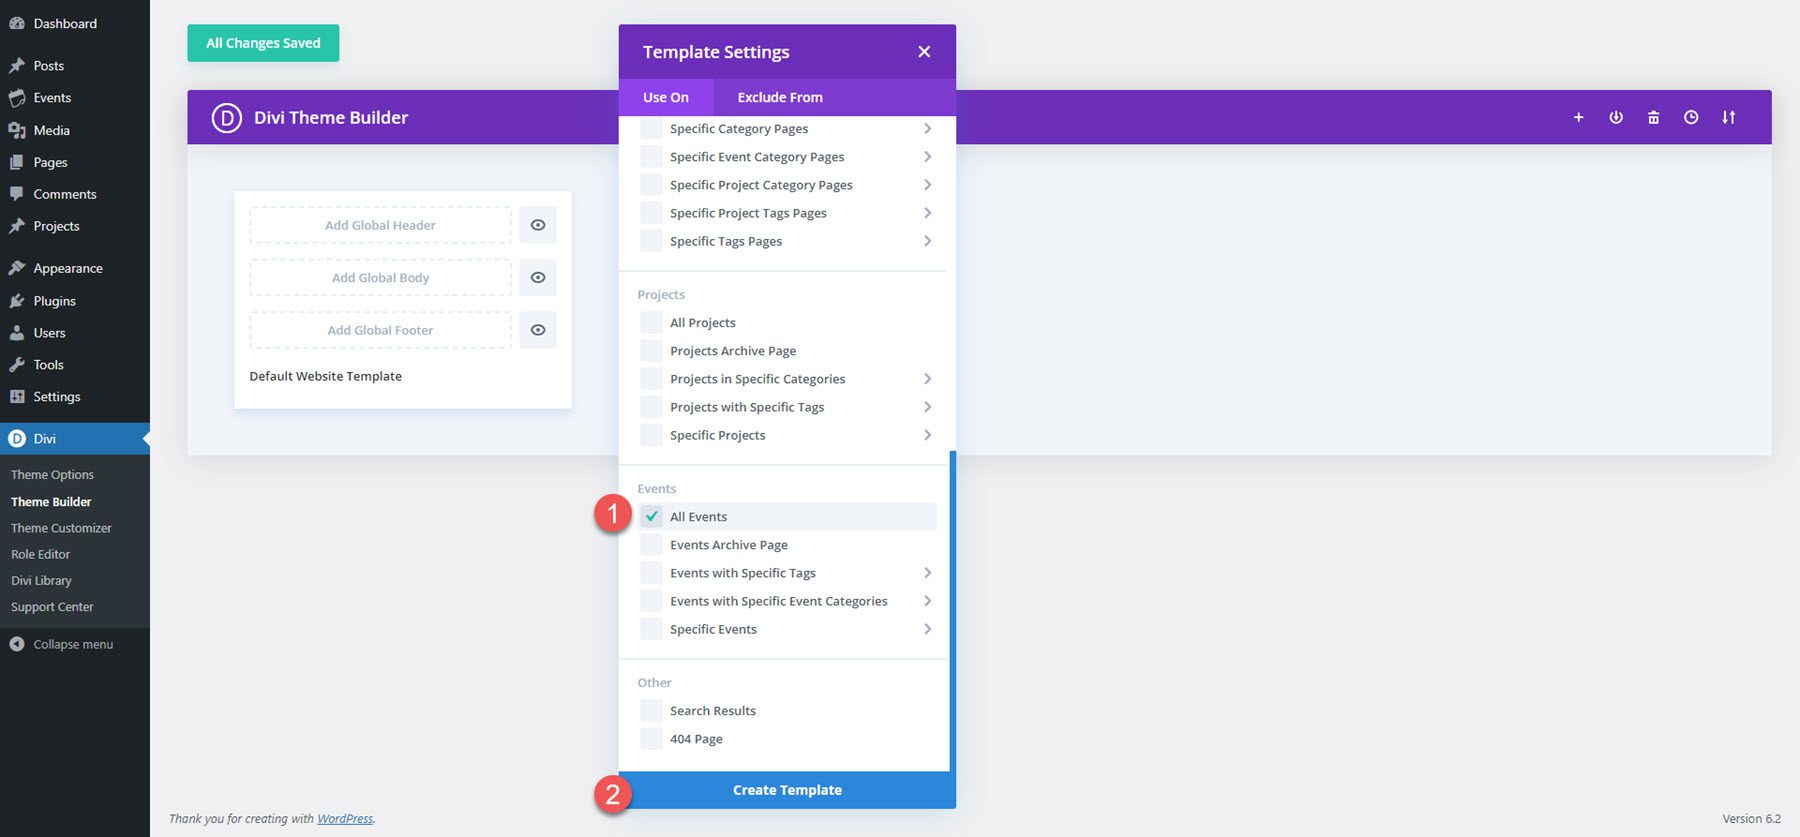
In the theme builder template, I added an image module that is set up to dynamically show the featured image for the post, a dynamic post title module, and the events page module.
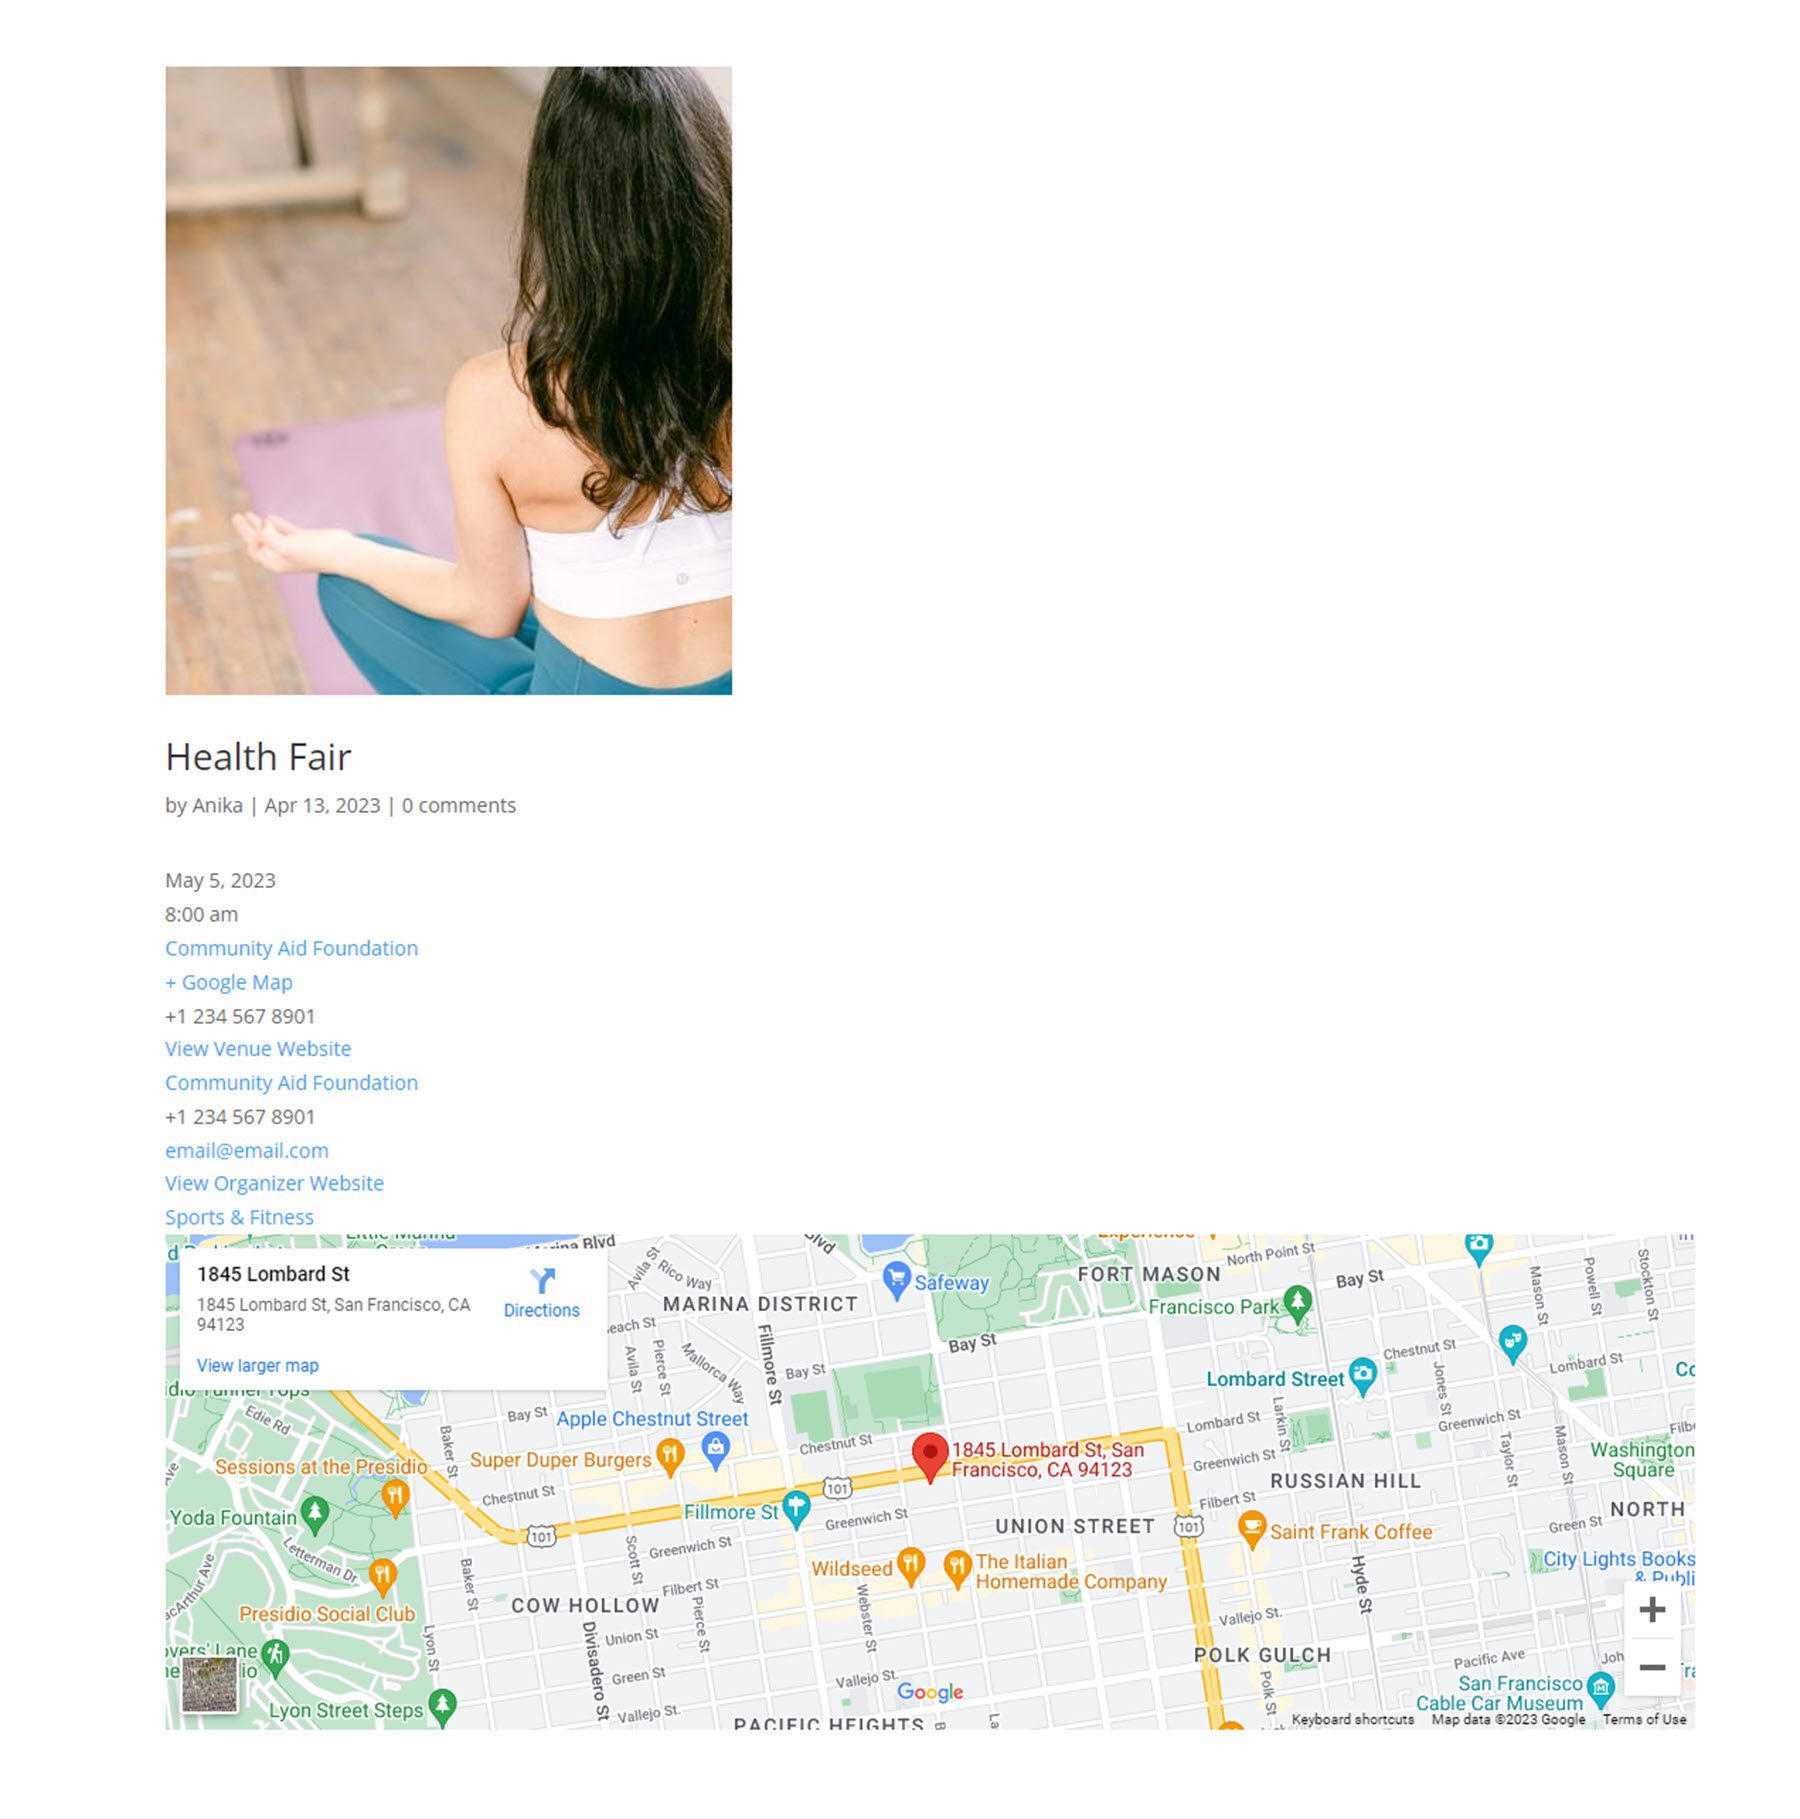
Here is what this basic layout looks like on the front end, without any styling.
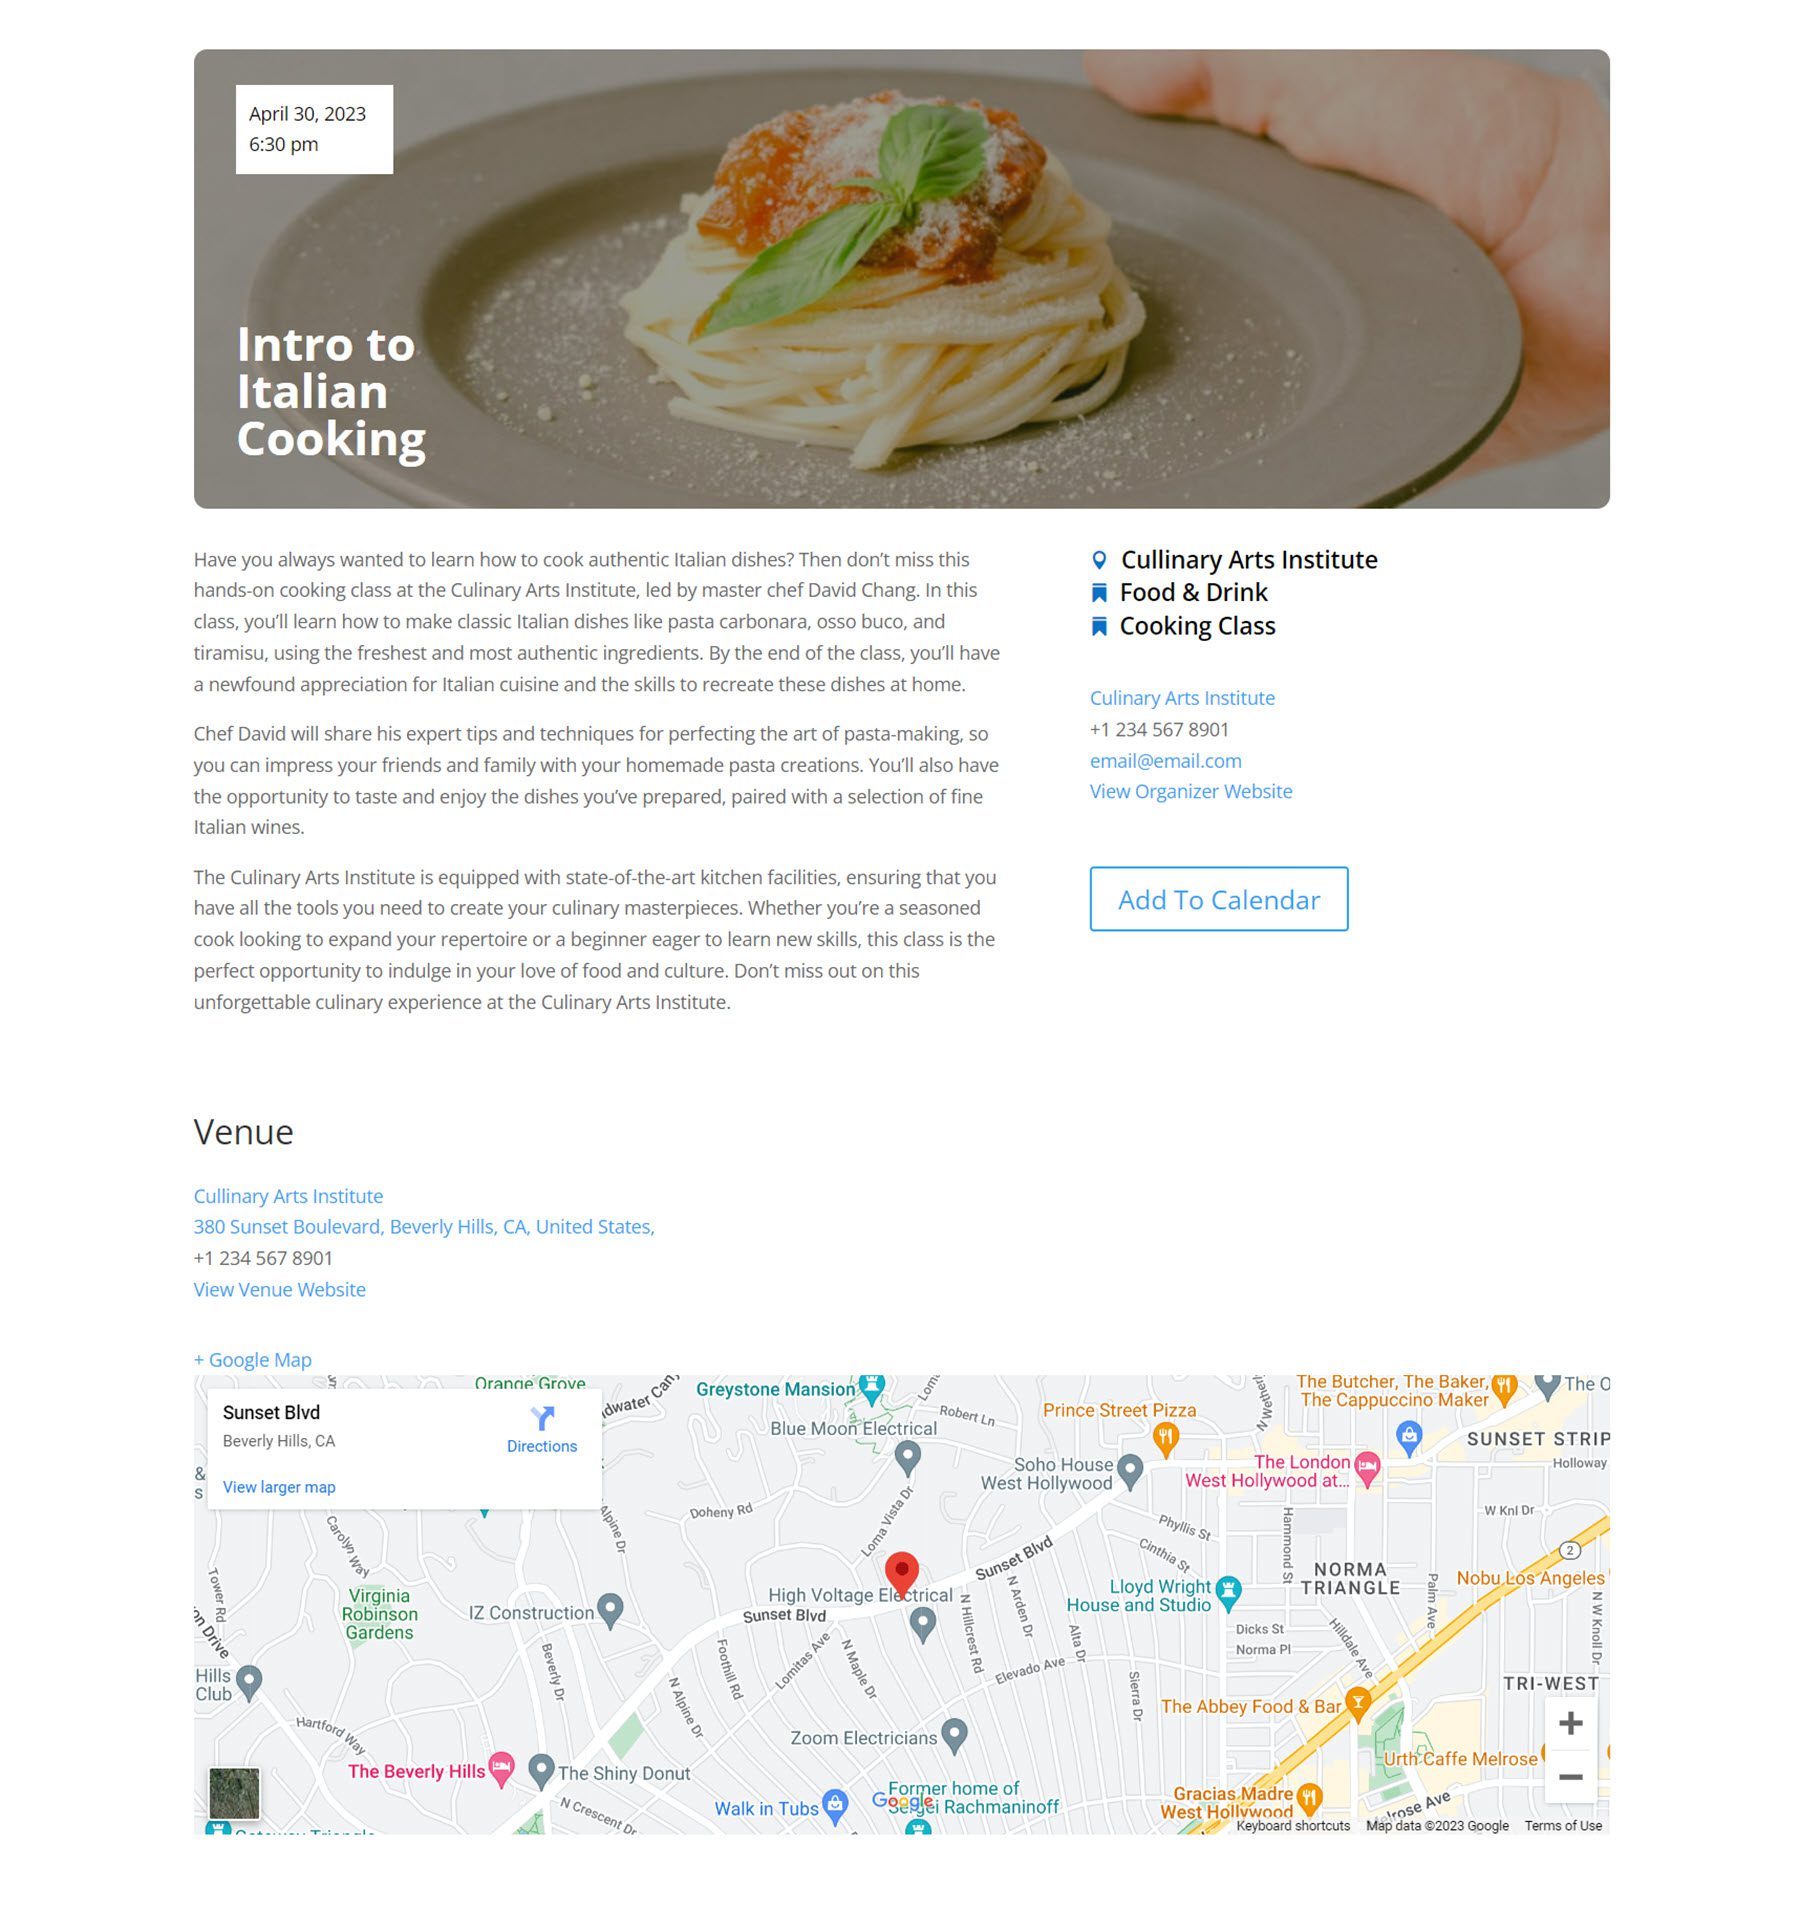
While this basic layout is great, the power in the Events Page module lies in the ability to use multiple Events Page modules together to create more interesting, unique layouts. In the details tab of the module settings, you can enable or disable any of the elements. By just enabling one or a couple of the elements in each module, you can place them throughout your design in different ways. Here’s an example of a more complex layout using several Events Page modules.
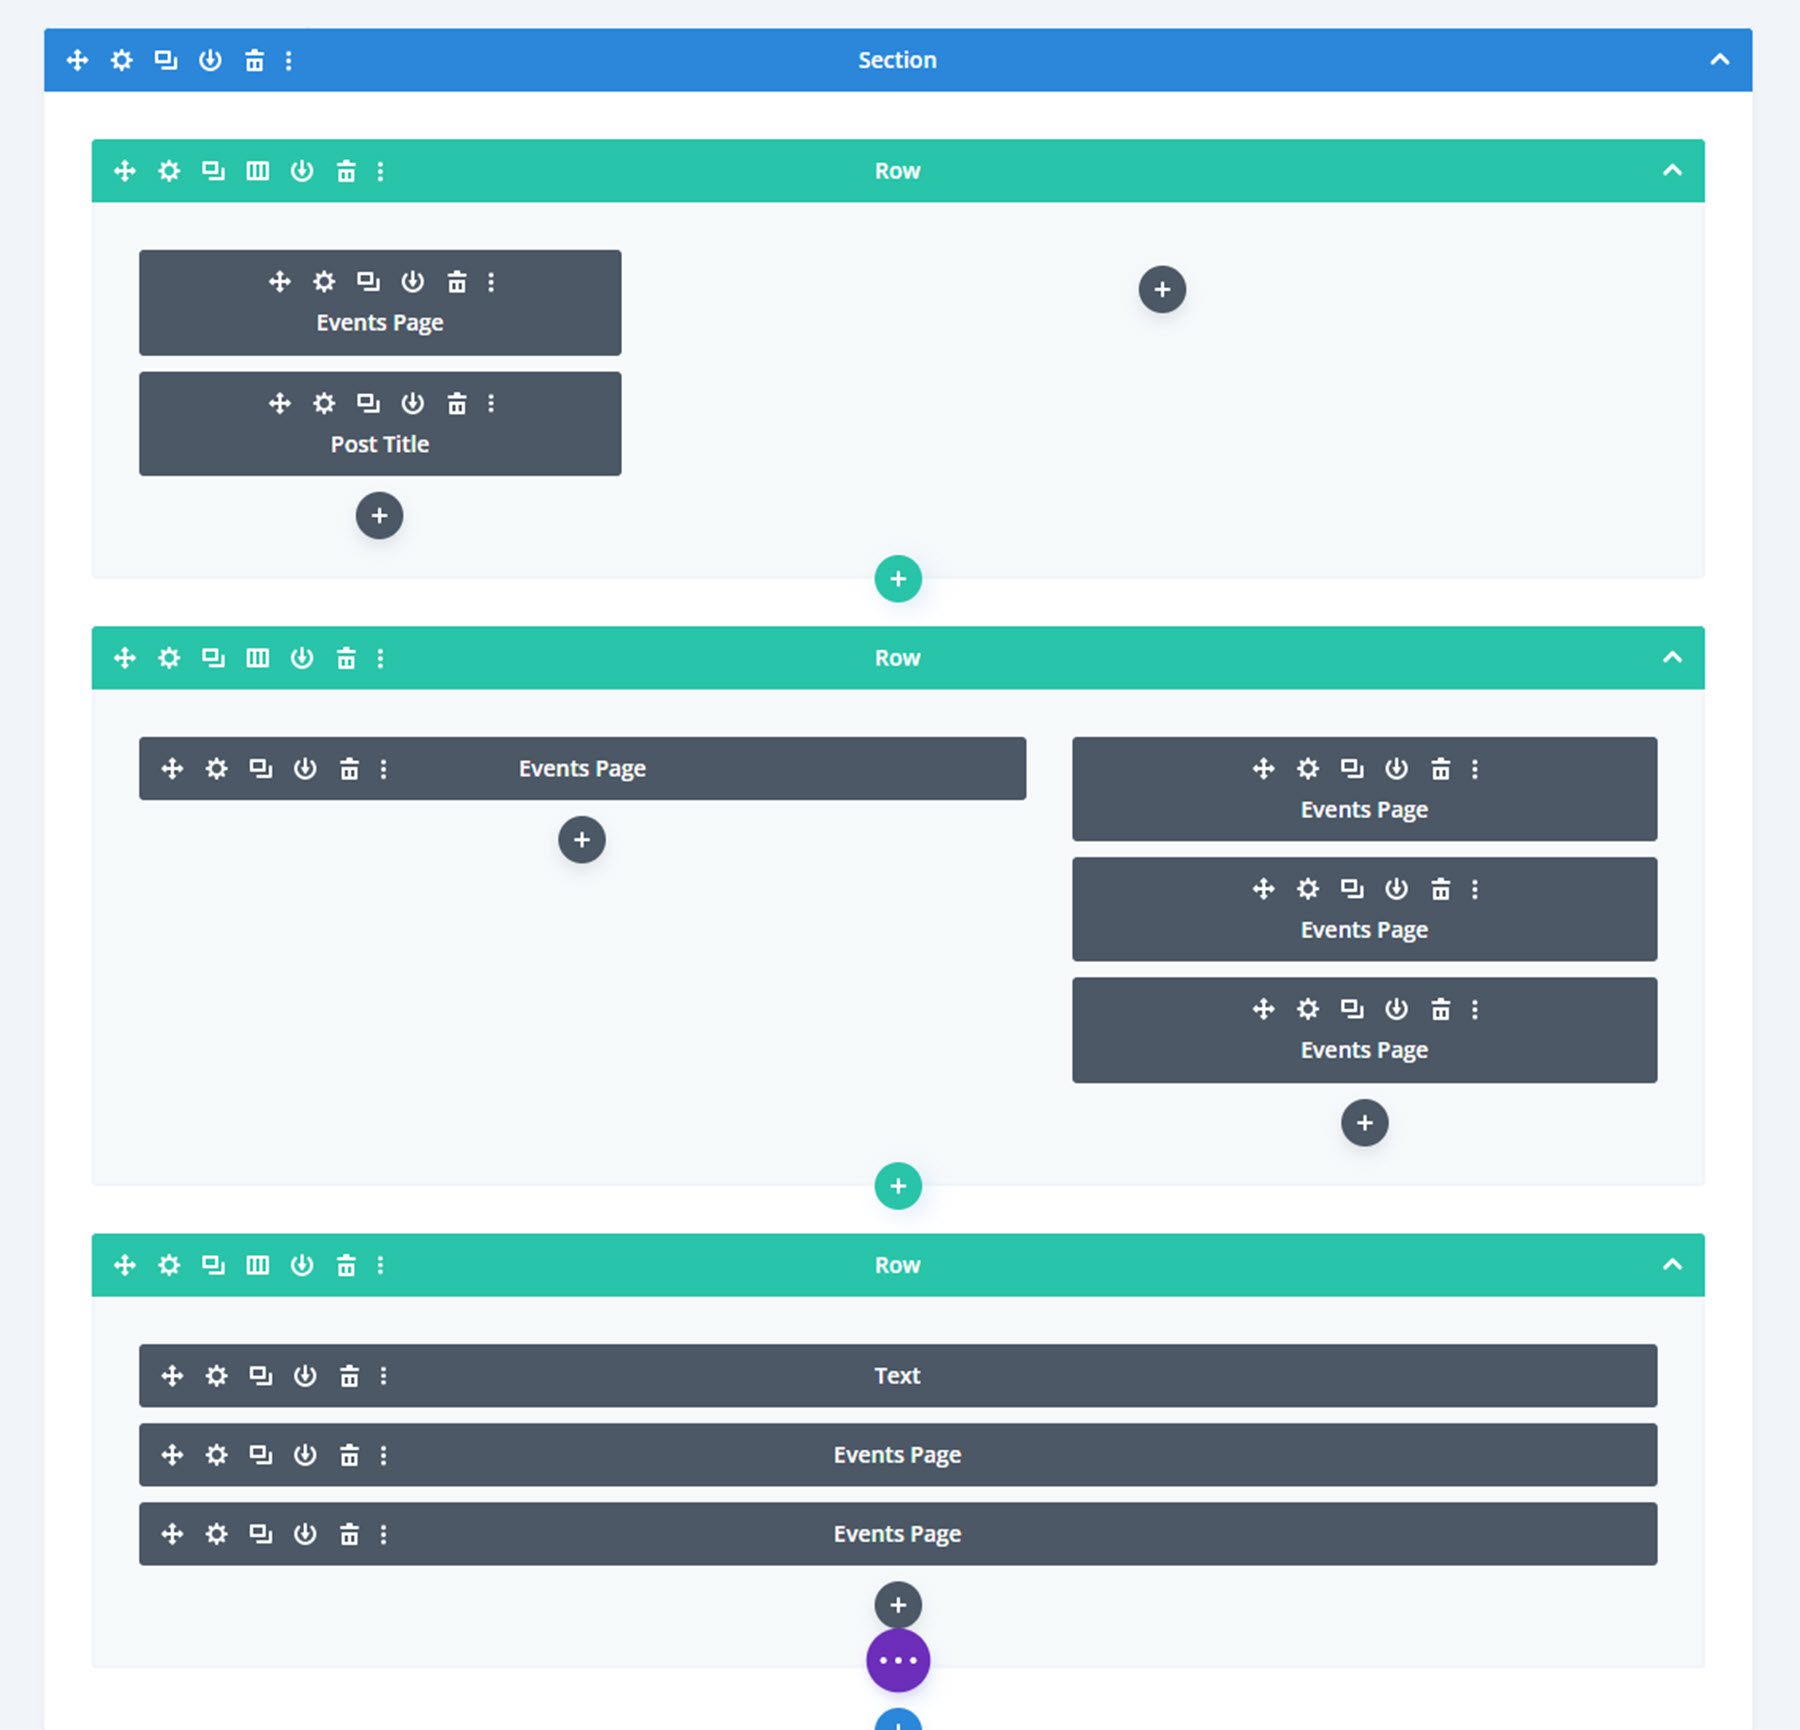
And here’s the layout outline in the Divi Theme Builder. As you can see, there are multiple event page modules in this layout that add different event details to the page.
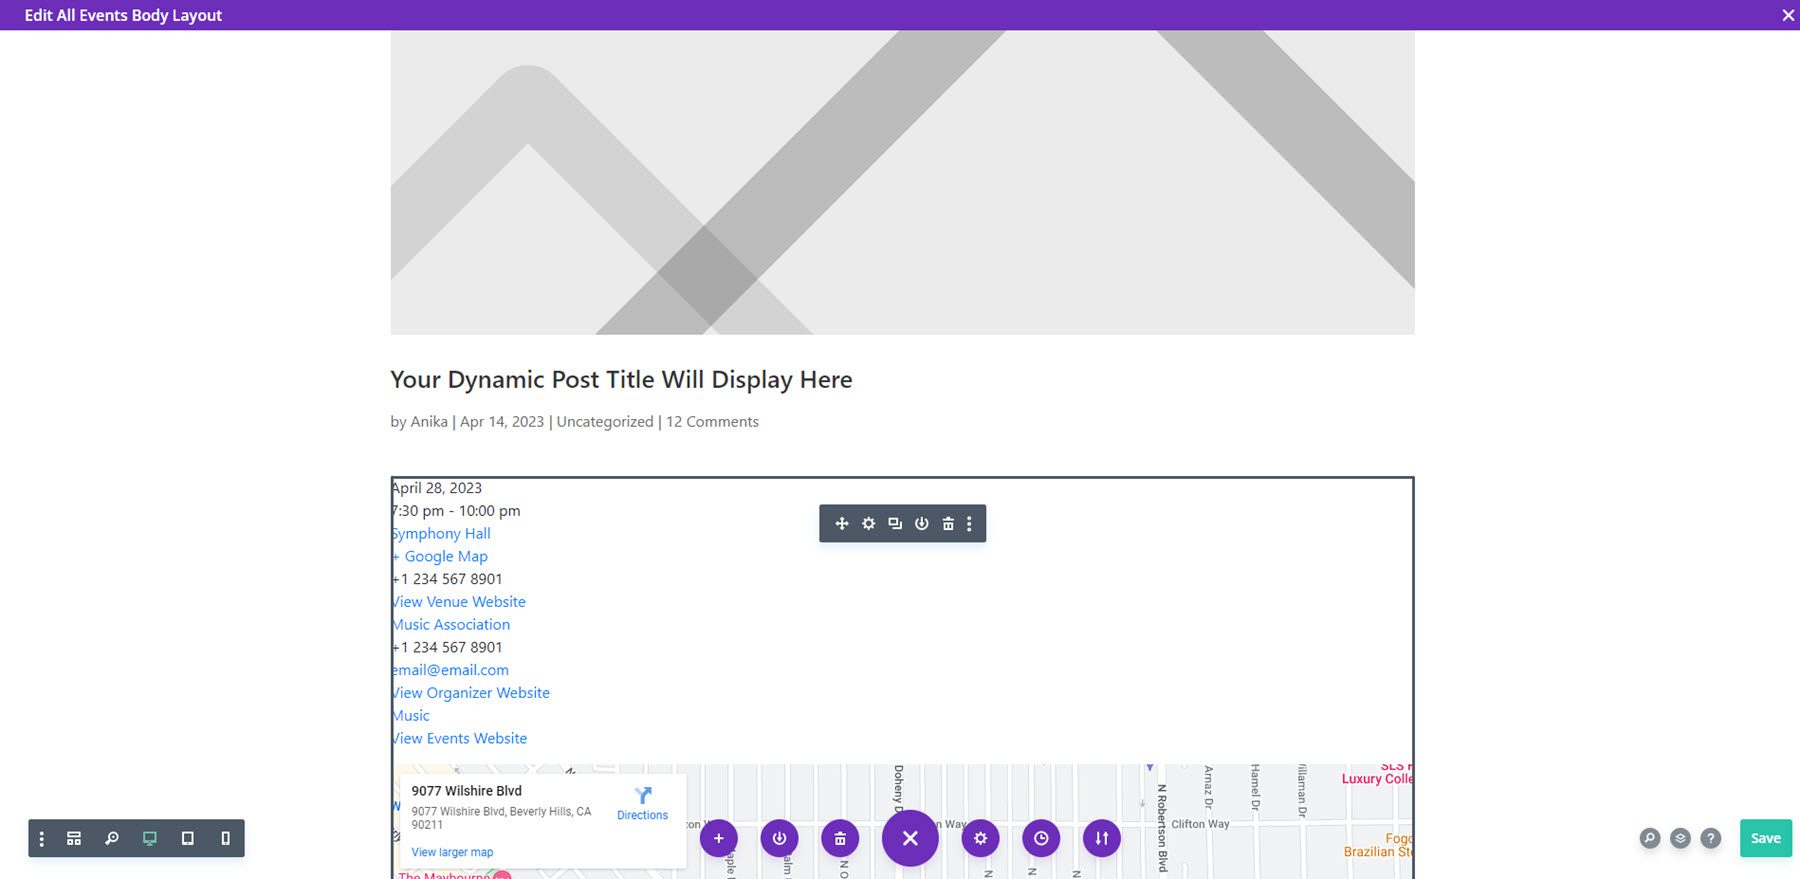
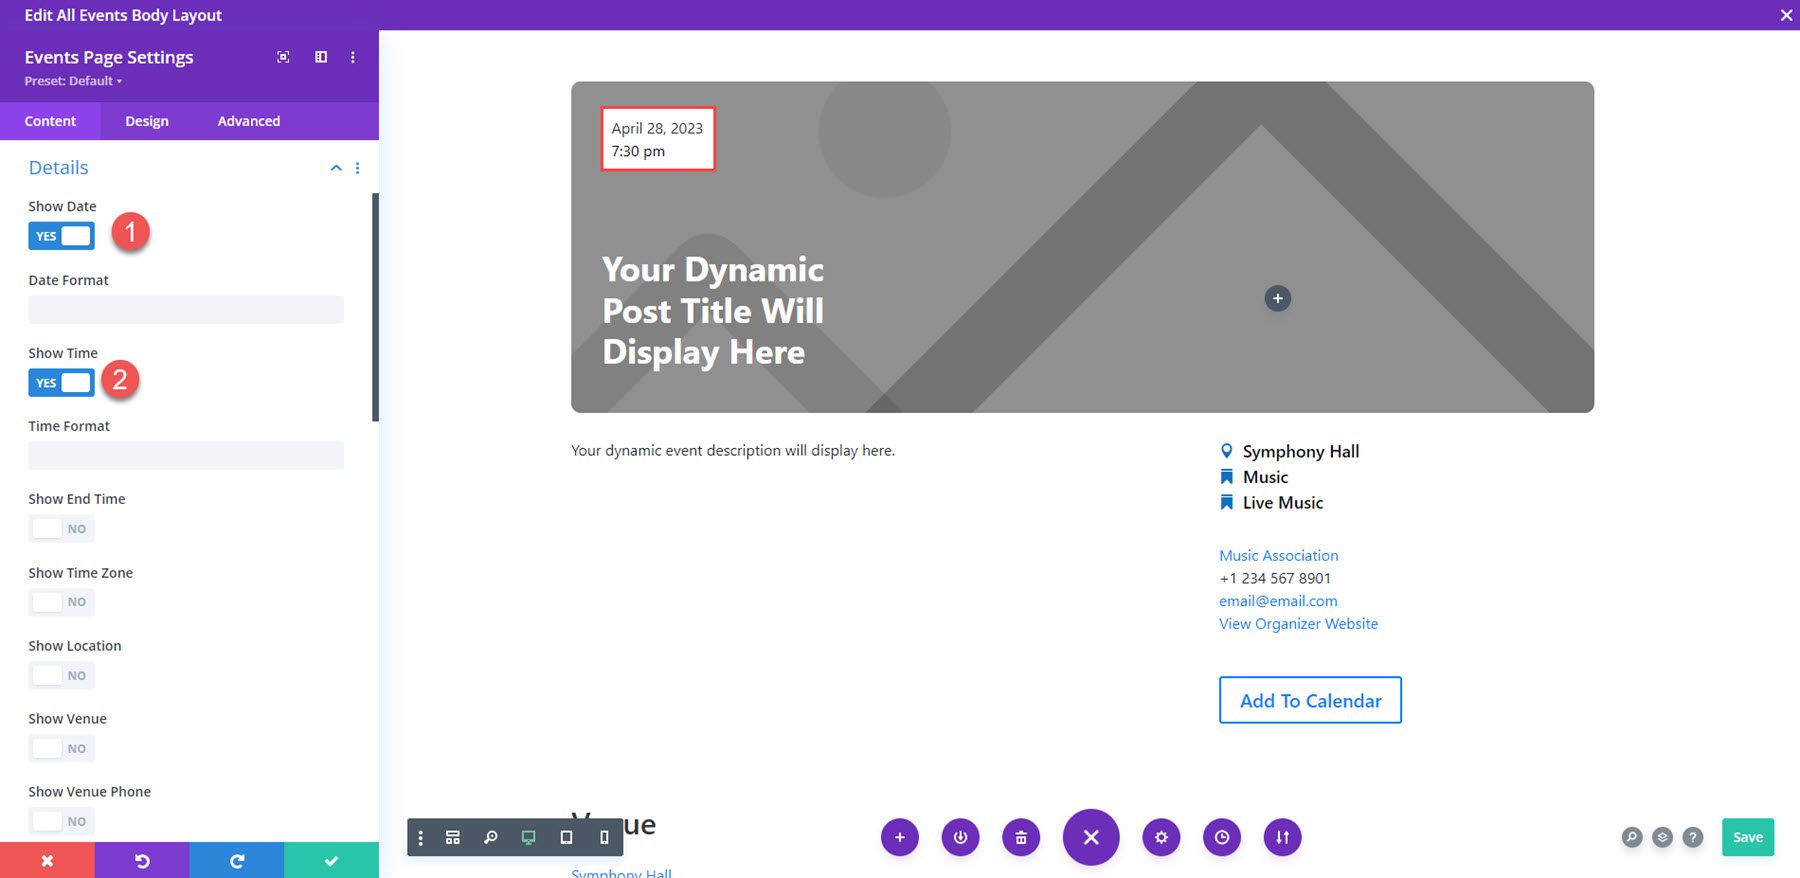
Here’s a closer look at the Event Page module displaying the time and date at the top of the layout. In the details setting for this module, only the time and date modules have been enabled.
Content Settings
In the content tab of the Event Page module, you can enable the details you would like to display.
Content
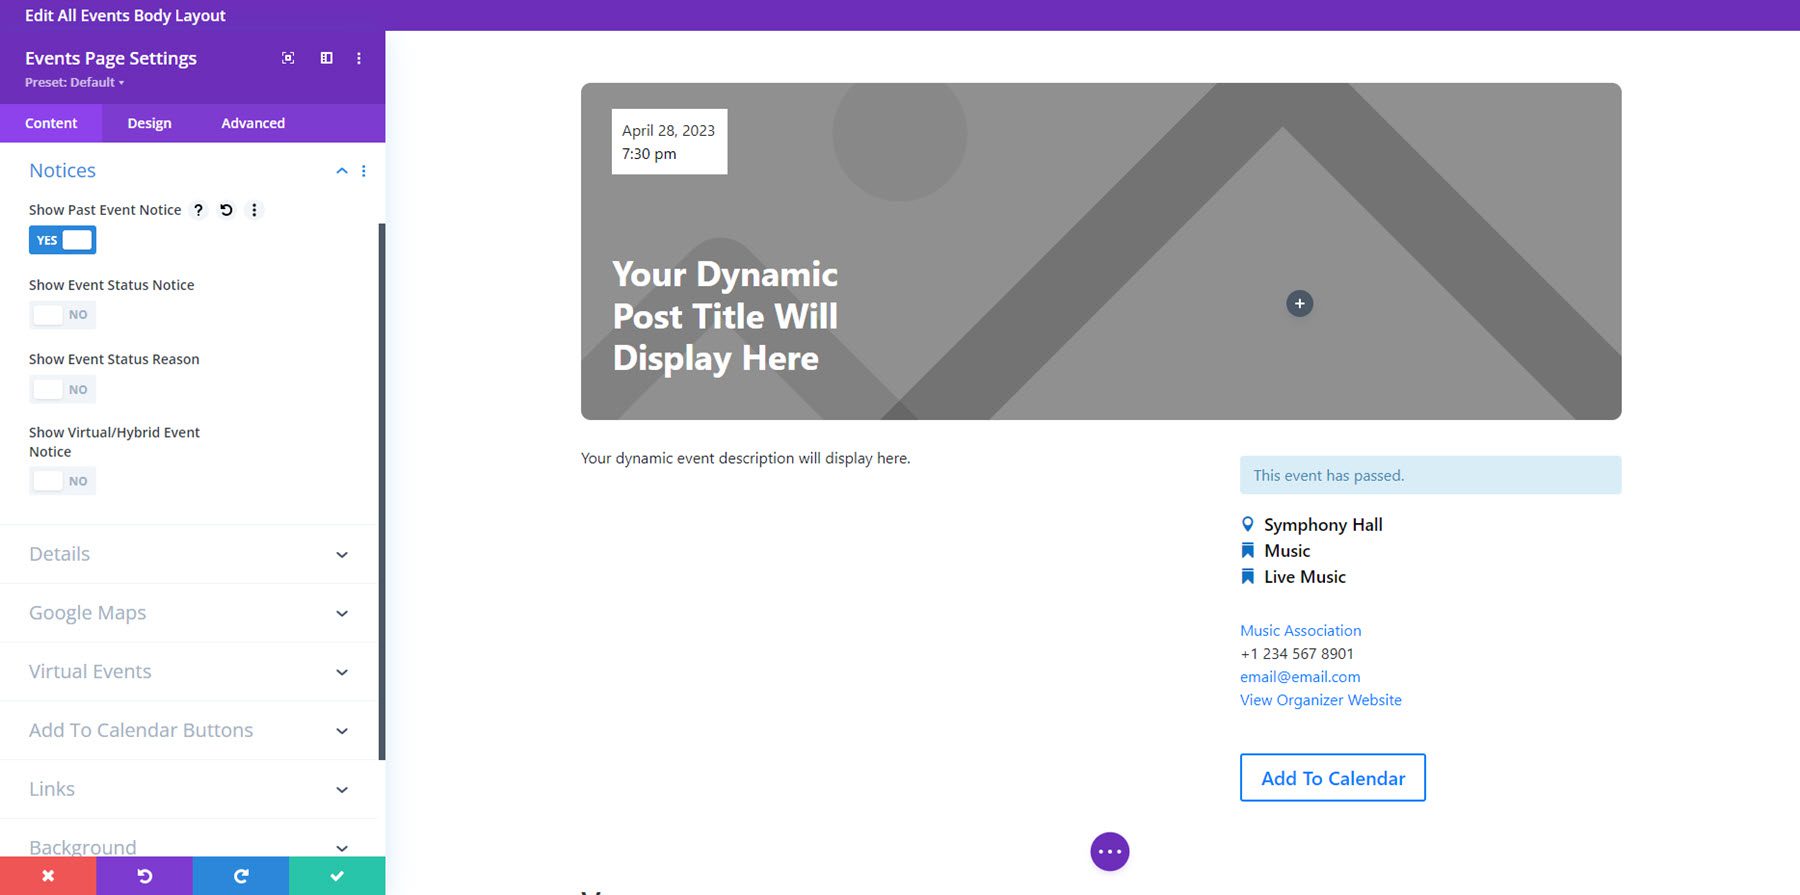
Under content, you can enable the event description. In the notices options, you can enable different notices that appear based on event status or type.
Details
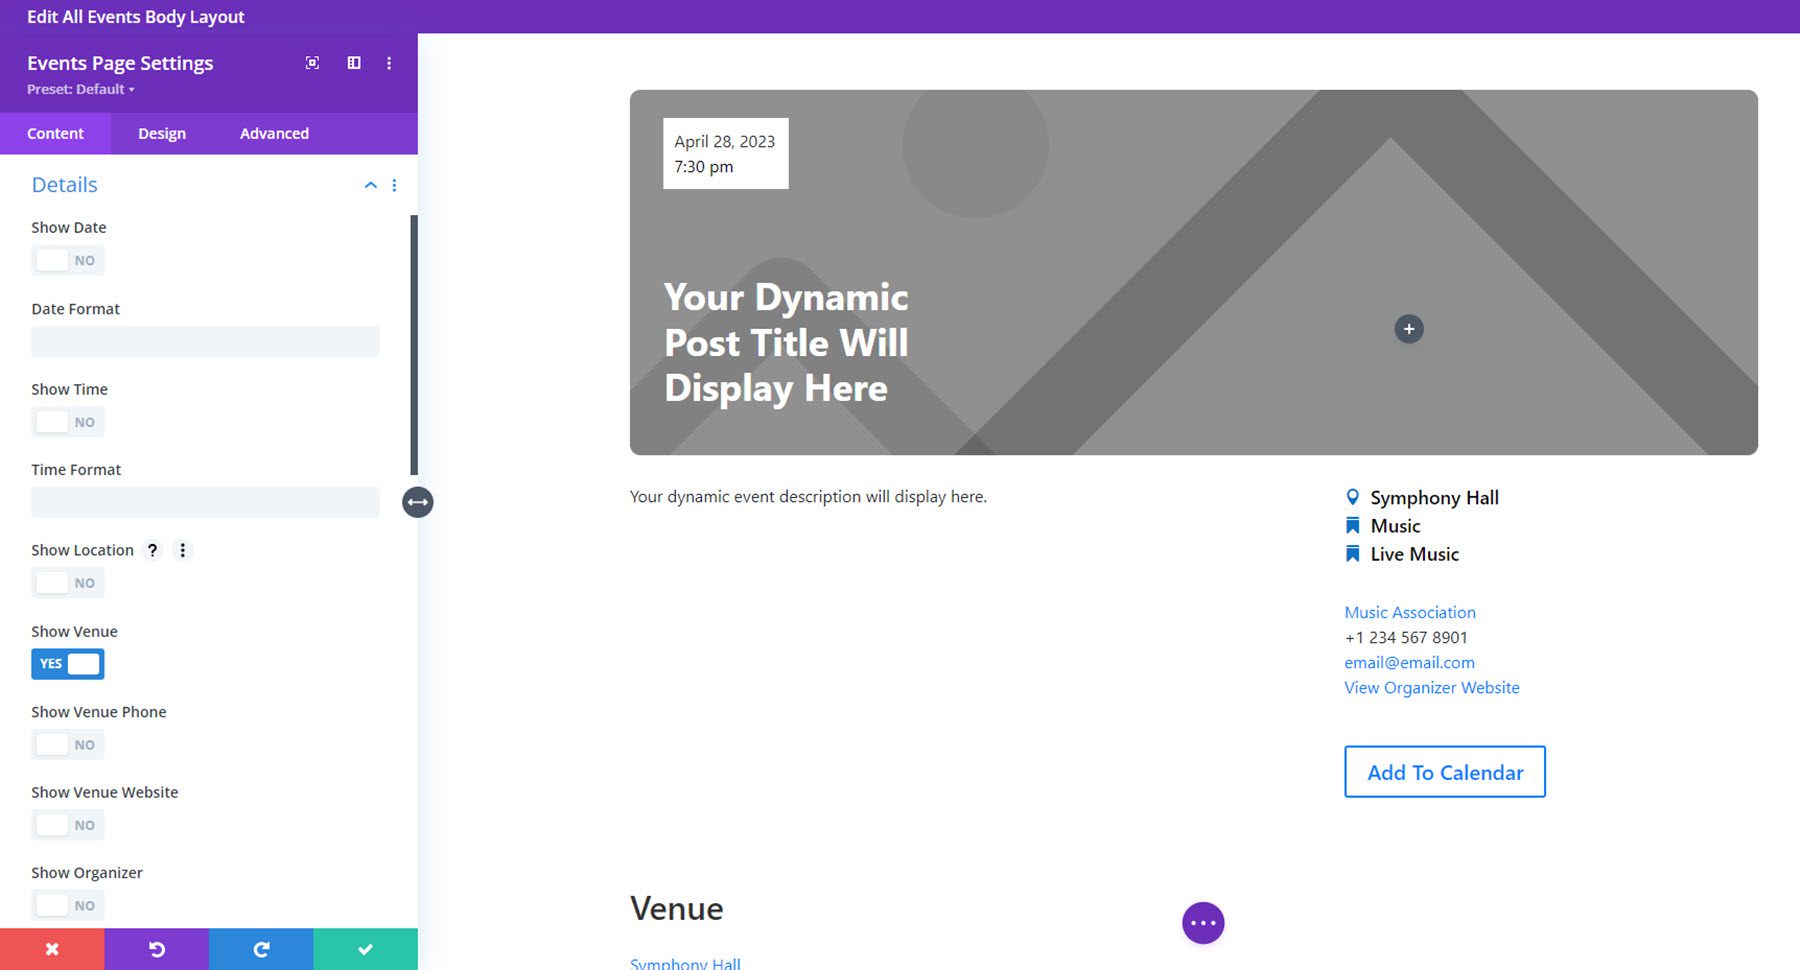
Under details, you can enable or disable the following: date, time, end time, time zone, location, venue, venue phone, venue location, organizer, organizer phone, organizer email, organizer website, price, category, tags, website, prepositions and dividers, and excerpt. You can also stack event details, enable labels/icons, and stack labels/icons.
Google Maps
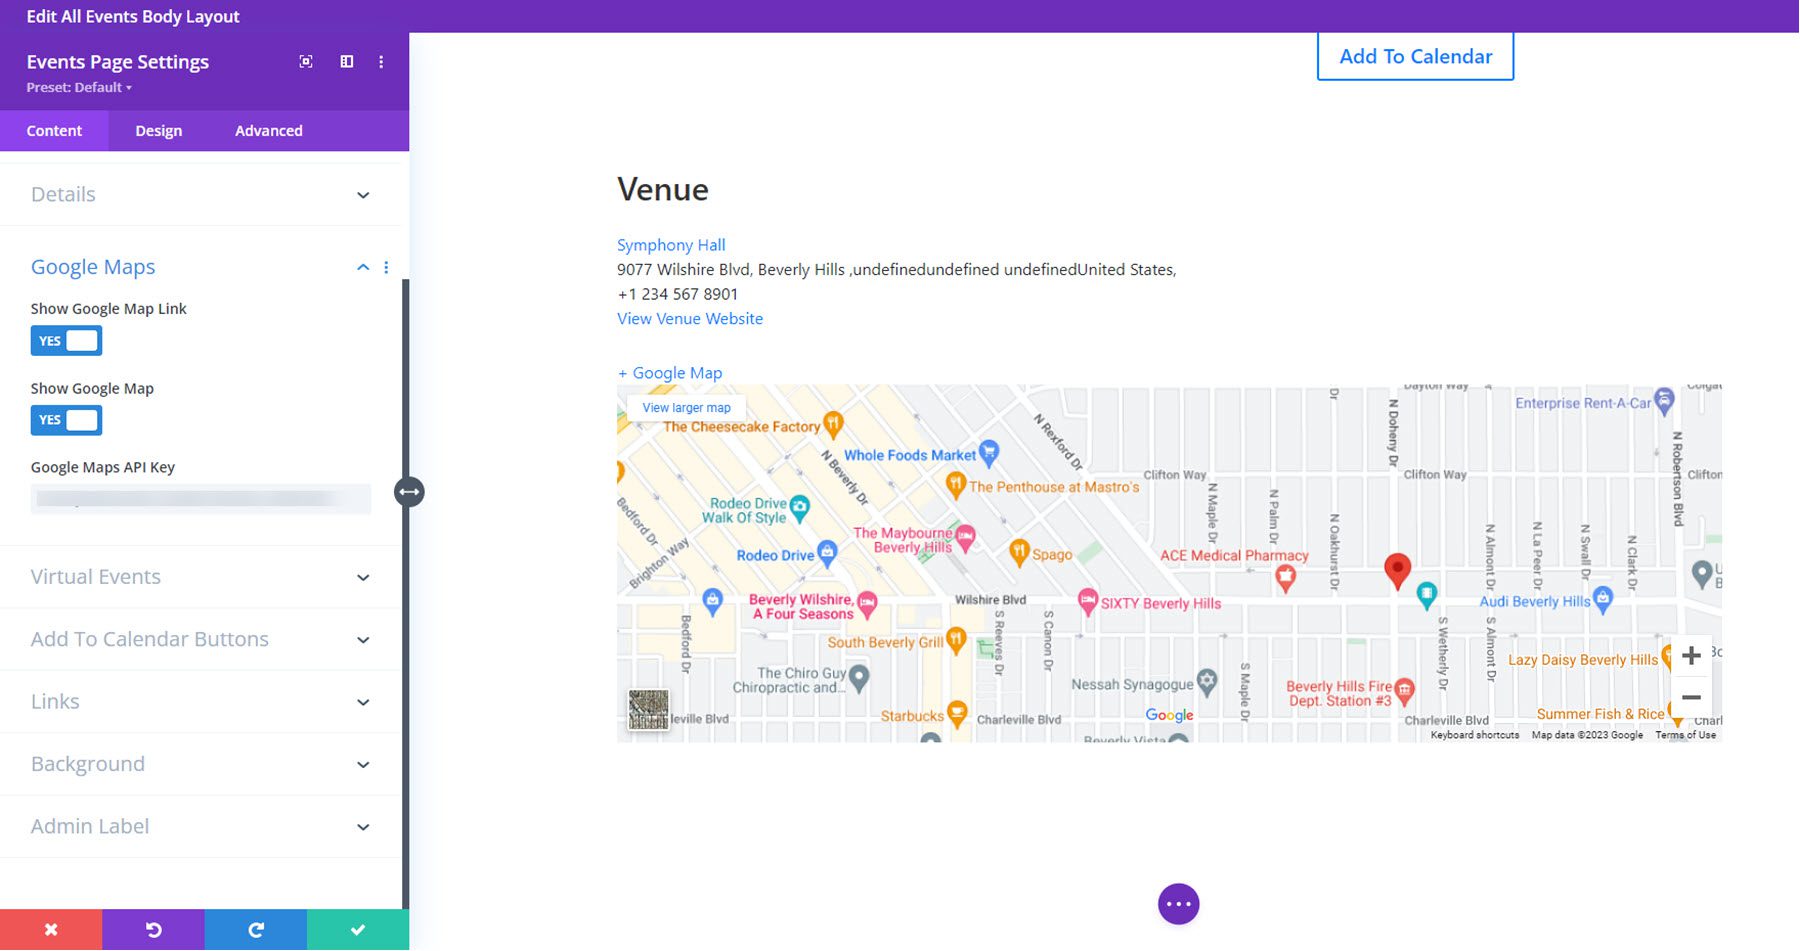
Under the Google Maps tab, you can enable the Google Maps link, enable the Google Map, and add your Google Maps API Key.
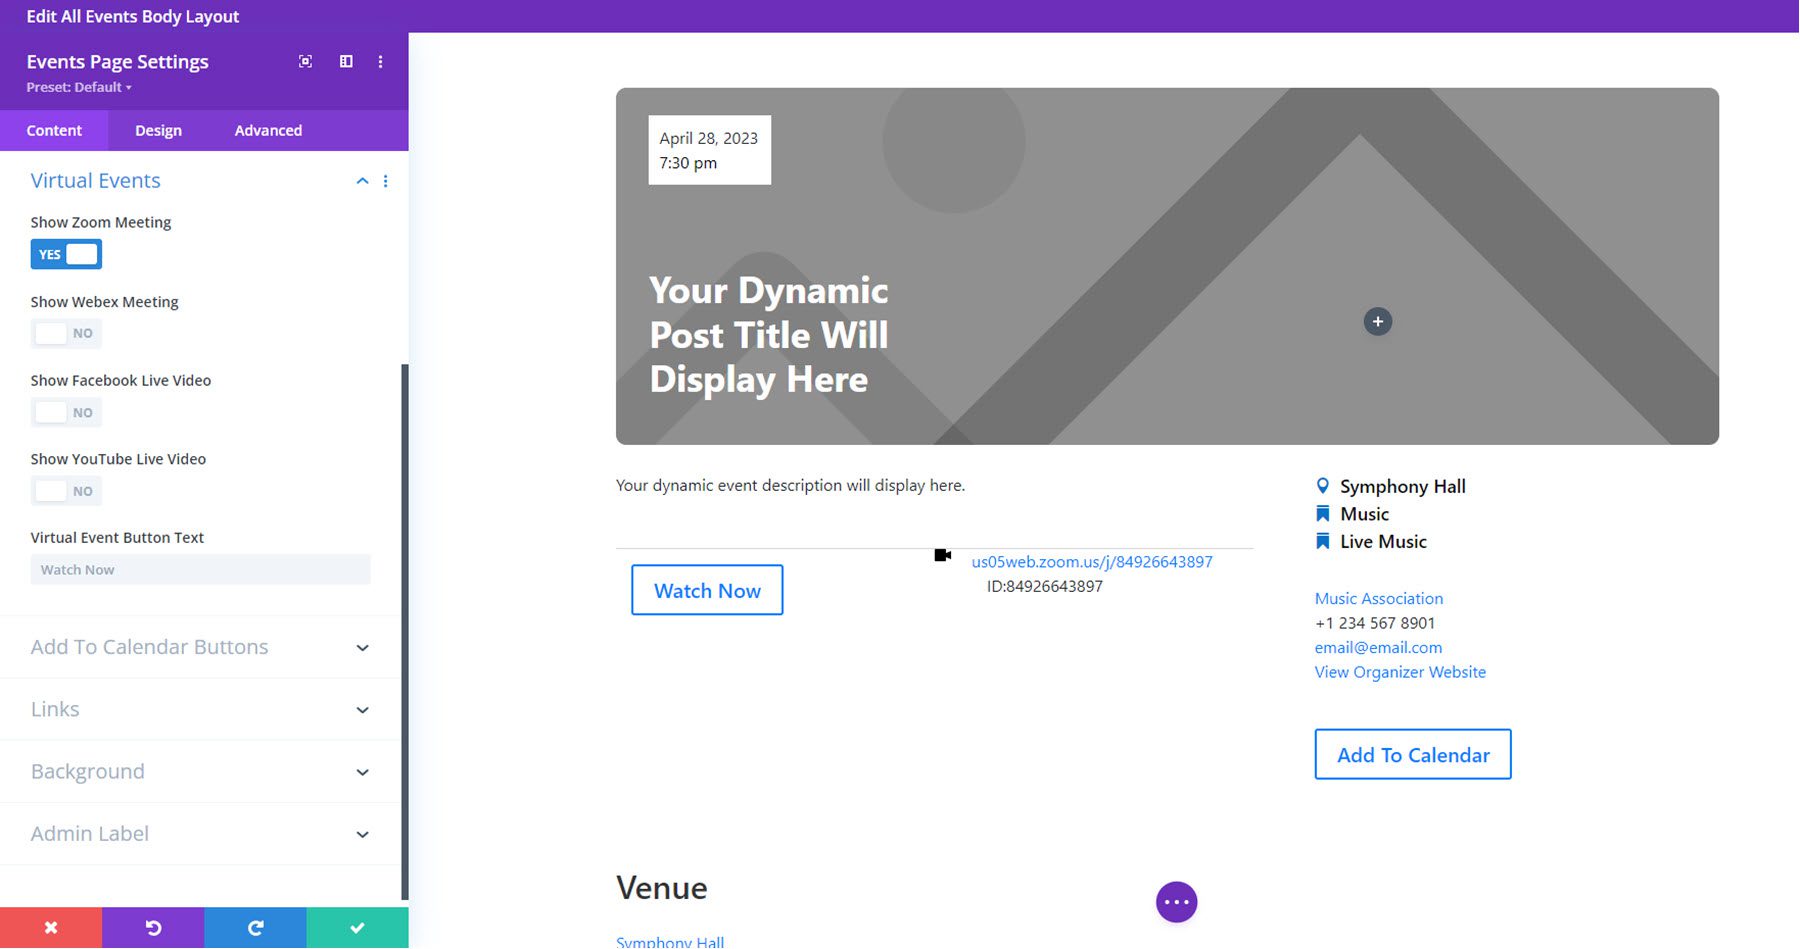
Virtual Events
In the Virtual Events tab, you can enable links to a Zoom meeting, Webex meeting, Facebook live video, or YouTube live video. You can also change the text for the virtual event button.
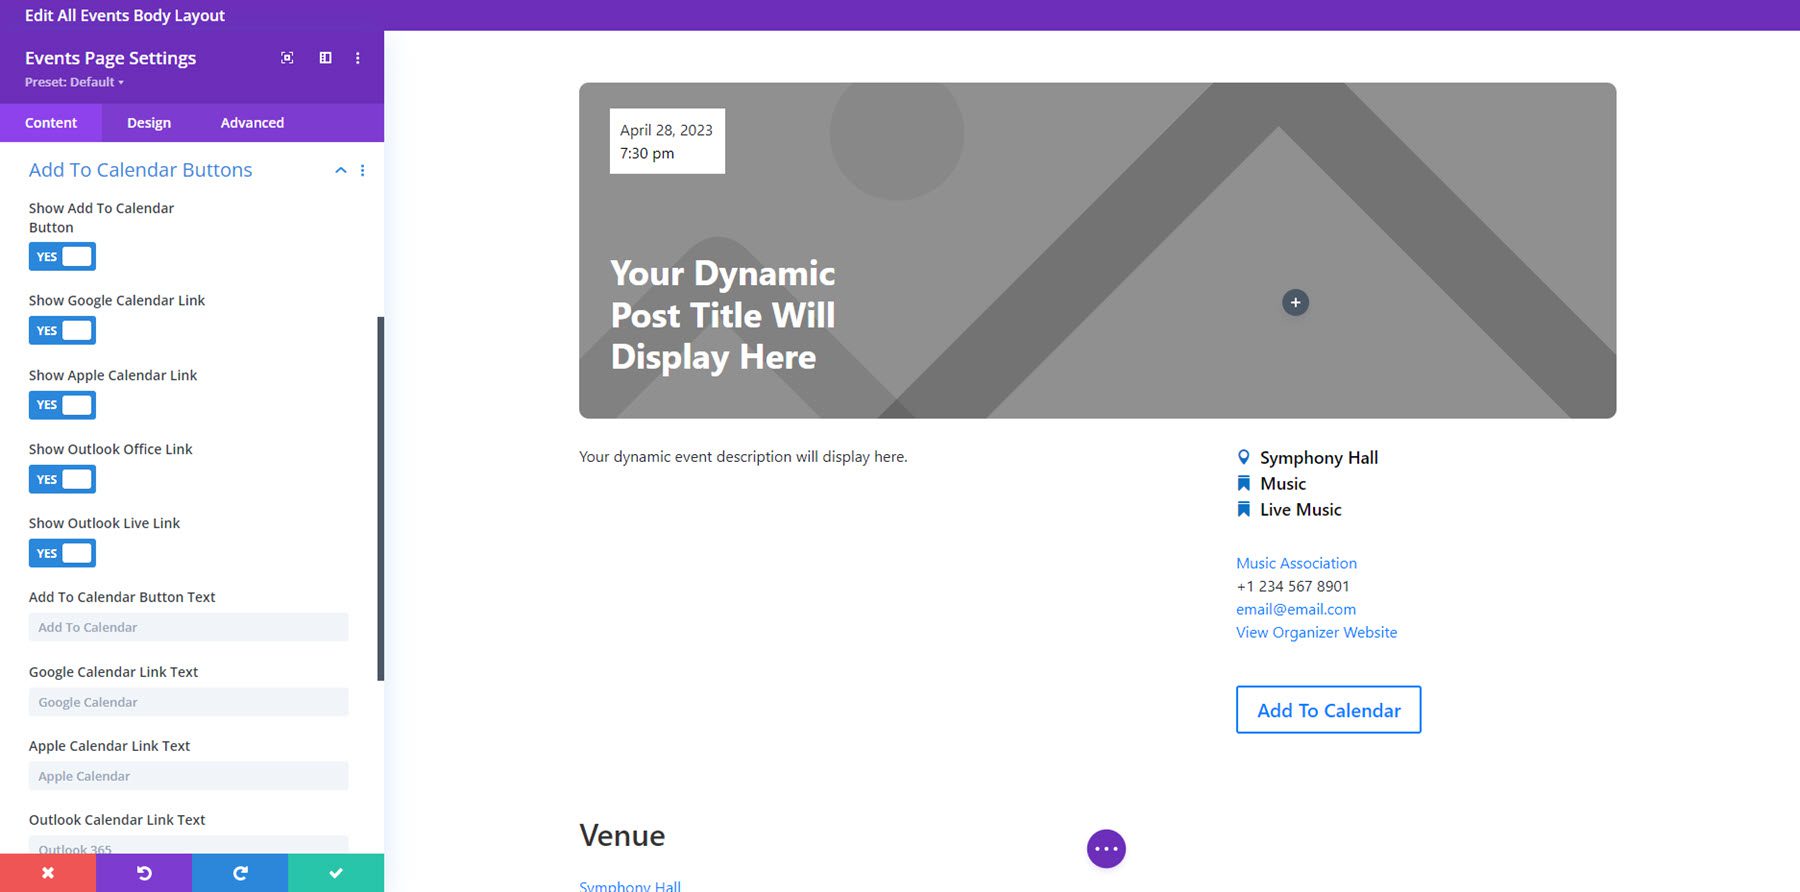
Add to Calendar
The Add to Calendar settings allow you to enable the button and modify the button text shown.
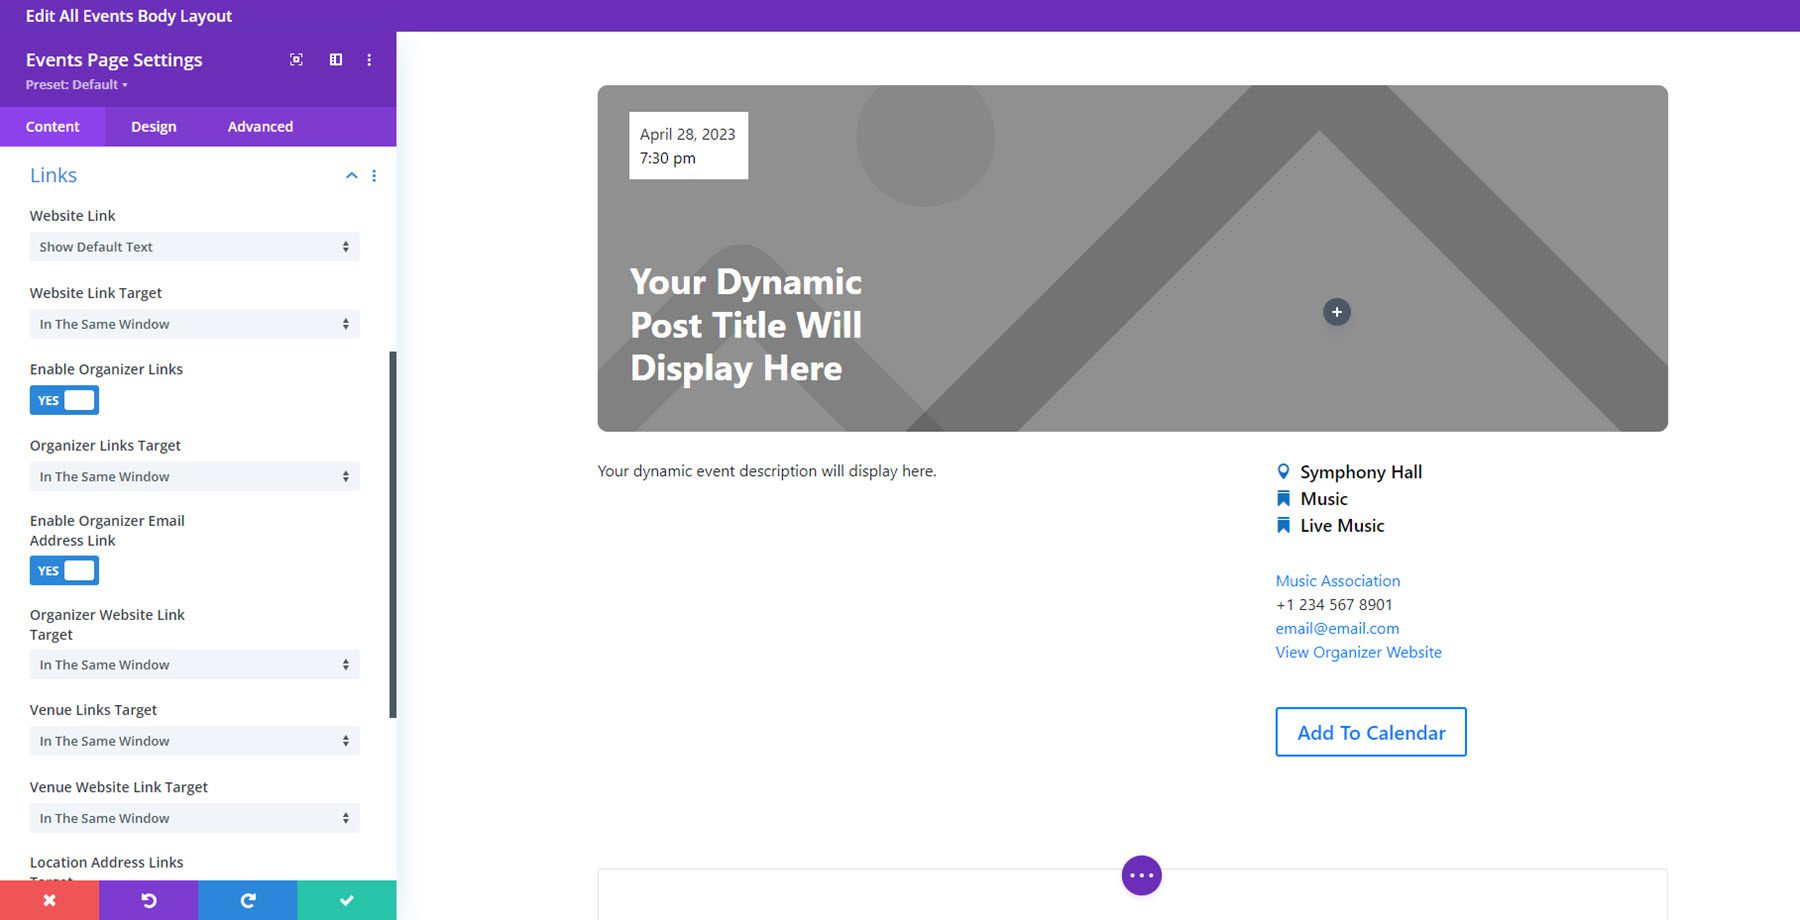
Link
In the Link tab, you can set how the website link appears and change the link target for different event items. You can also customize the Background and the Admin label in the settings below this.
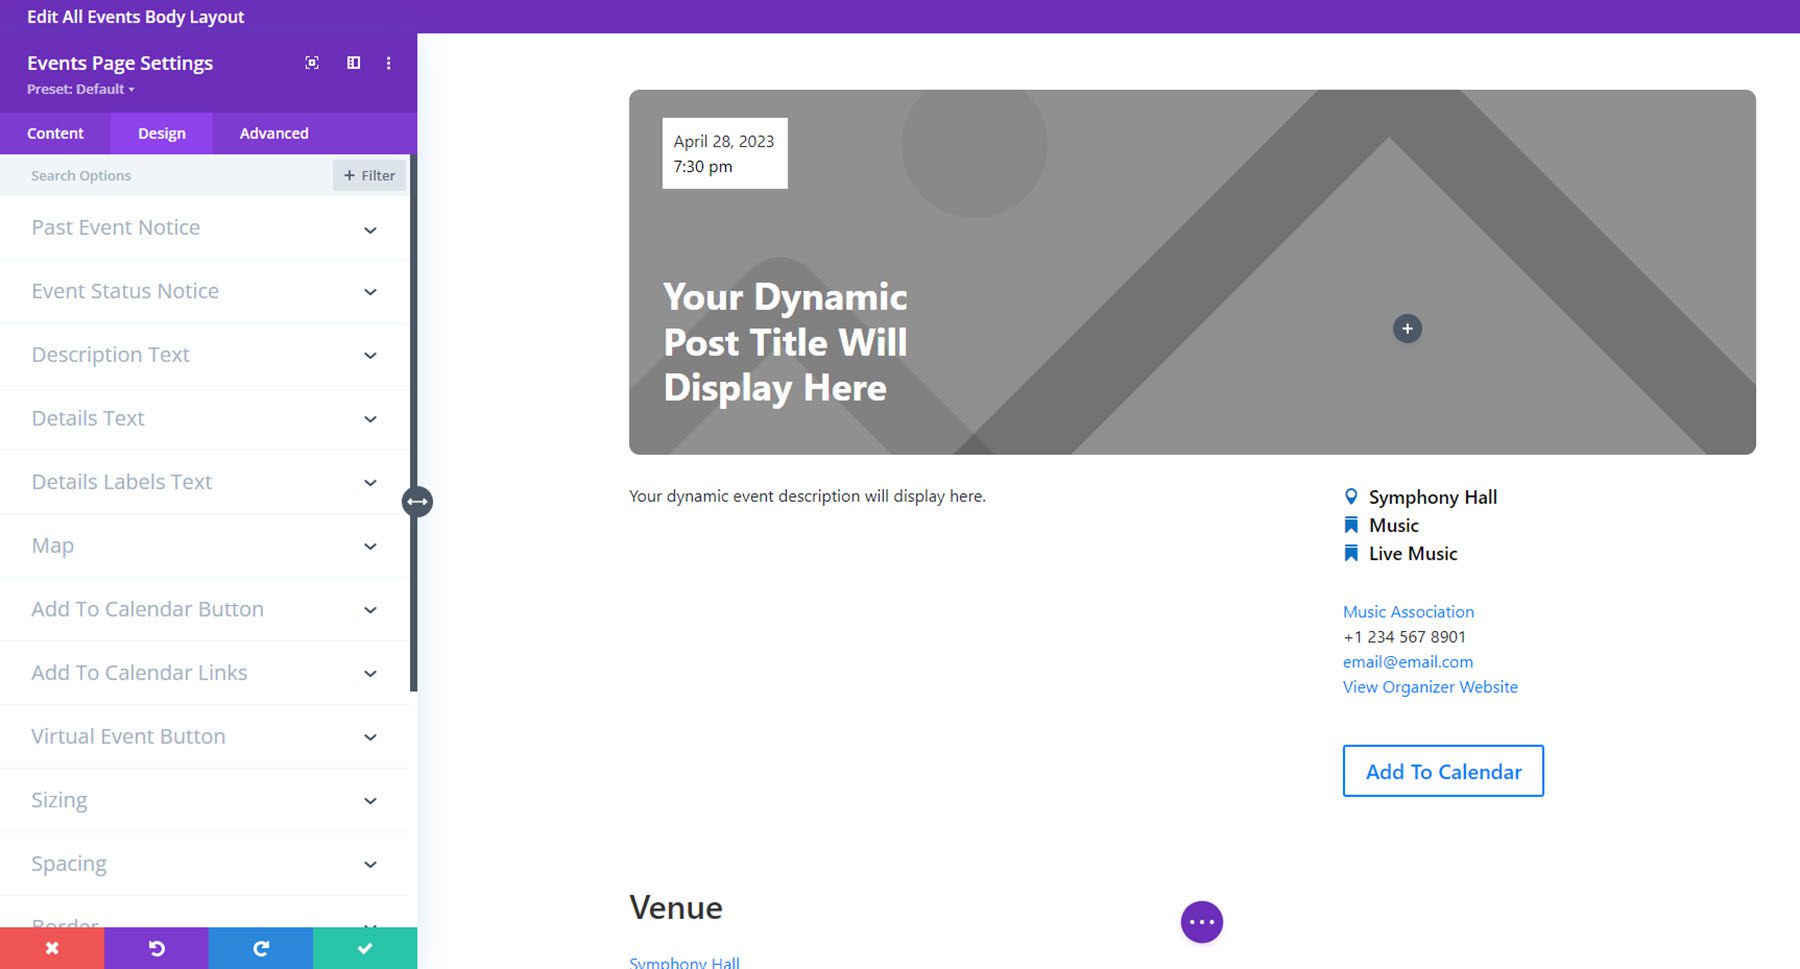
Design Settings
In the design tab, you can fully customize the look of each element. You can modify the design settings for the following: past event notice, event status notice, description text, details text, details labels text, map, add to calendar button, add to calendar links, virtual event button, sizing, spacing, border, box shadow, filters, transform, and animation.
Events Subscribe
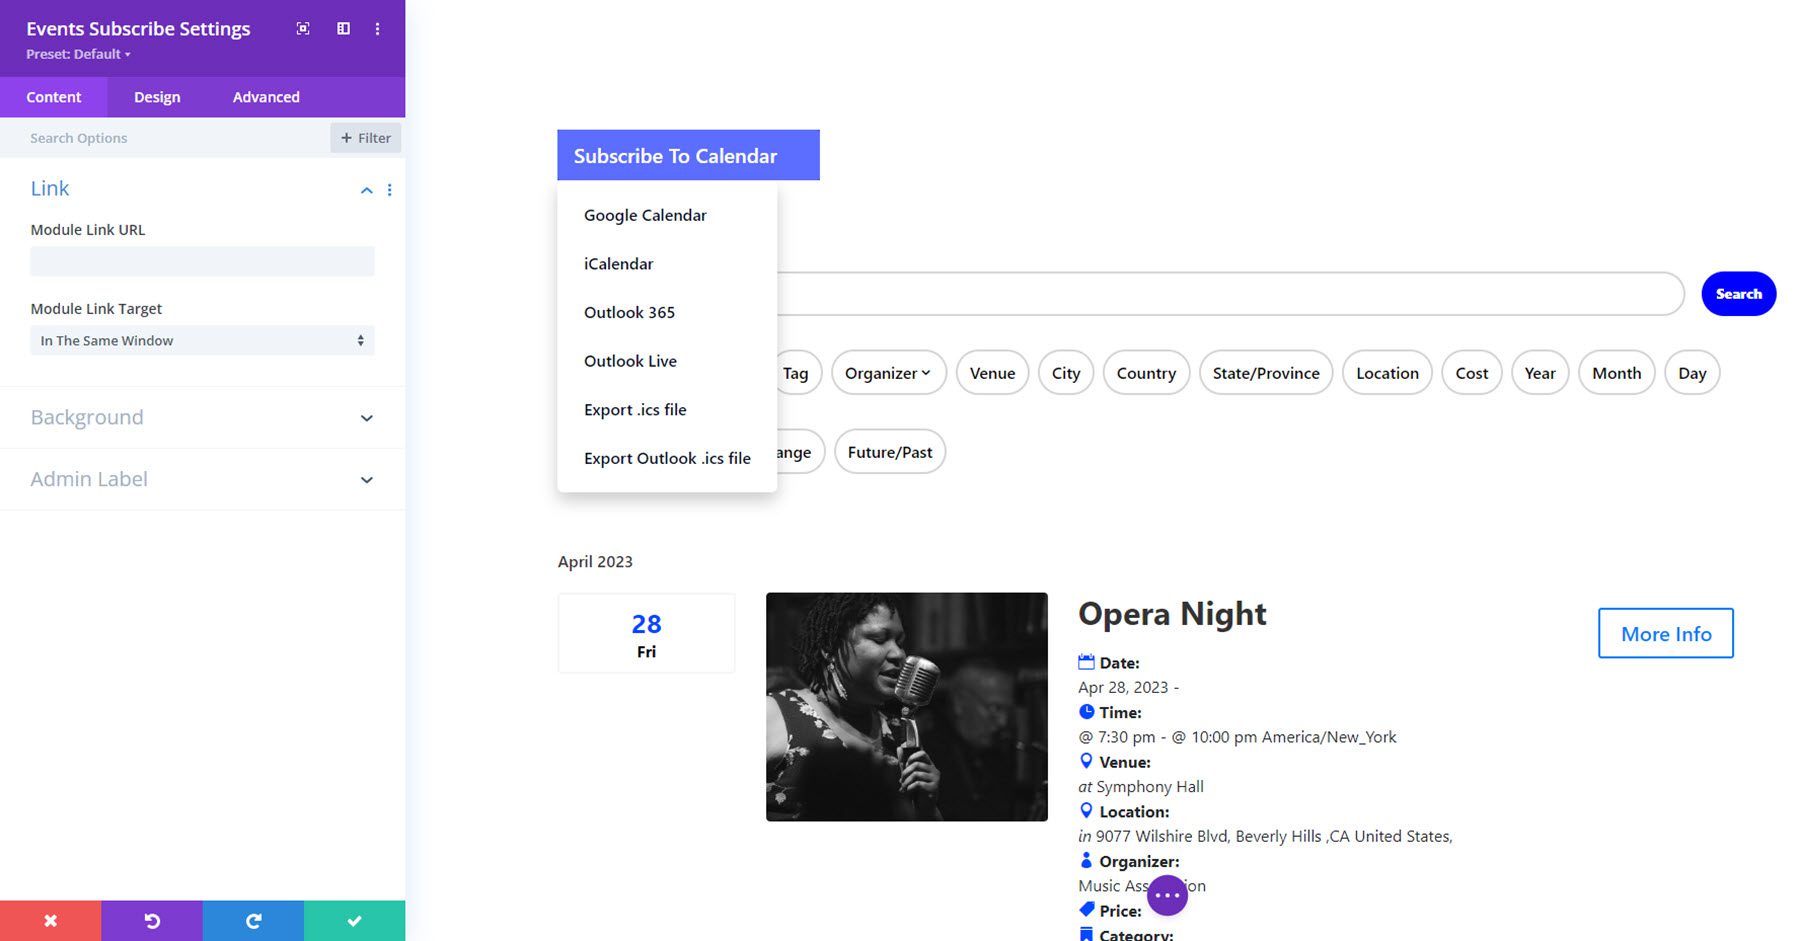
The Events Subscribe module is a simple module that allows you to add a calendar subscription button to your layout. On hover, the button displays several different methods to subscribe to the events calendar, including iCal, Google Calendar, Outlook, .ics file, and more.
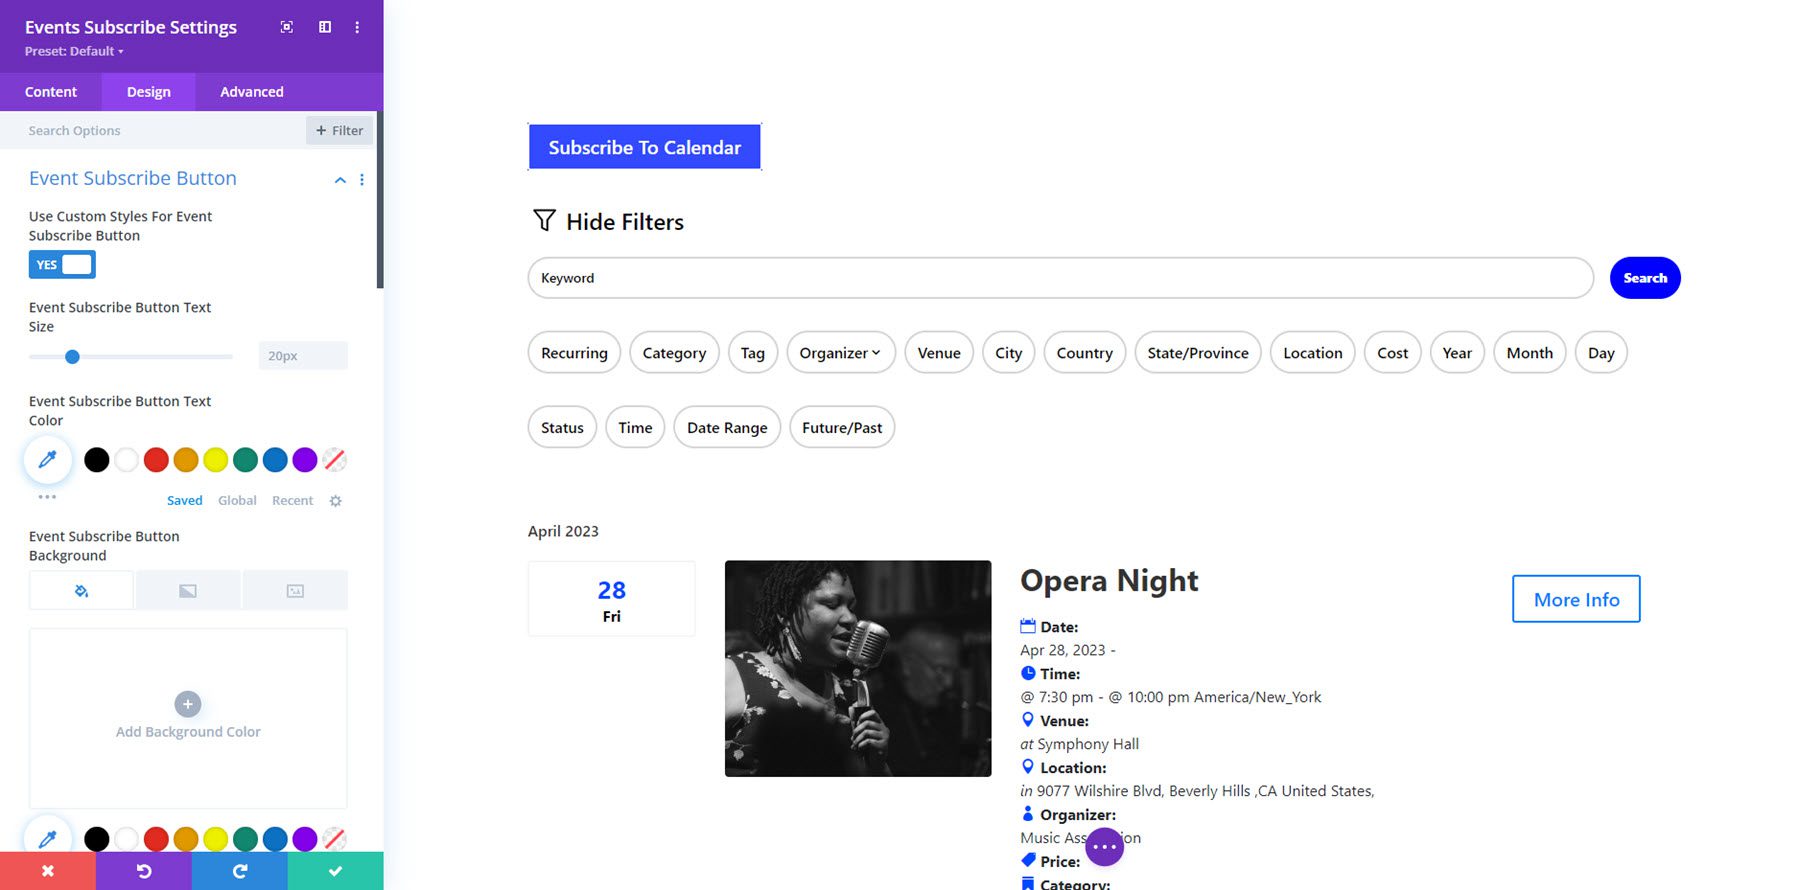
This module does not come with many added options, but you can fully style the button using the custom styles option in the design tab.
Events Ticket
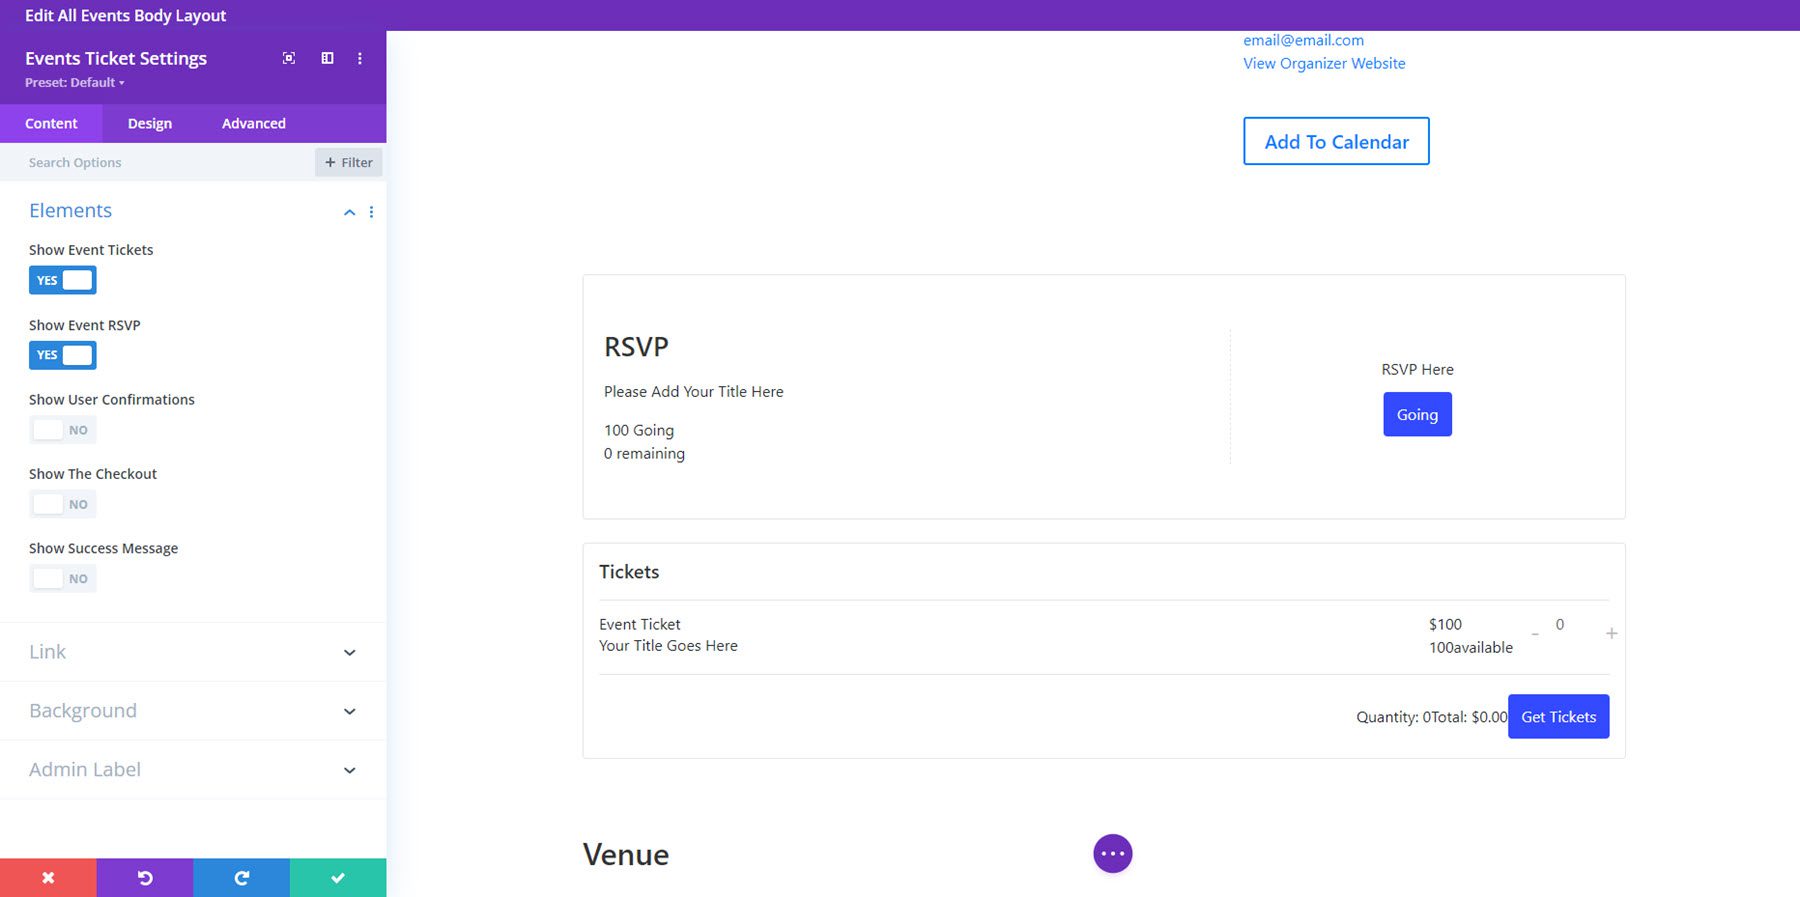
The Events Ticket module works with the free Event Tickets addon from The Events Calendar plugin to display tickets and RSVP sections on your event pages. In the module content settings, you can enable event tickets, event RSVP, user confirmations, checkout, and a success message.
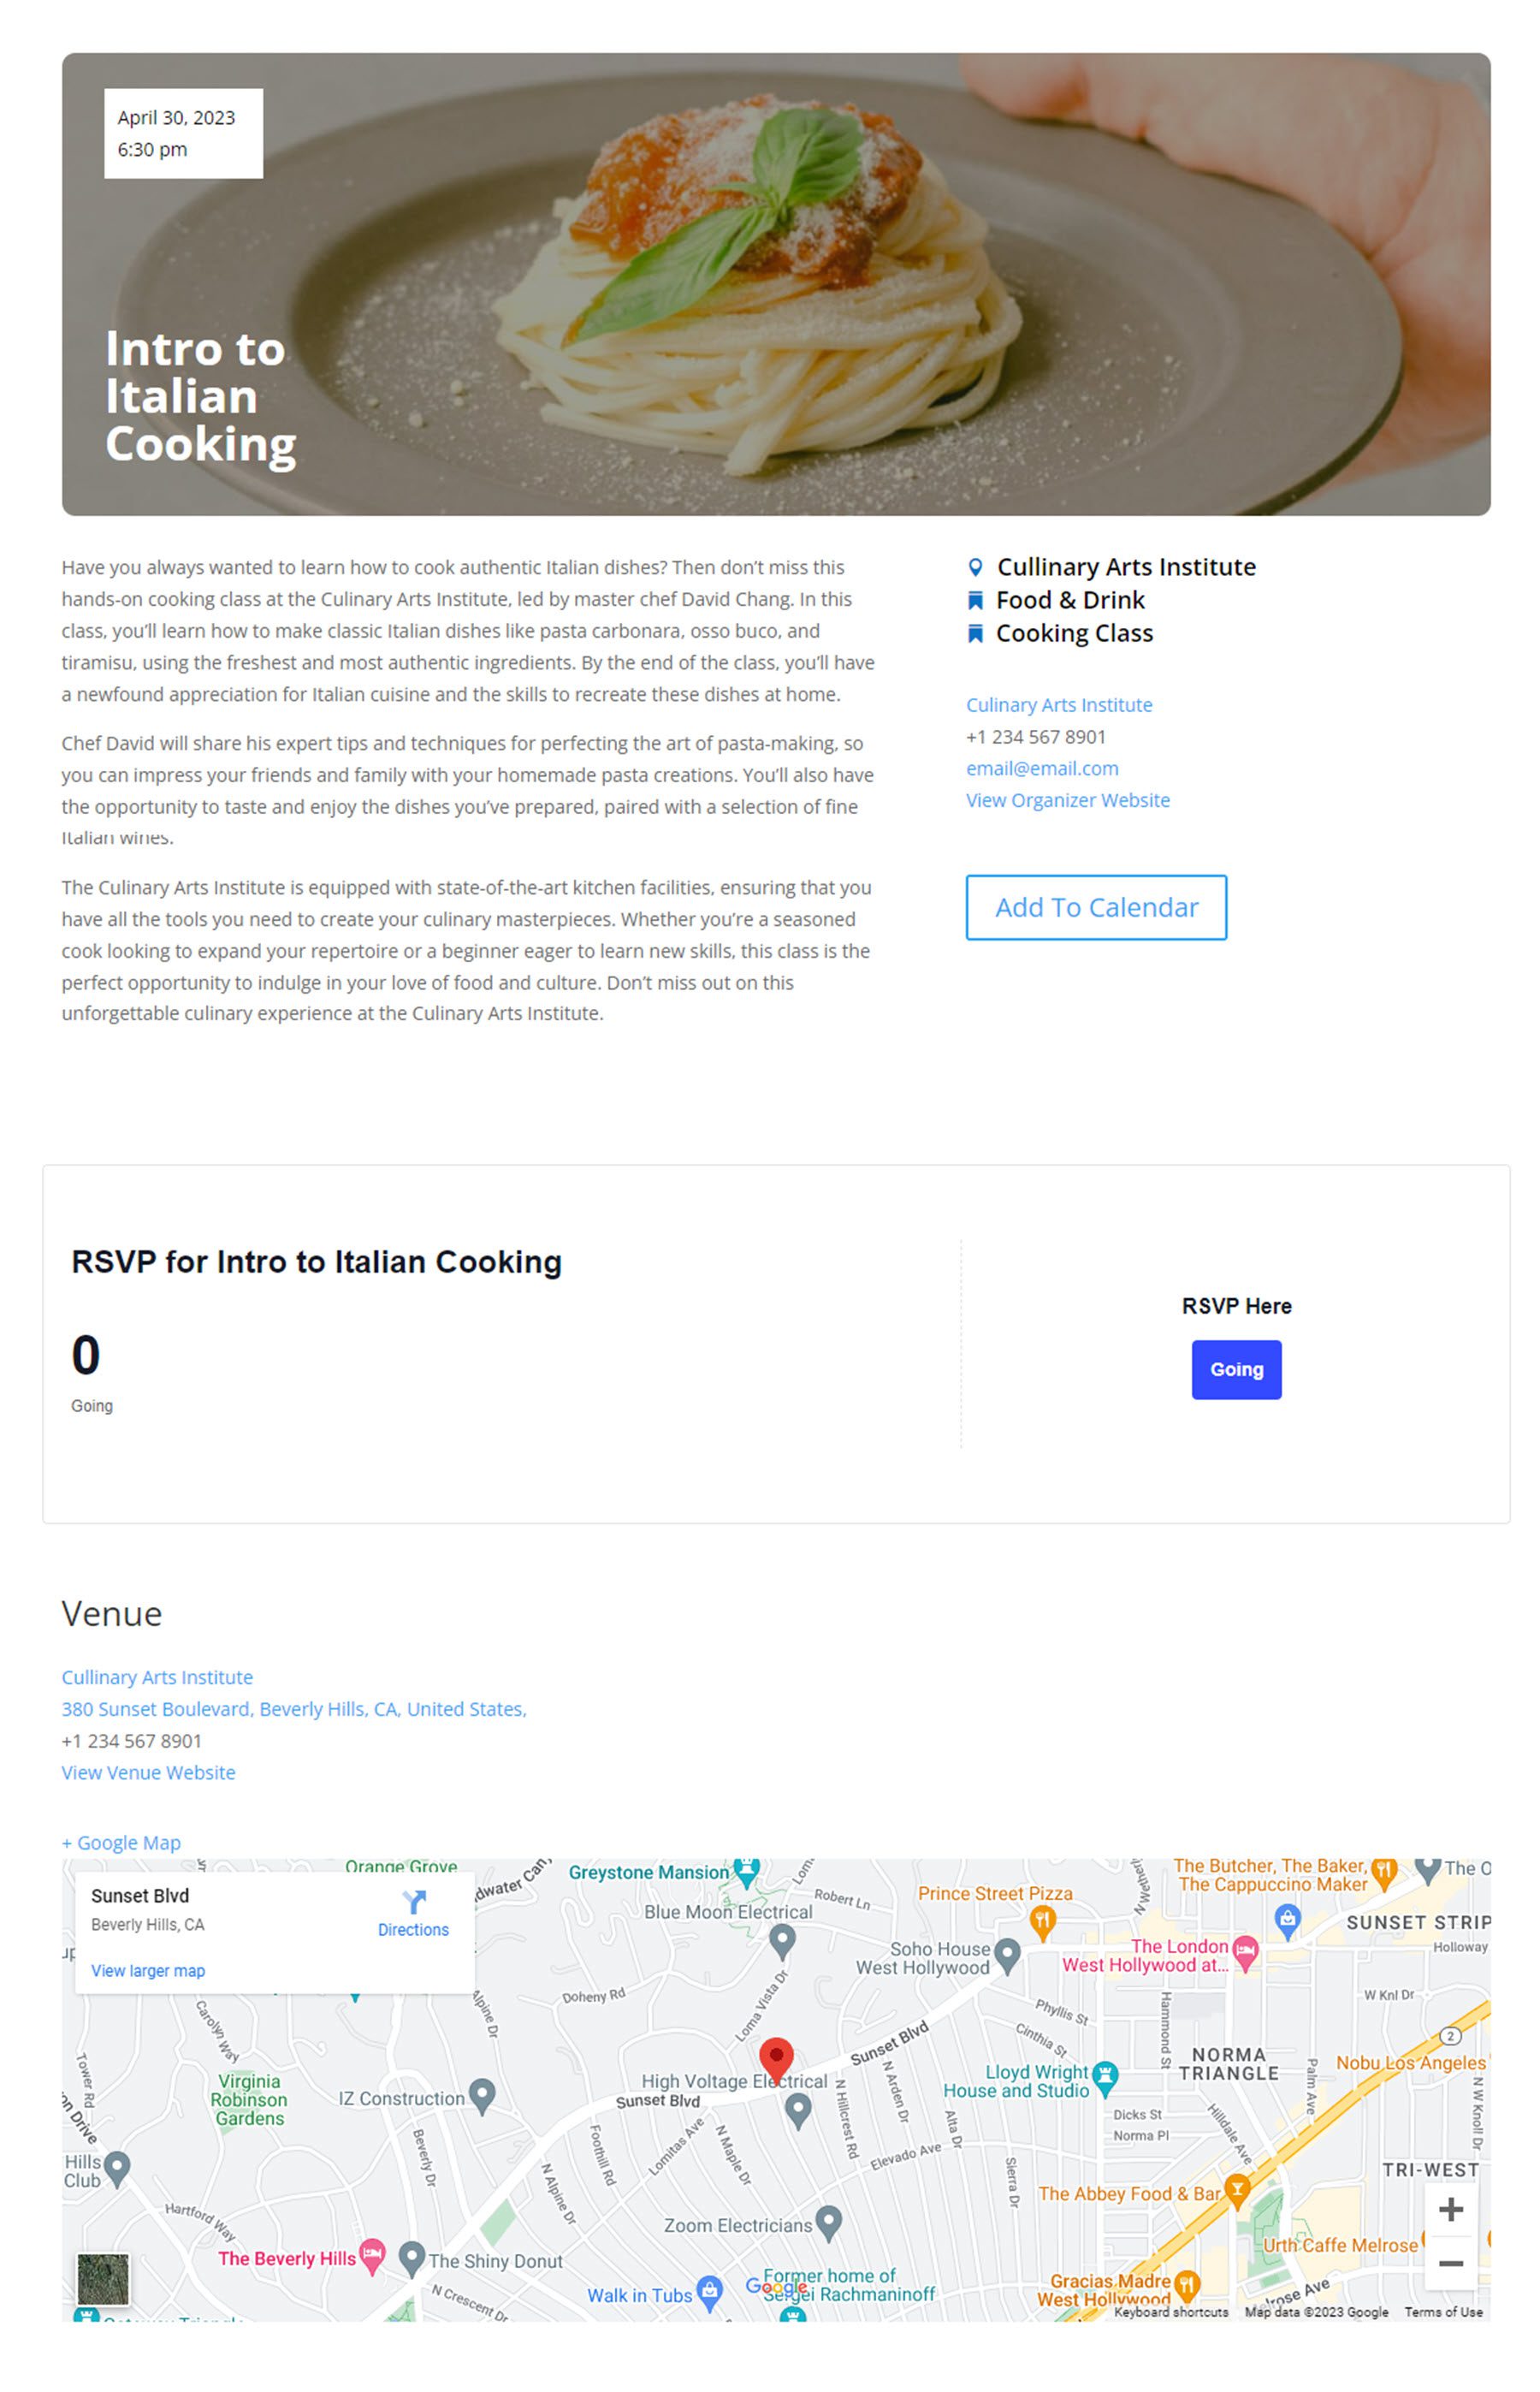
The plugin author has indicated that this module is new and has limited features at the time, however, they hope to add design settings in the future. For now, here is how the RSVP section shows up on one of the event pages.
Purchase Divi Events Calendar
Divi Events Calendar is available in the Divi Marketplace. It costs $45 for unlimited website usage and 1 year of support and updates. The price also includes a 30-day money-back guarantee.
Final Thoughts
Divi Events Calendar brings together the functionality of The Events Calendar plugin and the design flexibility of the Divi Builder in a plugin that makes it easy to display events on your website and style the modules to match your website design. Each module is easy to use and configure, and most of them have comprehensive design options you can use to create beautiful event page layouts. If you’re looking for a great way to display events on your site while having full control over the design using Divi, this may be a great product for you.
We would love to hear from you! Have you tried Divi Events Calendar? Let us know what you think about it in the comments!
The post Divi Product Highlight: Divi Events Calendar appeared first on Elegant Themes Blog.
