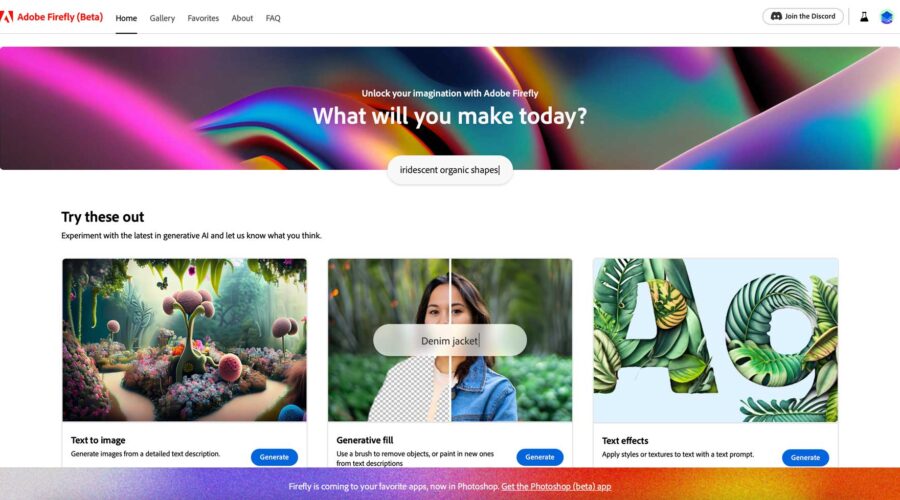
If you haven’t been keeping up with the latest developments from Adobe’s Creative Cloud suite of apps, you’ve been missing out. Adobe has been diligently working on a suite of tools with the groundbreaking artificial intelligence (AI) world, resulting in impressive progress. The buzz surrounding Adobe Firefly has been palpable, with eager creatives anxiously awaiting the chance to try it out. After a few months of anticipation, Adobe has released its newest beta version of Firefly, complete with generative AI technology. In this post, we’ll introduce you to the captivating world of Adobe Firefly, demonstrate how to use it, and showcase some examples you can create with it.
Let’s get started.
What is AI Art?
AI art is a form of art that is created with the help of AI algorithms (set of rules). They analyze large amounts of data, learn patterns and styles from original sources, and then generate new pieces that can have a variety of styles, subjects, textures, and lighting, amongst other features. Sometimes, the algorithm can produce unexpected yet imaginative results, often combining source data uniquely. One of the most amazing things about generative art is the time it takes to complete. While humans can create digital assets that compare to generative AI’s results, it takes a fraction of the time it would require a human to do.
What is Adobe Firefly?
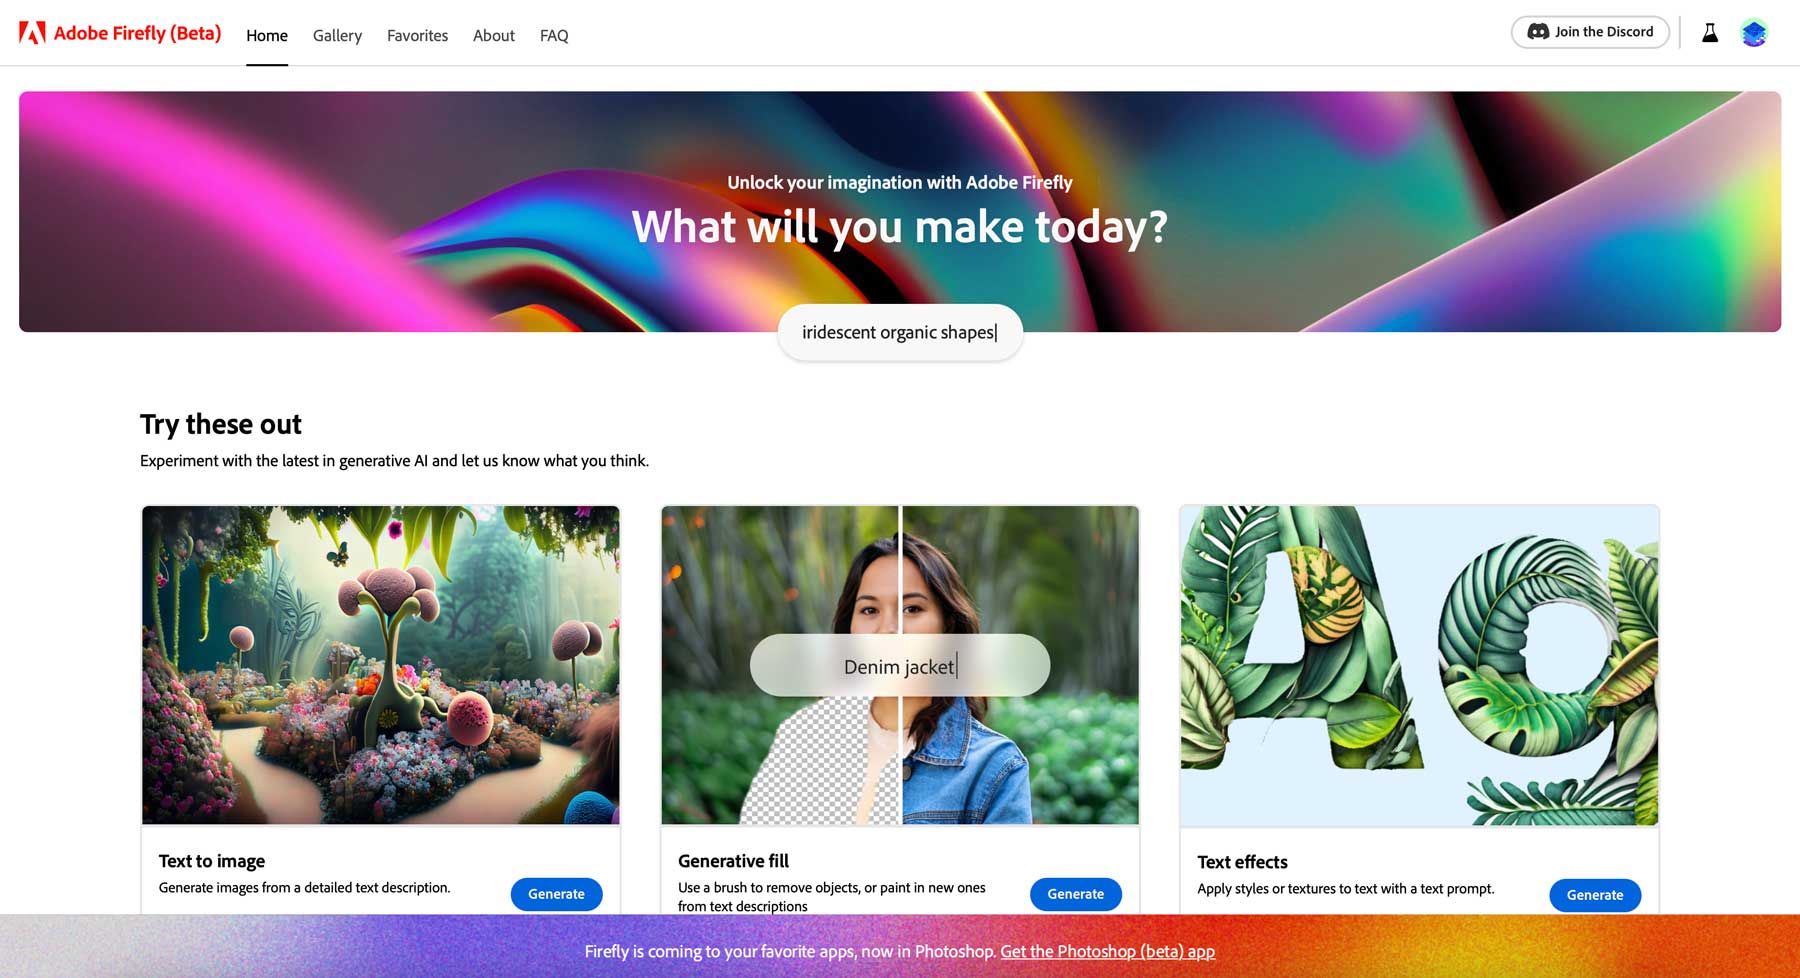
Firefly is a generative AI system created by Adobe, designed to integrate with Adobe’s Creative Cloud applications. At least, that’s the end game. Adobe Firefly is in beta right now, so it’s only available to Creative Cloud subscribers who sign up for access. In our experience, it takes a couple of weeks to be accepted, so keep that in mind should you decide to try it.
Currently, there are two ways to use Firefly: in a browser on the Firefly website or within Photoshop’s latest beta version. Options include generative fill, text-to-image generation, text effects, and generative recolor. However, Adobe has many more tools in the works, including 3D to image, sketch to image, text to pattern, and text to vector, which we personally can’t wait to try.
According to Adobe’s website, its AI art generator is trained on Adobe stock photos, openly licensed content, and public domain content. This approach is unique to any other generative AI that we’re aware of and should quell some of the copyright issues that are currently being raised with other text-to-image software, such as Midjourney and Stability AI.
Getting Started With Adobe Firefly
Subscribe To Our Youtube Channel
For this tutorial, we will use Firefly solely in the website setting rather than within Photoshop itself. We’ll save that for a later post. Before we get to that, though, let’s look at the features of the web version of Firefly, so you’ll know what to expect when using it.
Currently, there are four tools available on the Firefly website:
- Text to image: Generate images from a text prompt
- Generative Fill: Remove objects (including backgrounds) or paint in (inpainting) new ones using text
- Text effects: Apply styles and textures to text using a prompt
- Generative Recolor: Create color variations of your vector art from a text prompt
Text to image
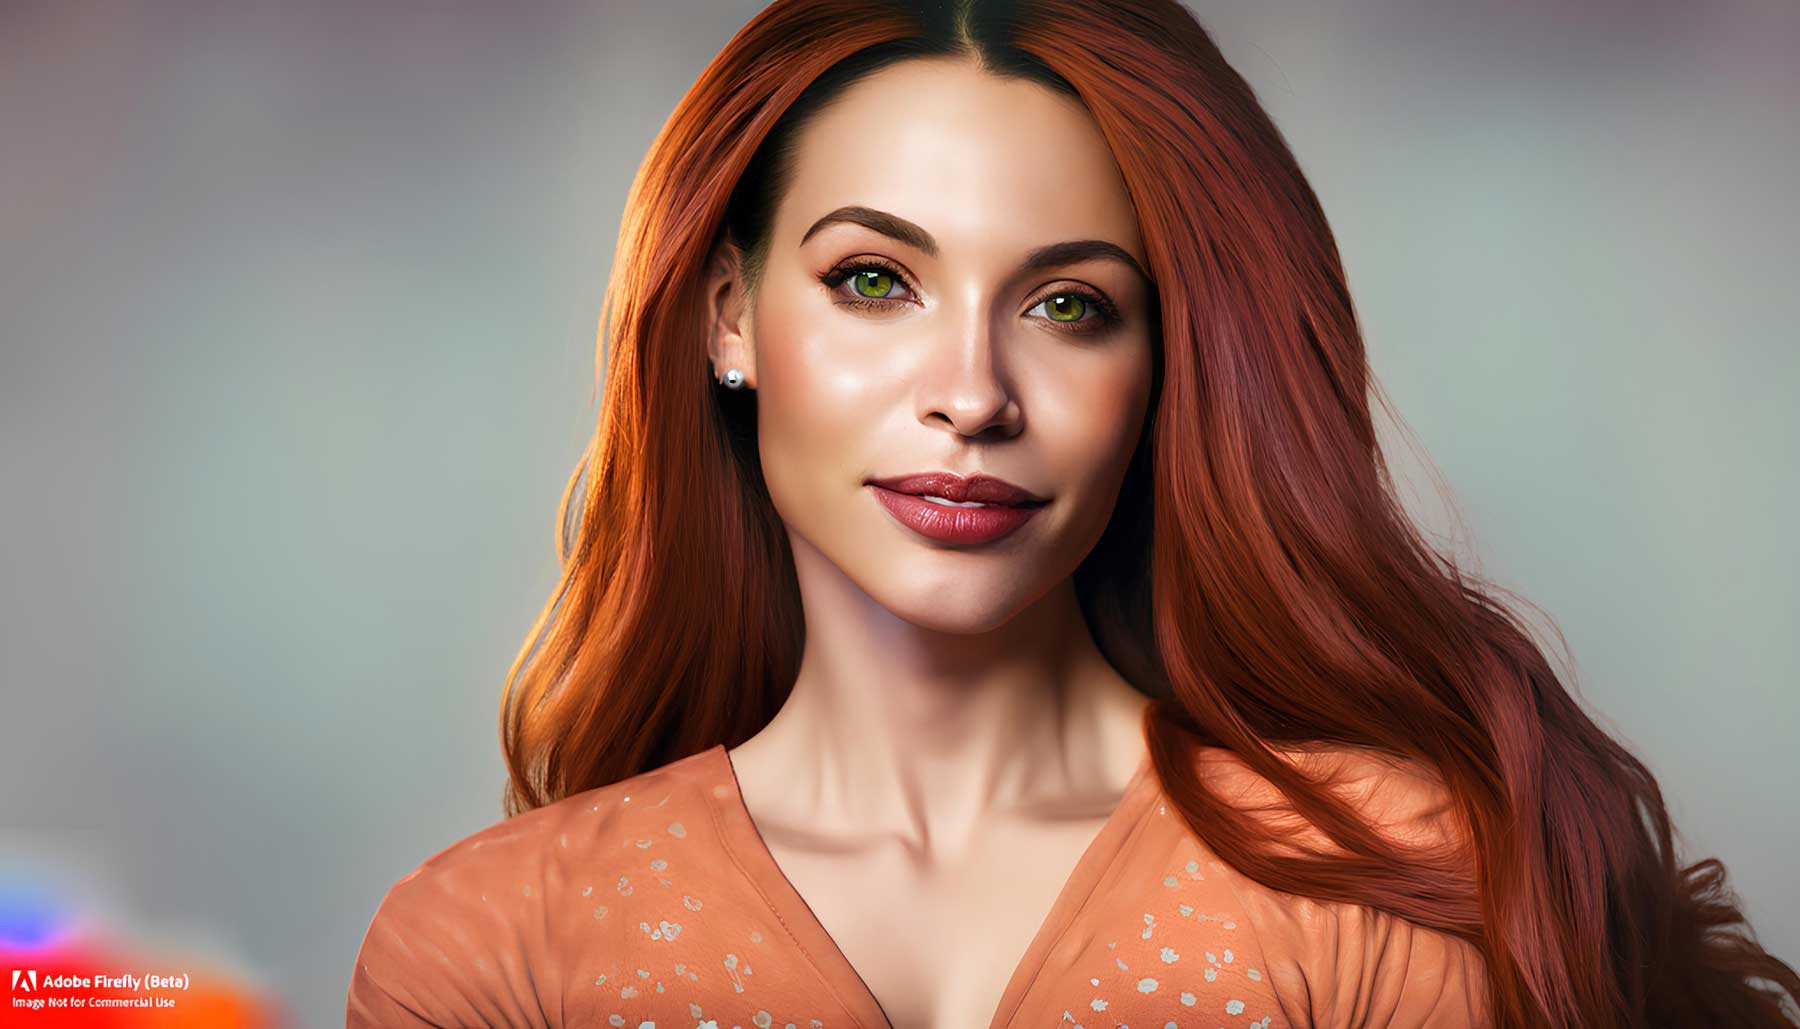
Image created with Adobe Firefly
The first tool, text-to-image, allows you to generate images using a text prompt. The interface is simple, with only two options: entering a text prompt and clicking the generate button to create art. One of the cool things about the interface is that you can scroll through other artists’ creations to gain inspiration, view their associated text prompts, or even try one out by hovering over an image and clicking the Try Prompt button.
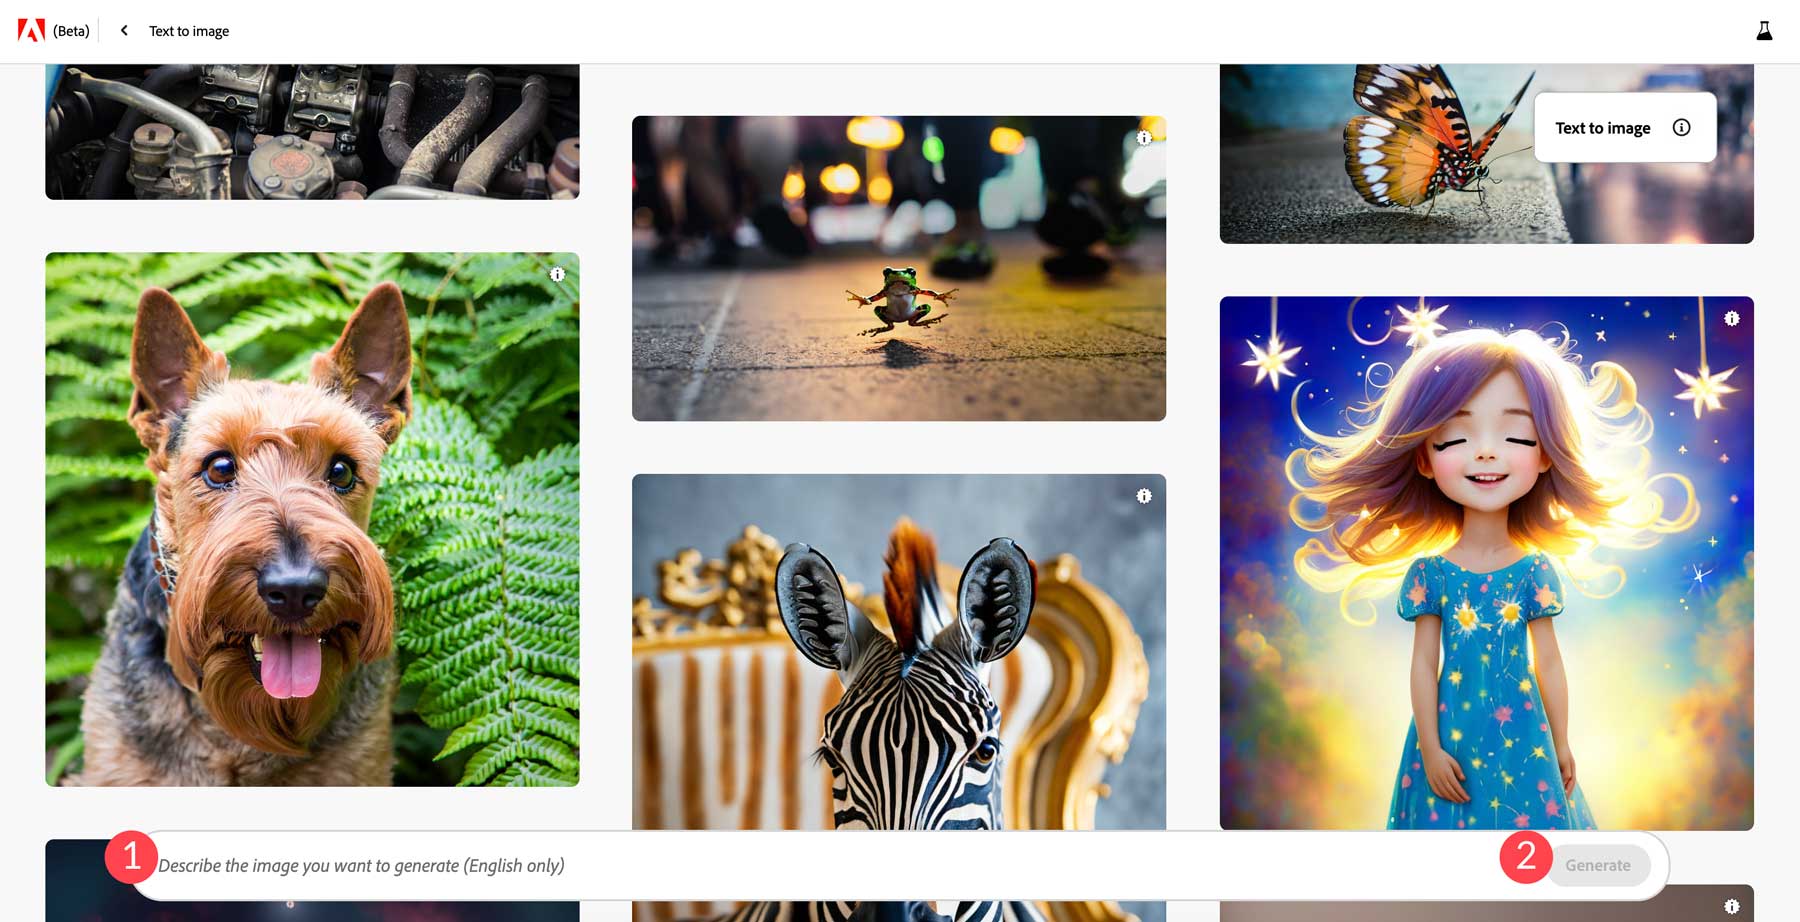
Place a descriptive prompt in the text bar to create an image, then click the generate button. Firefly will do its best to interpret your prompt, then provide four images. After your image is generated, you’ll have a wealth of options at your disposal.
Text to Image Settings
These settings are where Adobe Firefly shines. With other AI art generators, such as Midjourney, you get better results when you use descriptors in your prompts, such as cinematic lighting, macro photography, or highly detailed. In Firefly, that’s optional, thanks to the many filters and settings it provides.
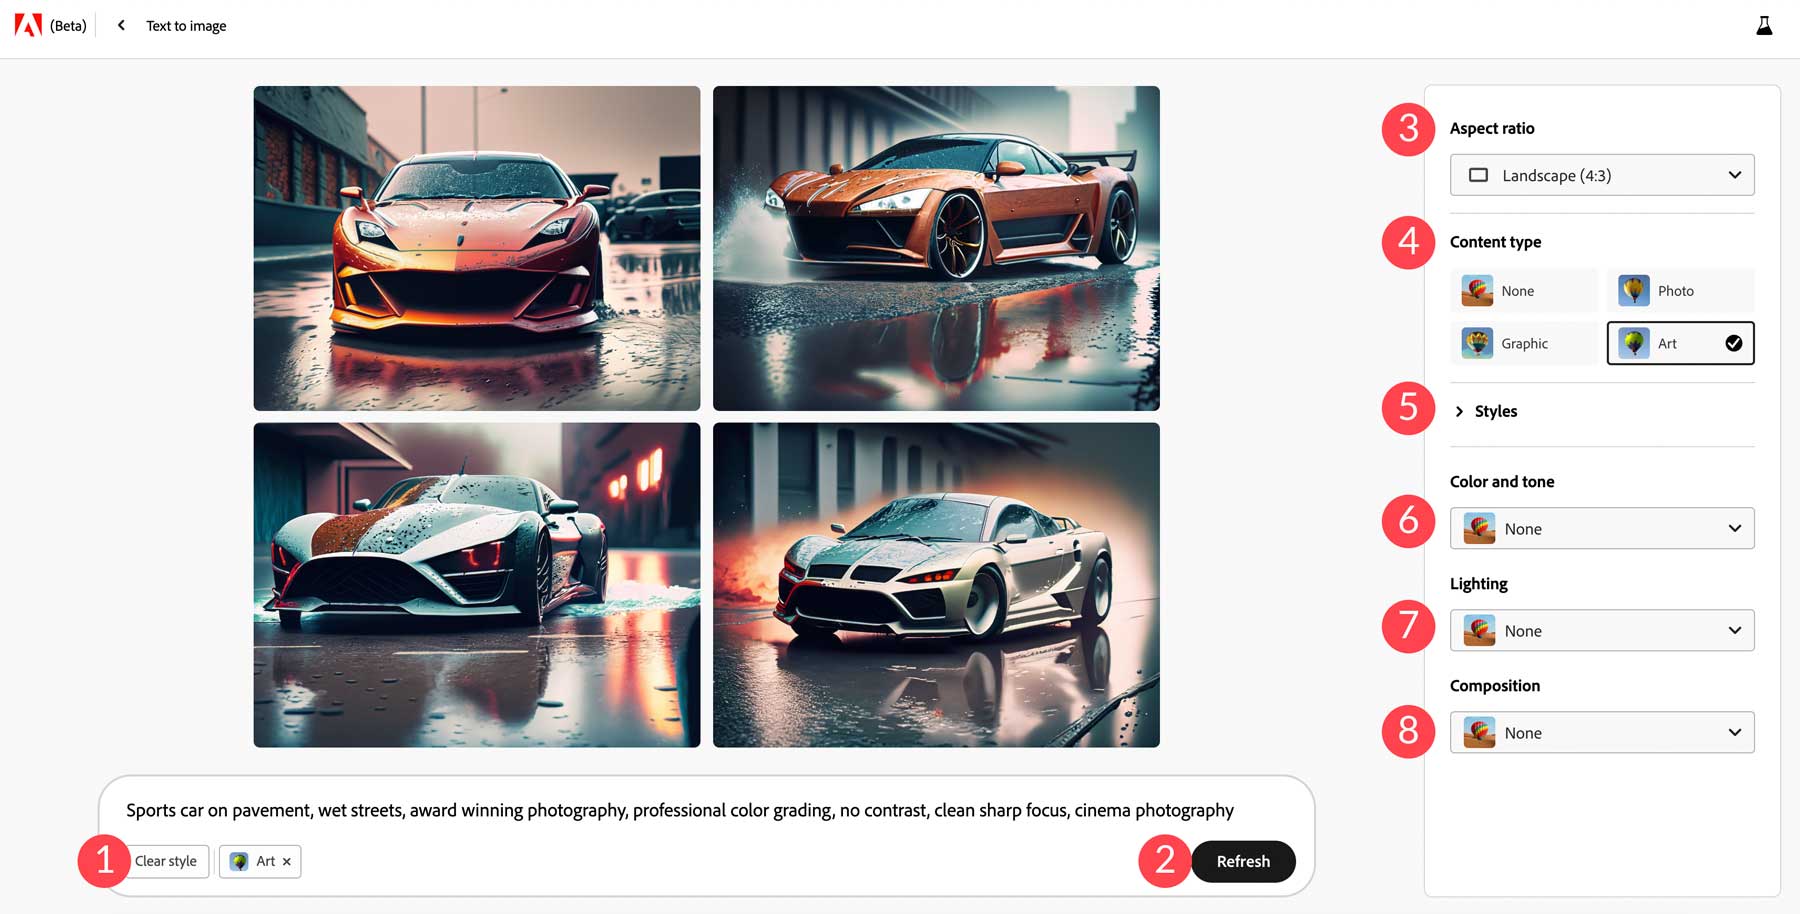
- Clear Style: By default, Firefly will add the Art content type to your image; you can click this button to remove it, then replace it with another.
- Refresh: If you want to re-run your prompt, you can click the refresh button to ask Firefly to give it another go.
- Aspect Ratio: By default, images are generated in a 1:1 ratio (square). However, you can choose from additional ones, including landscape, portrait, widescreen, or vertical.
- Content Type: Four styles including none, photo, graphic, and art.
- Styles: You can filter through different style types to give your images different looks. Overall, there are 63 options in 7 categories.
- Color and Tone: If you want a certain color or tone, you can choose from 7 presets, including black and white, muted color, warm tone, cool tone, vibrant color, or pastel color.
- Lighting: options include backlighting, dramatic lighting, golden hour, studio lighting, and low lighting.
- Composition: Want to create a close-up shot or wide angle? No problem. Adobe Firefly comes with 7 options to add lighting effects to your images.
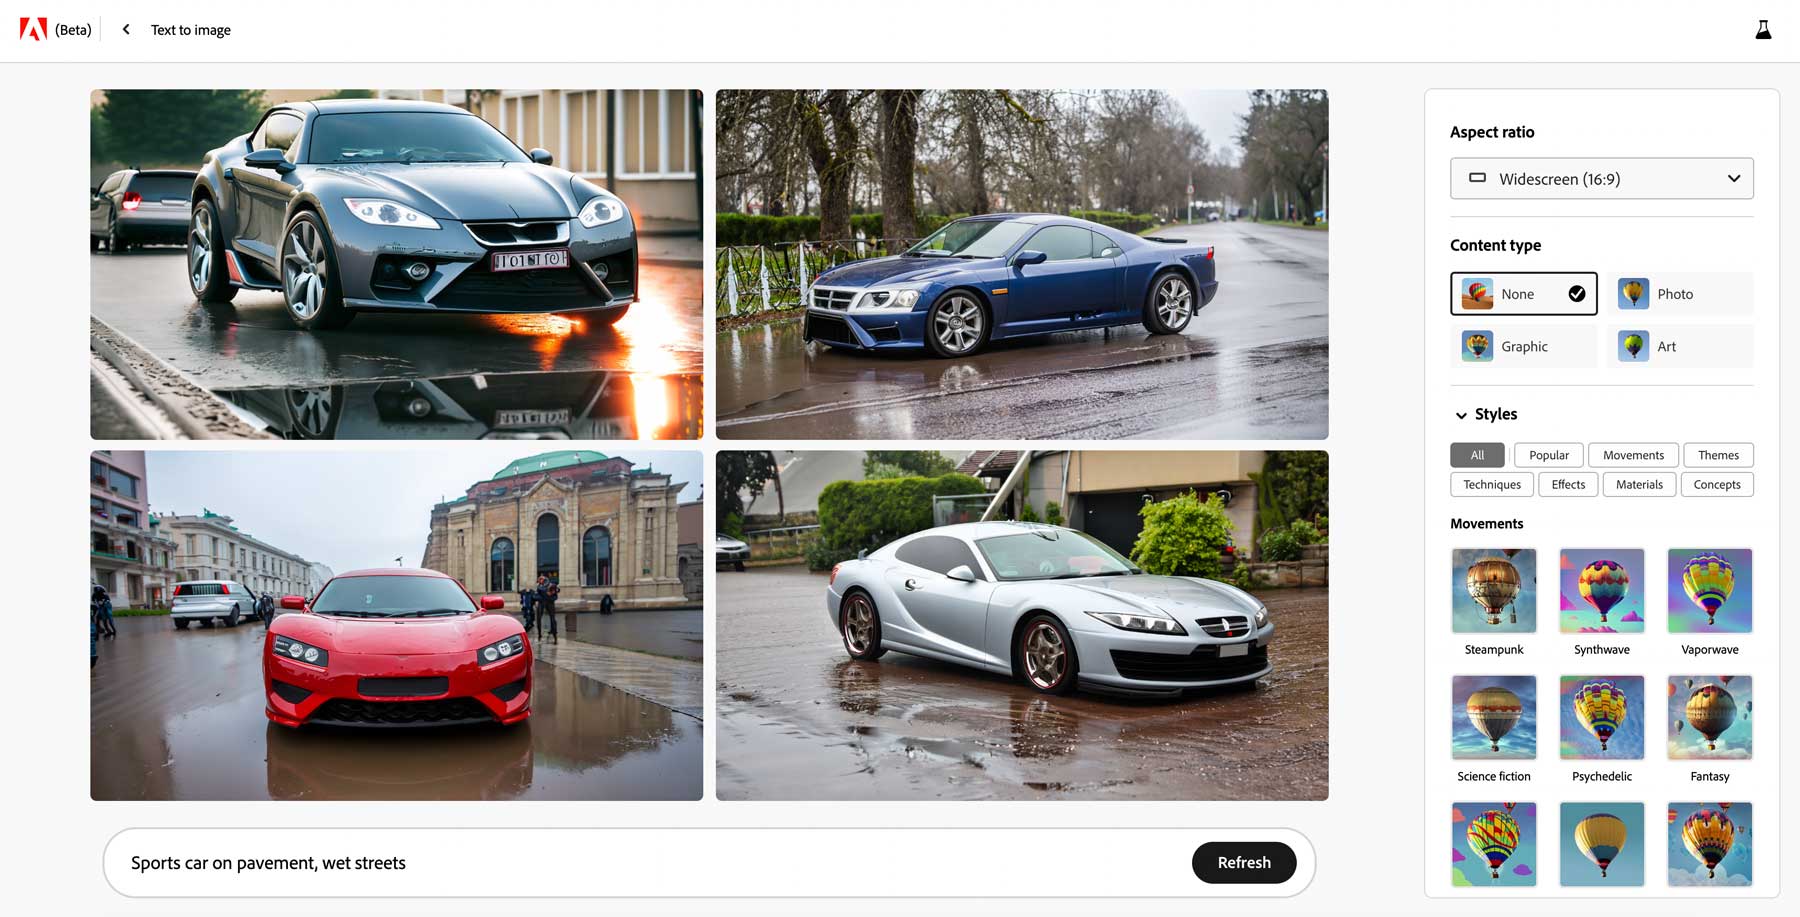
To put these settings to the test, we used the text prompt sports car on pavement, wet streets without any additional descriptors. It produced very realistic results on our first try:
Next, we added the following settings:
- Aspect ratio: Widescreen
- Content type: Art
- Style: Science Fiction
- Color and tone: Warm
- Lighting: Dramatic
- Composition: Shot from below
The Output
After applying these settings, we ended up with a dramatically different, more interesting, and more detailed set of images.
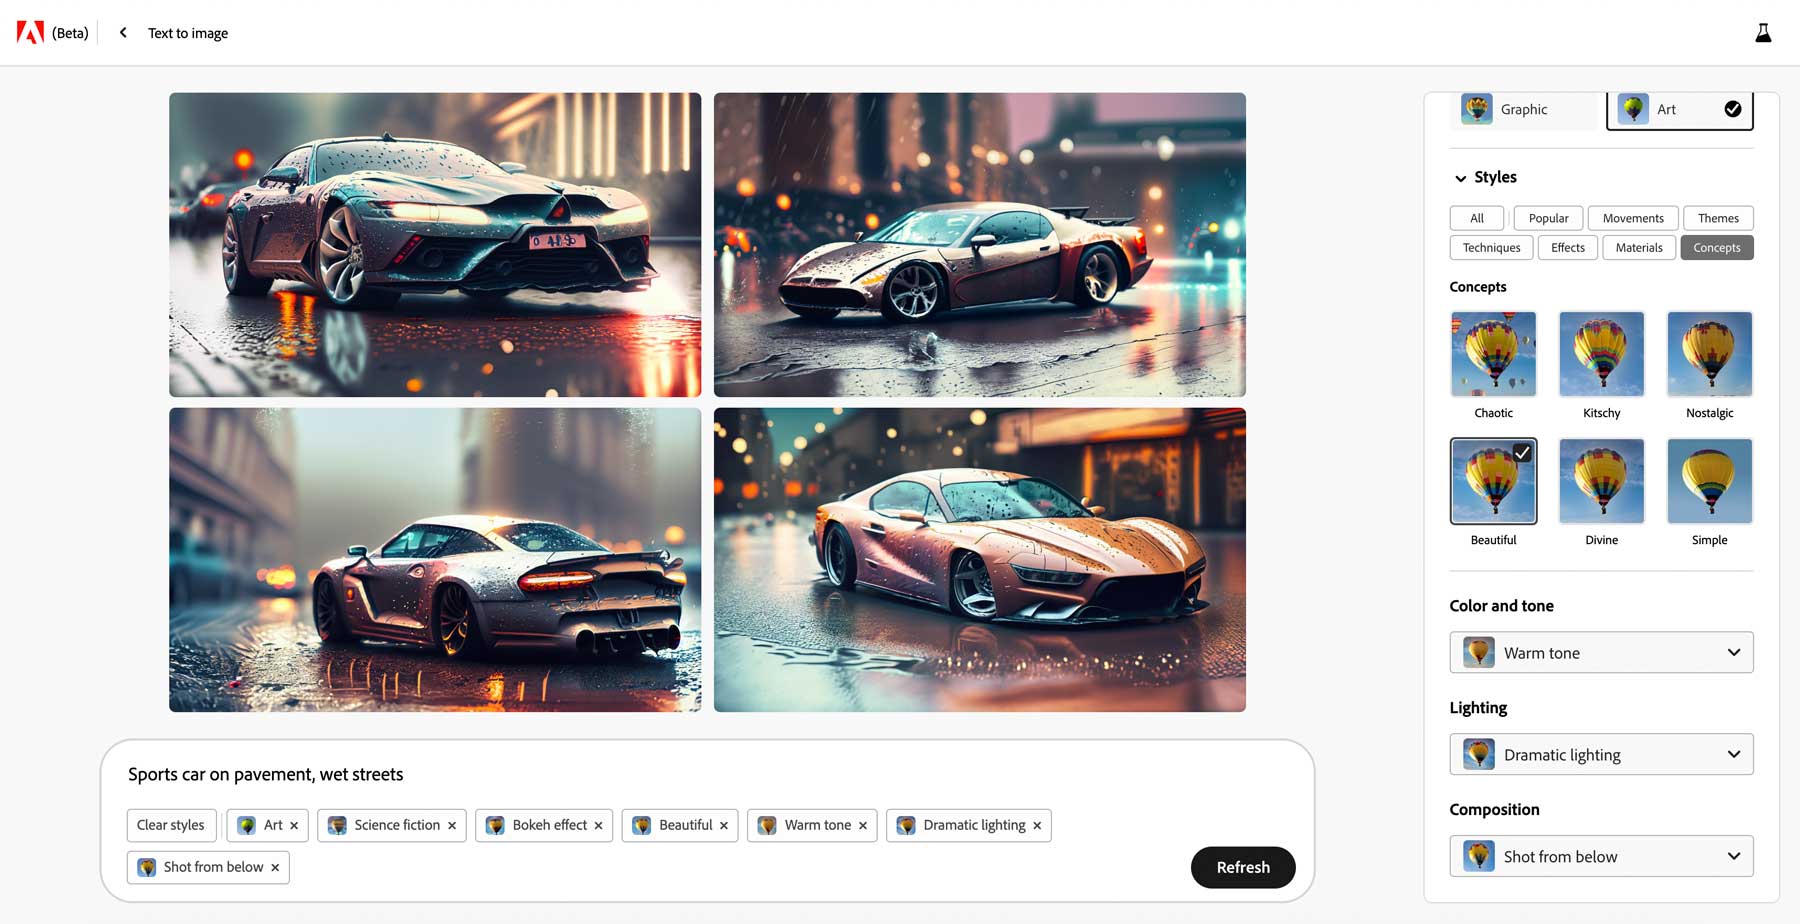
While the results are impressive, there’s room for improvement. Unlike other AI systems, Adobe doesn’t give you a way to add a negative prompt, which would be a great addition. Negative prompts help AI to learn what you don’t want in your images. However, we’re optimistic that will change soon as Adobe works out the kinks and adds more features.
Generative Fill

Image created with Adobe Firefly
The next AI tool, generative fill, allows you to erase backgrounds or add inpainting to your images. You start by uploading an image, then adding or subtracting an area within the image you wish to change. Let’s take a look at the settings for the generative fill tool.
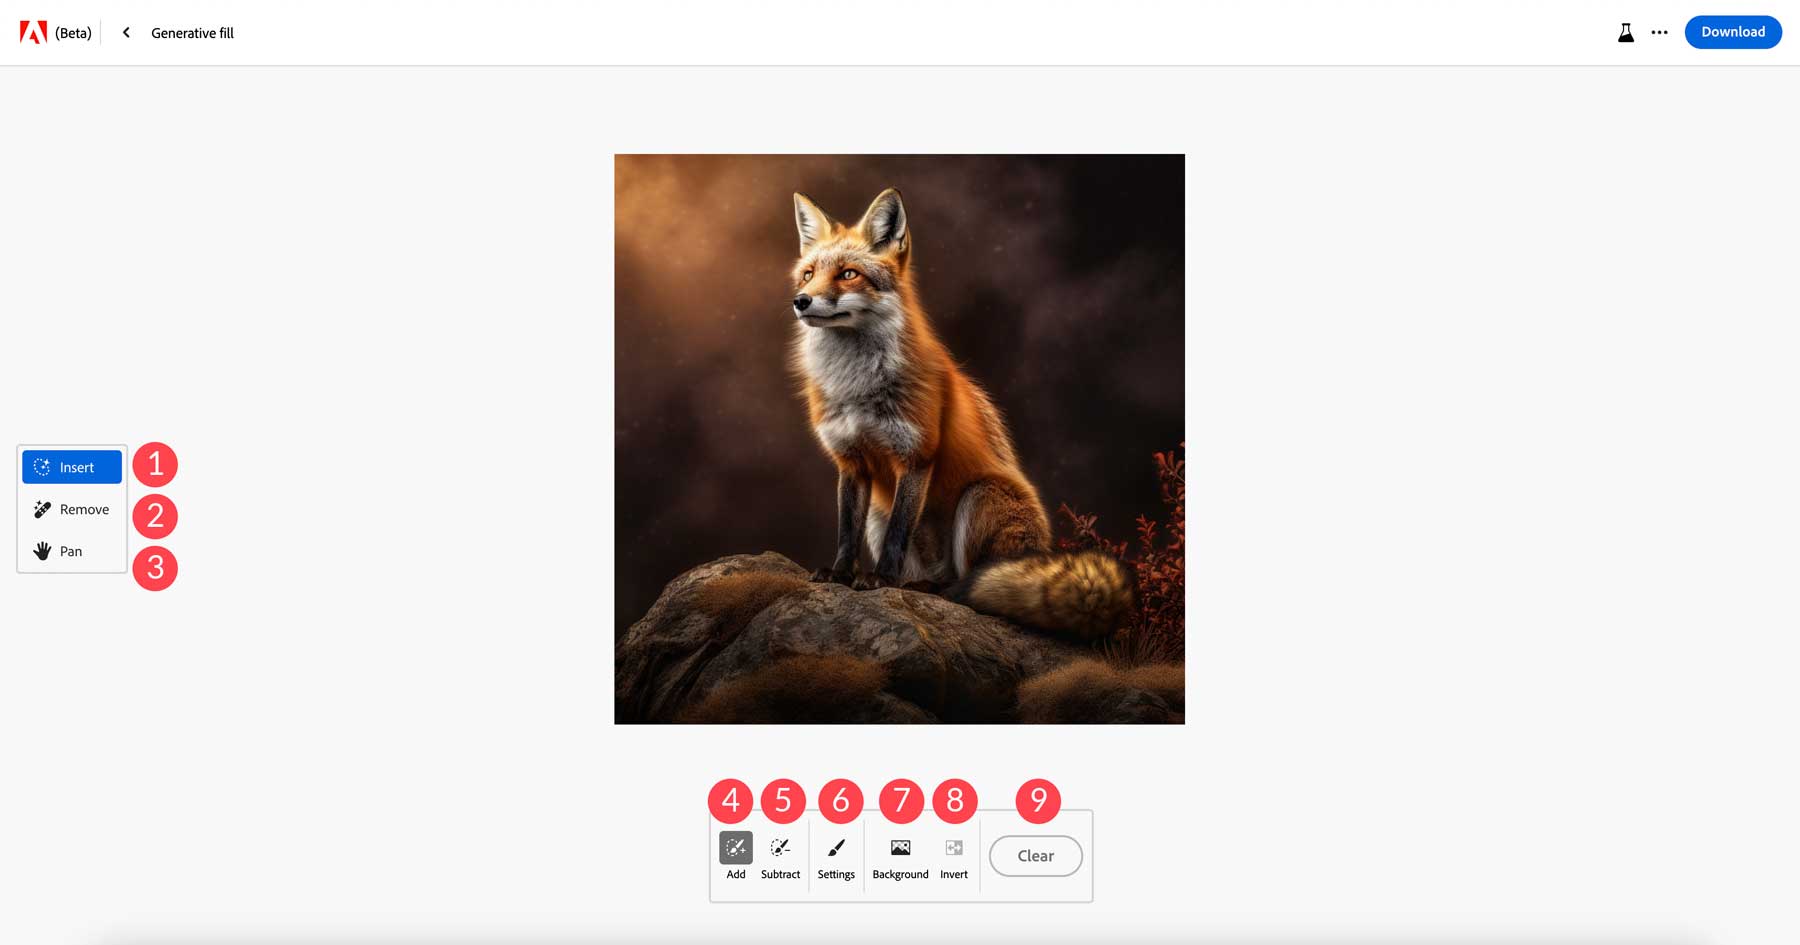
- Insert: Mode to add elements to images
- Remove: Mode to remove elements from images
- Pan: move the image around the canvas
- Add: Allows you to erase parts of your image, then add something in its place
- Subtract: Allows you to remove aspects of your image
- Settings: Controls the size, hardness, and opacity of the brush tool
- Background: AI determines the image’s subject, then removes the surrounding background
- Invert: Inverts the selection
- Clear: Removes all styles
We uploaded an image of a lake house to test Adobe’s generative fill tool to add elements. We started with the add tool to erase areas on the deck. Next, we asked Firefly to place a dog in the area we erased from the photo. Before generating the new area of our image, we tweaked some additional settings within the generative fill tool.
Generative Fill Image Settings
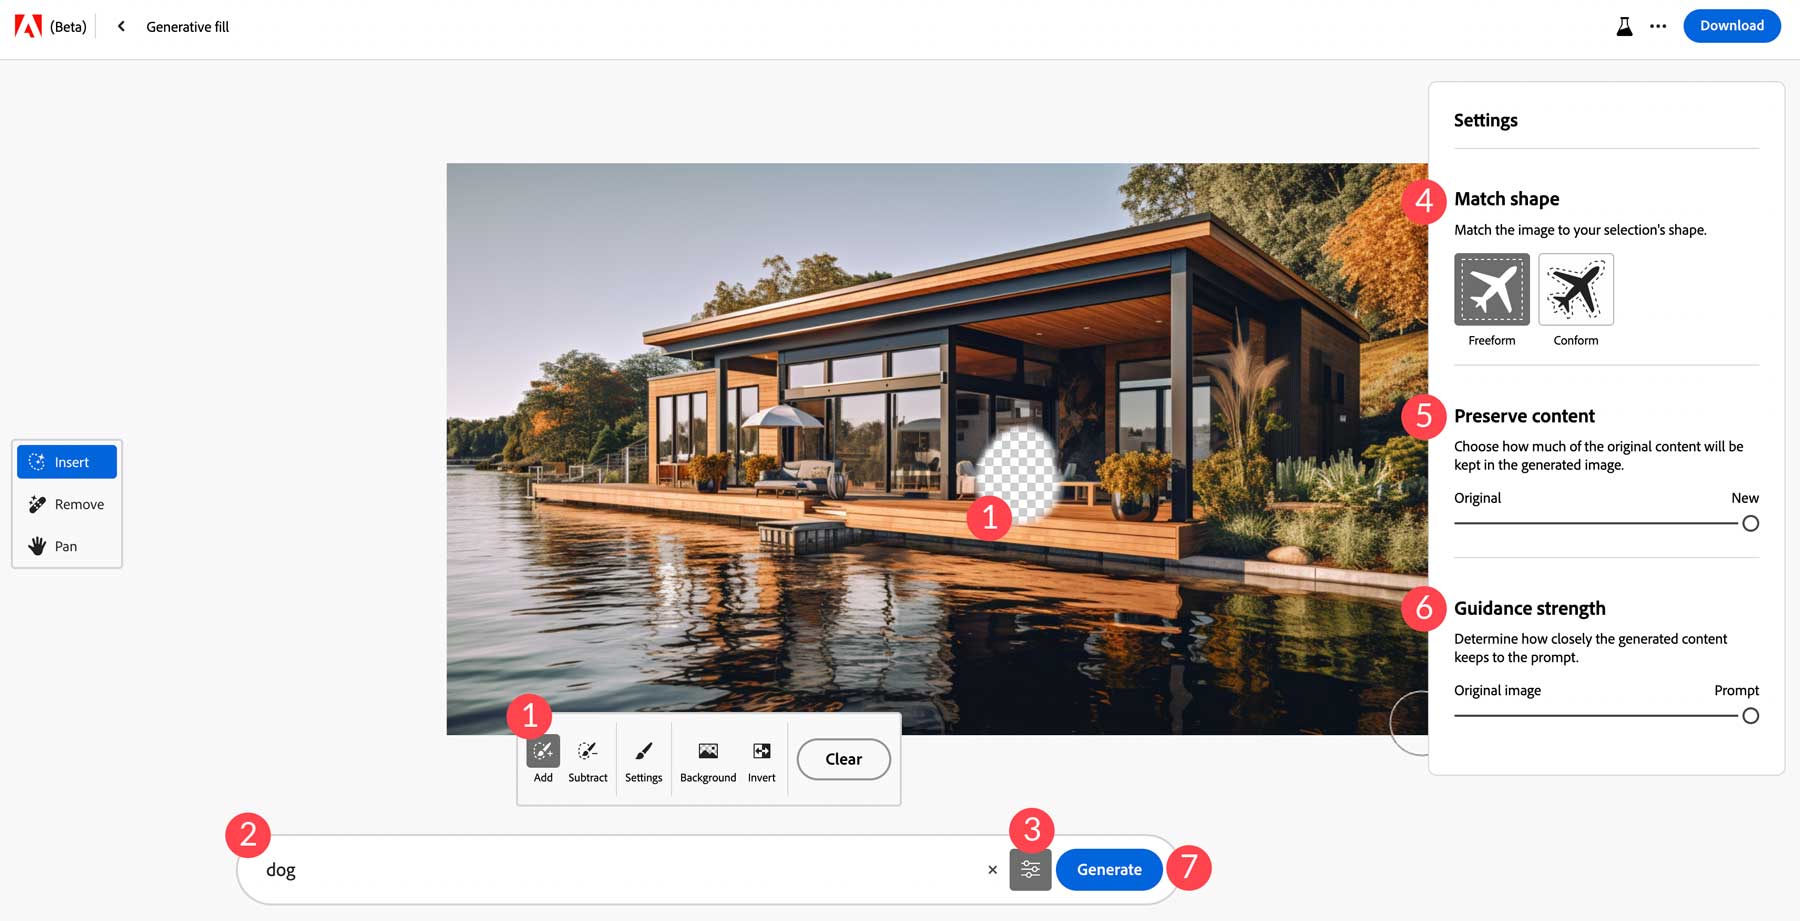
First, we selected the add tool to erase a section of the photo. Next, we entered our keyword, dog, then clicked the settings button. From there, we assigned freeform as the matching shape. This lets Firefly know that you want the inpainting to fill the area we erased but not conform to it. Next, we set the preserve content slider to new. This tells Firefly not to use the original image to generate the new one; rather, follow our text prompt. Then we set the guidance strength to prompt rather than the original image. Setting this to the original image would tell Firefly to fill the area with surrounding elements of the original image rather than be guided by our prompt. Finally, we clicked the generate button to add our dog.
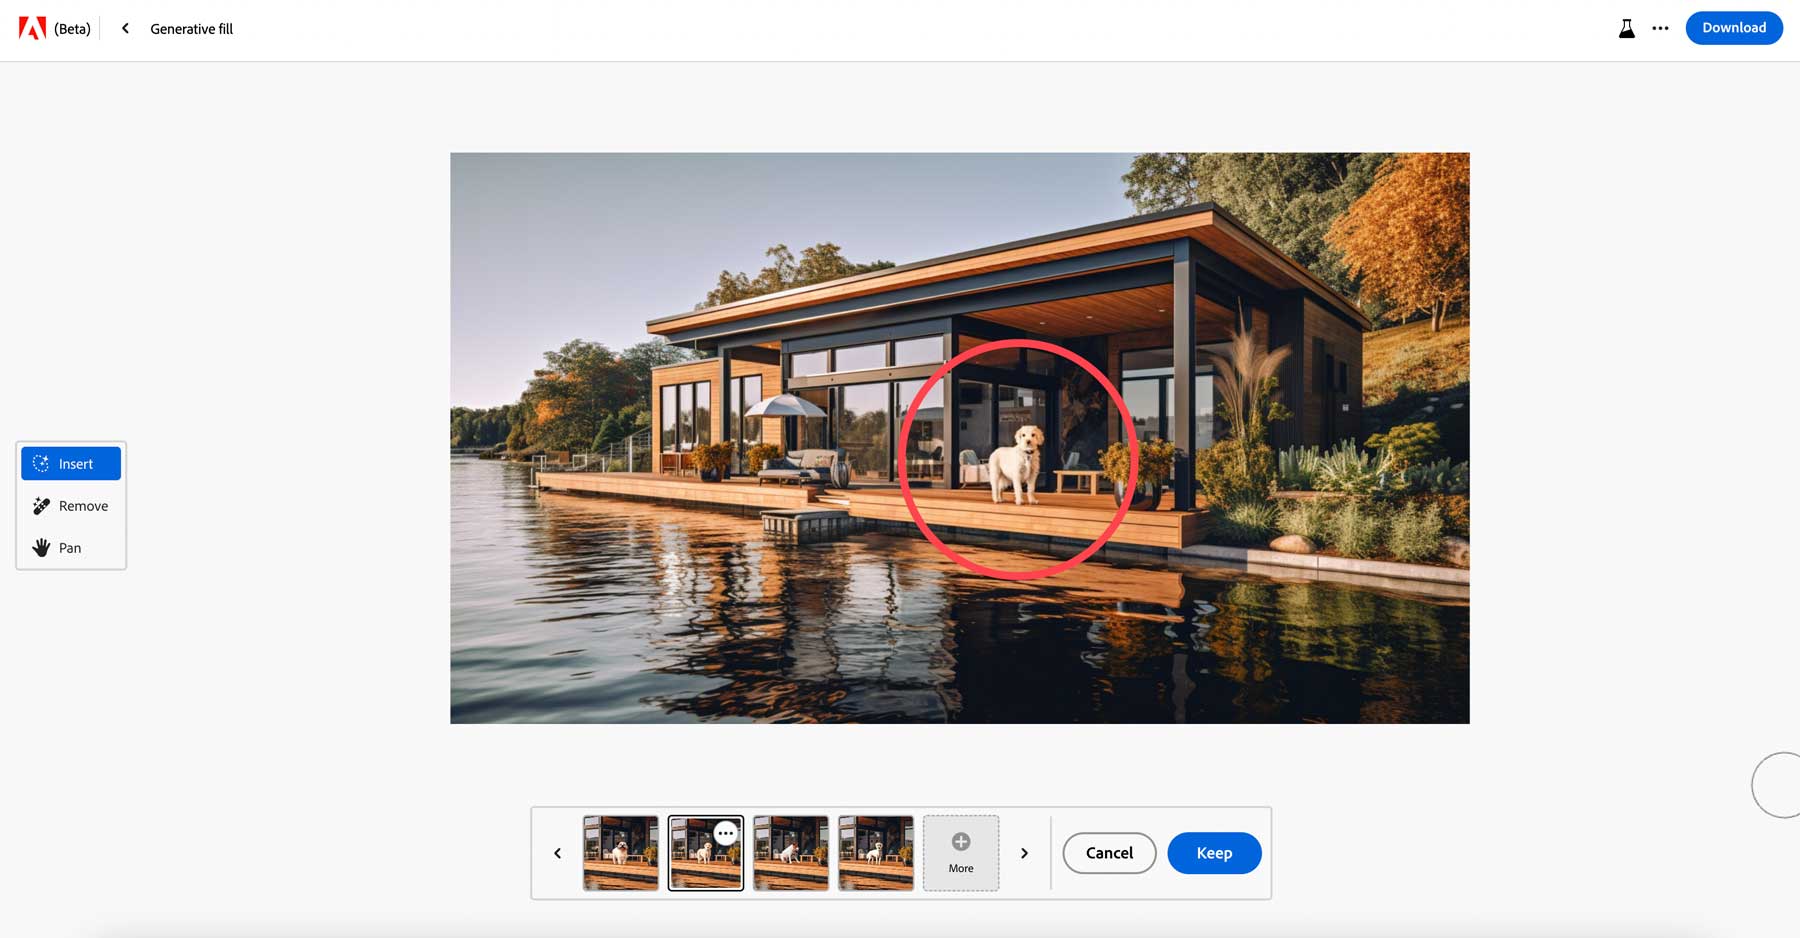
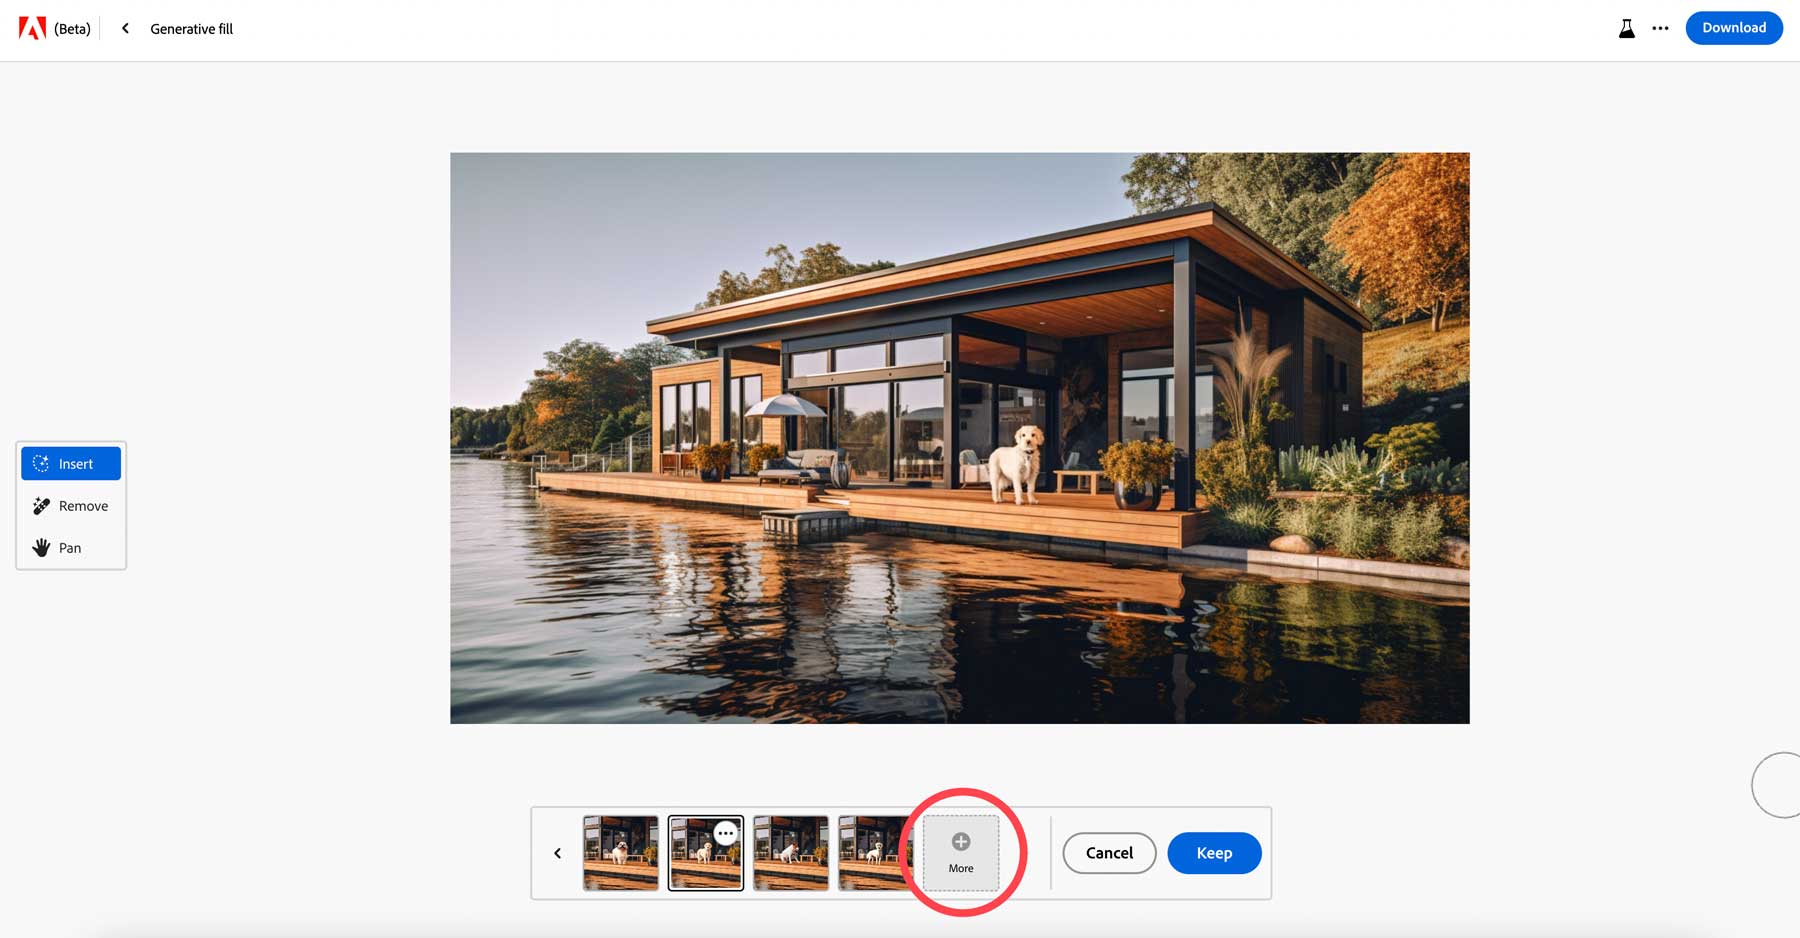
Firefly did a pretty good job adding a dog to the deck of our image. One cool thing about this is that it generates four different looks, just like in the text-to-image tool. This allows you to choose the one you like the most. If you aren’t satisfied with any of the options, click the + more button to generate four additional images.
Text Effects
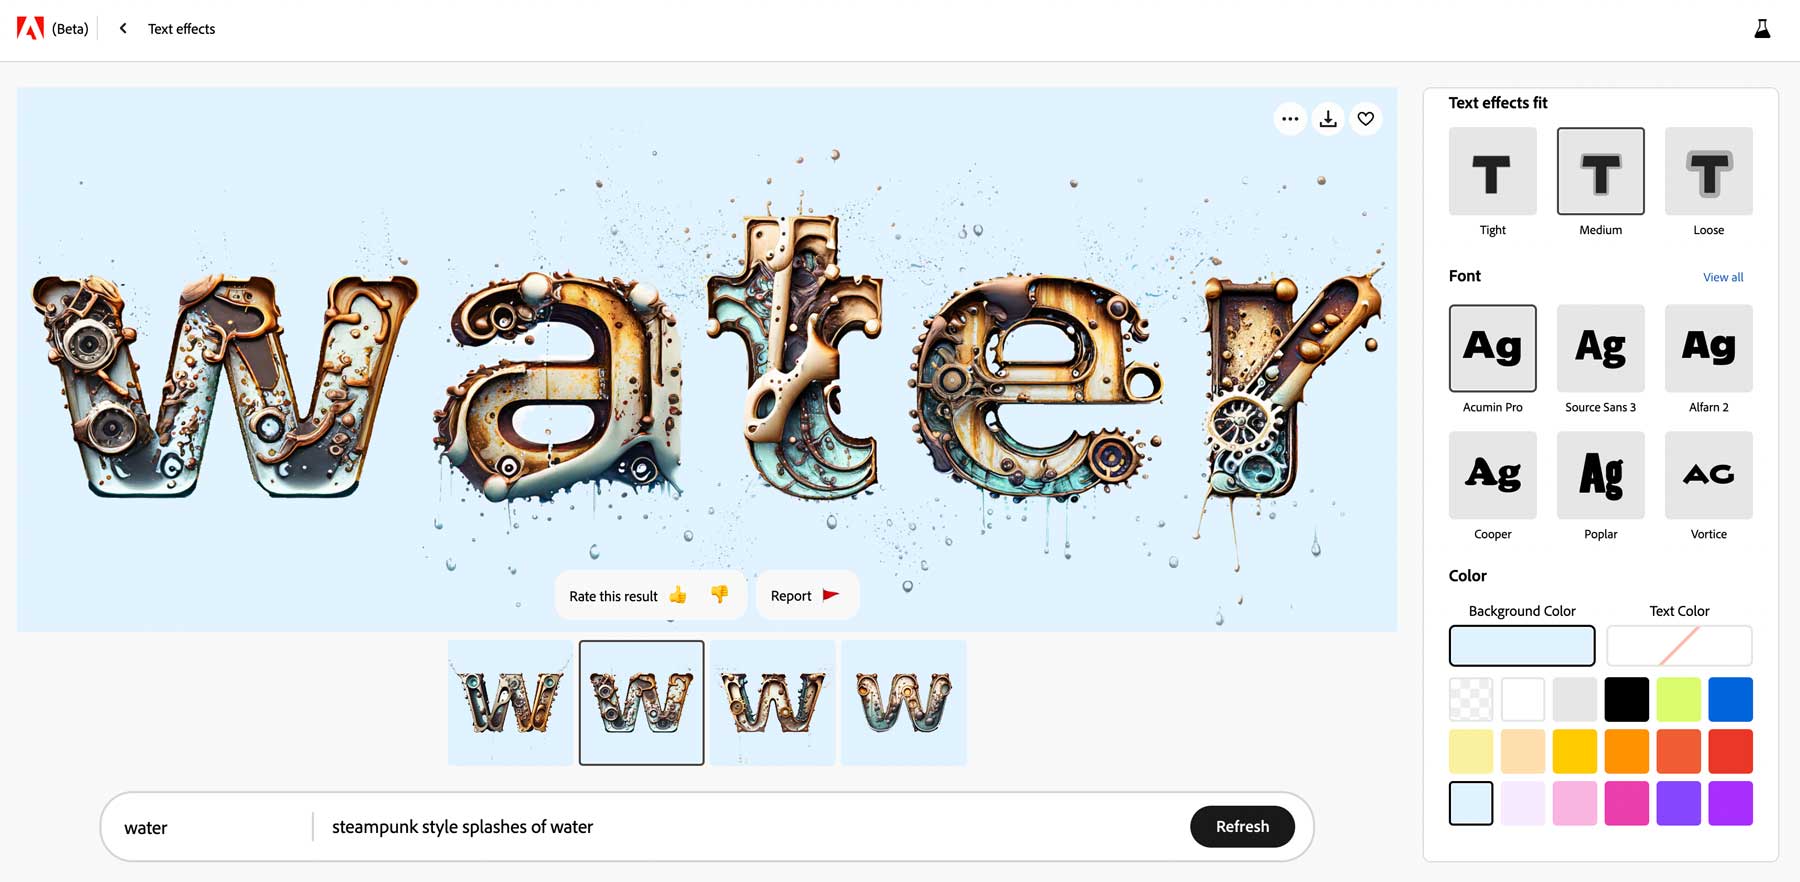
The text effects in Firefly work much like text-to-image. Add a text prompt describing the image you wish to create, then apply settings as you see fit. The text effect tool has a few settings, including text effect fit, which allows you to control how close you’d like the text to conform to the letters. You can also choose one of twelve fonts and apply any number of colors to either the text itself or the background.
Generative Recolor
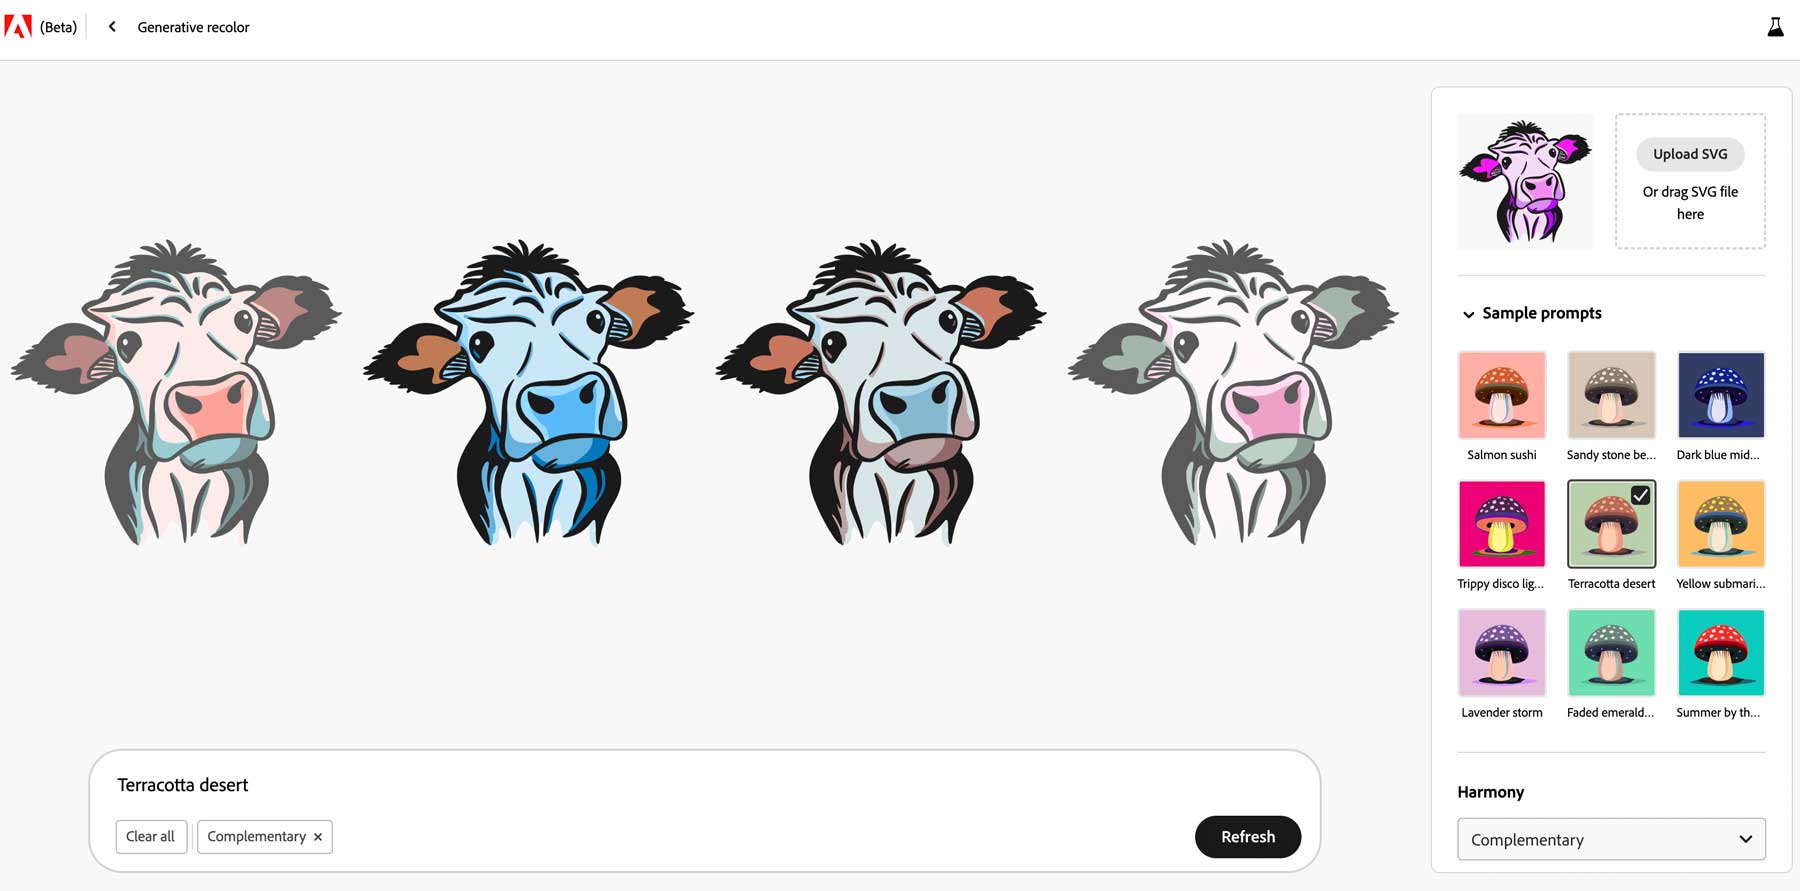
Adobe Firefly’s generative recolor tool enables artists to generate unique colors and color palettes for vector art. It works by uploading an SVG file, then adding a text prompt to describe the color palette you’d like your art to incorporate. There are a few settings you can use to improve the output, including a collection of sample prompts with various colors, a harmony selector, where you can choose from complementary, analogous, and more, along with a color picker to select additional colors.
Tips for Creating Stunning AI Art with Adobe Firefly
Creating AI art can be an exciting and rewarding experience, but it can also be challenging. To help you get started, here are five tips to make your AI art more effective and engaging. From selecting the right styling keyword to experimenting with modifiers and combinations, these tips will help you take your AI art to the next level.
1. Start With an Idea
When experimenting with Firefly, start with a general idea of what you want to create and include a subject. The subject can be anything from a building to an animal or car. The sky is the limit with AI. However, remember that AI still has its limitations when handling text (although this will likely change in the future). Therefore, it’s best to avoid prompts involving word depiction.
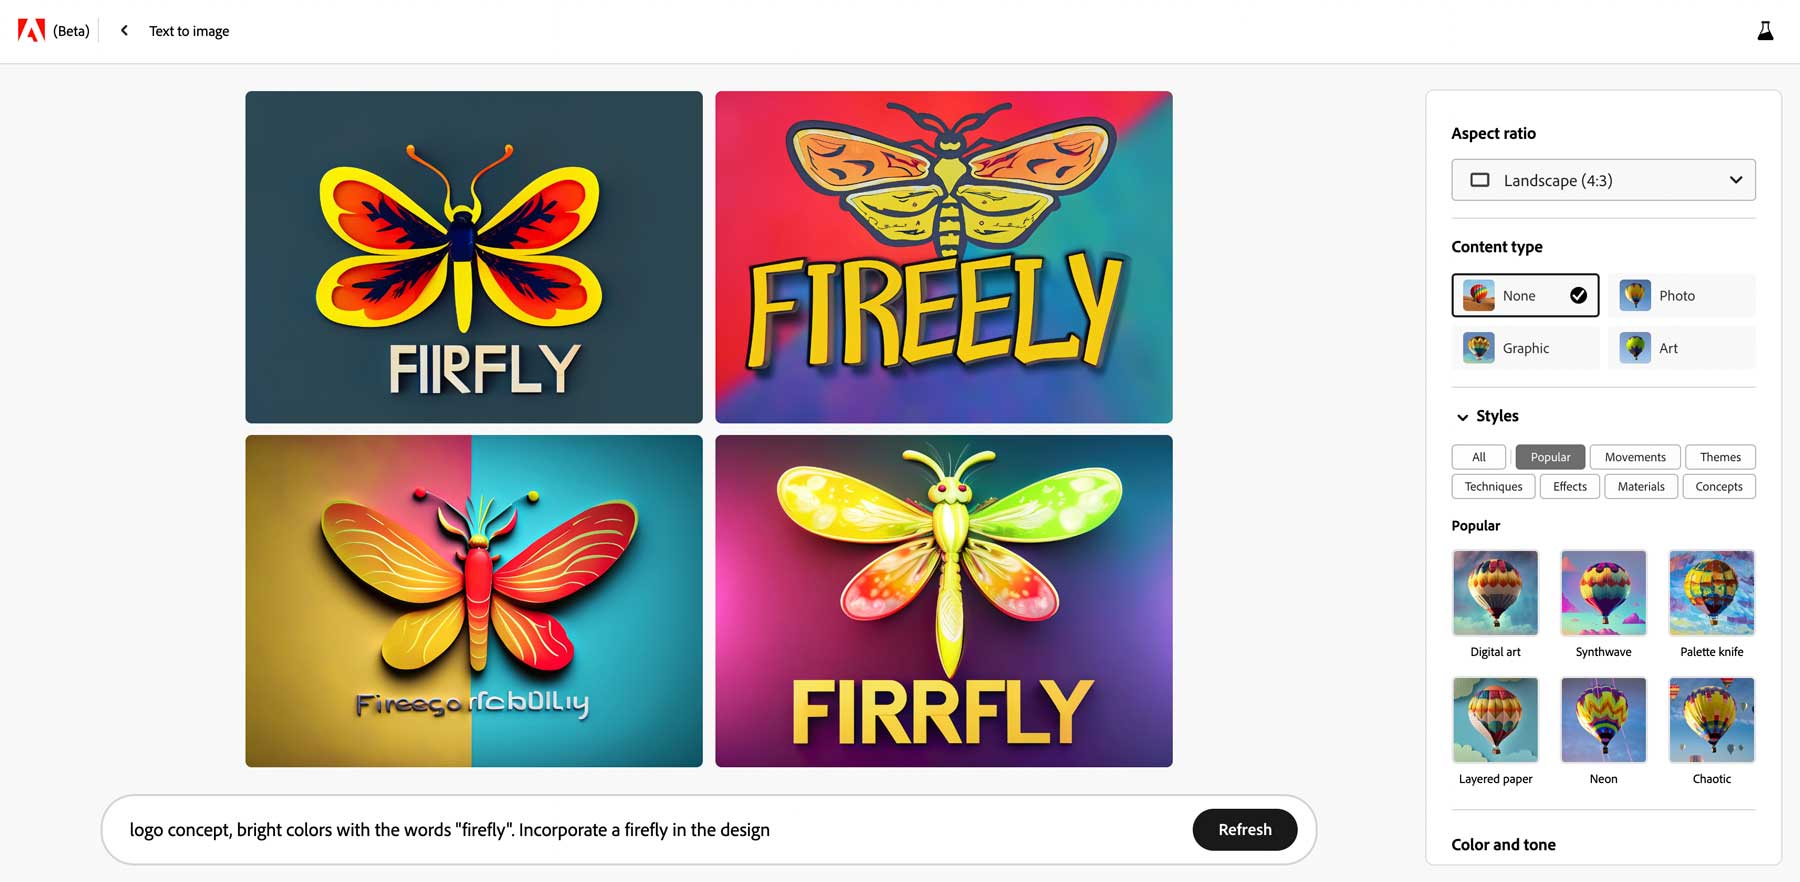
For example, it’s a great idea to use AI art generators for logo concepts, but remember that prompting Firefly to include words will likely provide undesirable results. If you want to use AI to create logos with text, you might be better off going with a tool such as Canva or Designs.ai.
2. Use Style Modifiers
Remember to include style modifiers when crafting your prompts to enhance your images. Firefly offers a wide range of presets, making it easy to follow this tip. However, suppose you use a style modifier in your text prompt that matches a preset. In that case, Firefly will omit the word from the prompt and incorporate it as a style. For instance, if you add modifiers like “hyper-realistic” or “dramatic lighting,” they will be automatically removed, and the associated style will be selected for you.
For example, when creating this image, we used the hyper-realistic style preset, along with dynamic lighting, beautiful, and bioluminescent.
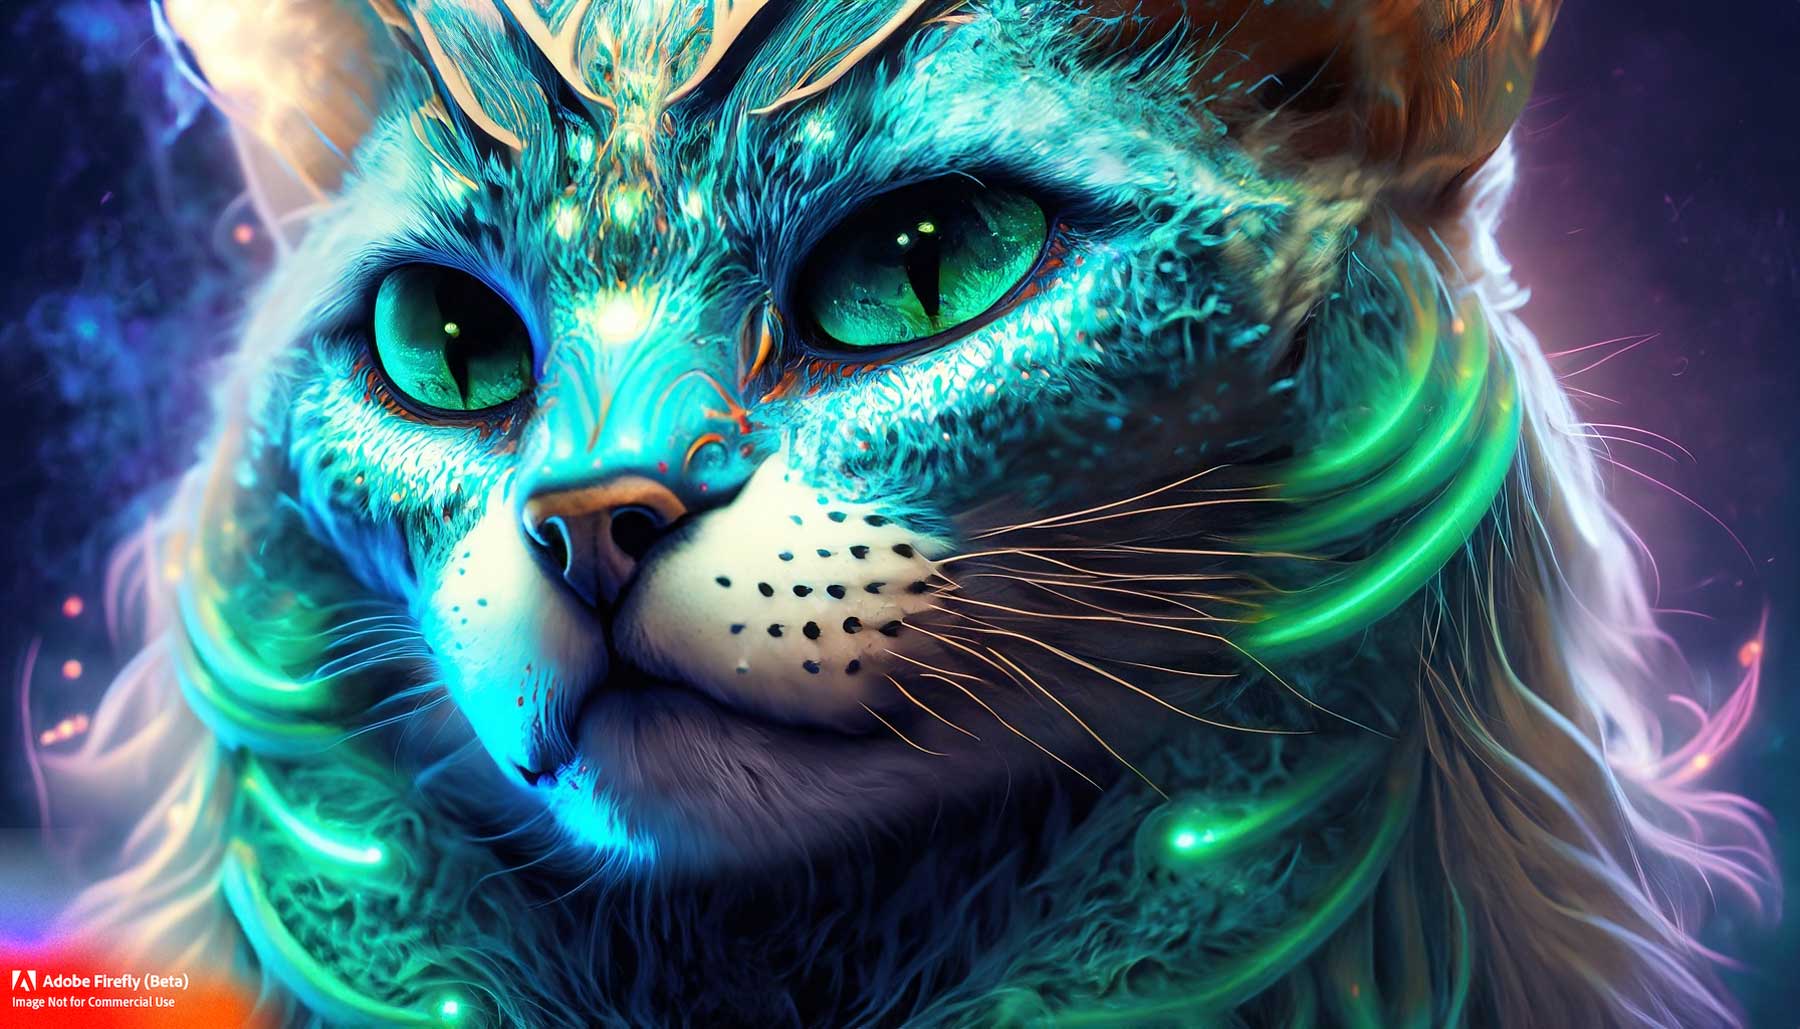
Image created with Adobe Firefly
3. Add a Boost Word or Two
Boosters are adjectives that increase the quality of your output when used. You can use words such as beautiful, highly detailed, dark, etc. Generally, you’ll get better results using these types of words rather than simply stating a subject. In addition to adjectives, use words that depict an act taking place. For example, if you want to create an interesting photo of a lion in the jungle, include the word running to give Firefly a better idea of what you’re looking for.
4. Be Clear, Yet Descriptive
It is essential to be specific and detailed to achieve the best results. By providing clear instructions and details when creating prompts, you enhance the quality of your art. This specificity gives the AI more information, increasing the likelihood of satisfying results. However, striking a balance and avoiding overly long prompts is important. While descriptors and modifiers can be helpful, too many words may confuse and hinder the AI’s understanding.
5. Add Repetitions
While this concept may seem counterproductive, it actually can work well in some settings. This is basically because of the way AI algorithms work. Since most of the current artificial intelligence systems use a form of machine learning called supervised learning, an AI trained on specific data can associate what you are looking for more clearly if you repeat certain modifiers. For example, using the prompt glowing river in a cave, blue and green glow, blue water will likely produce better results than a river in a cave would.
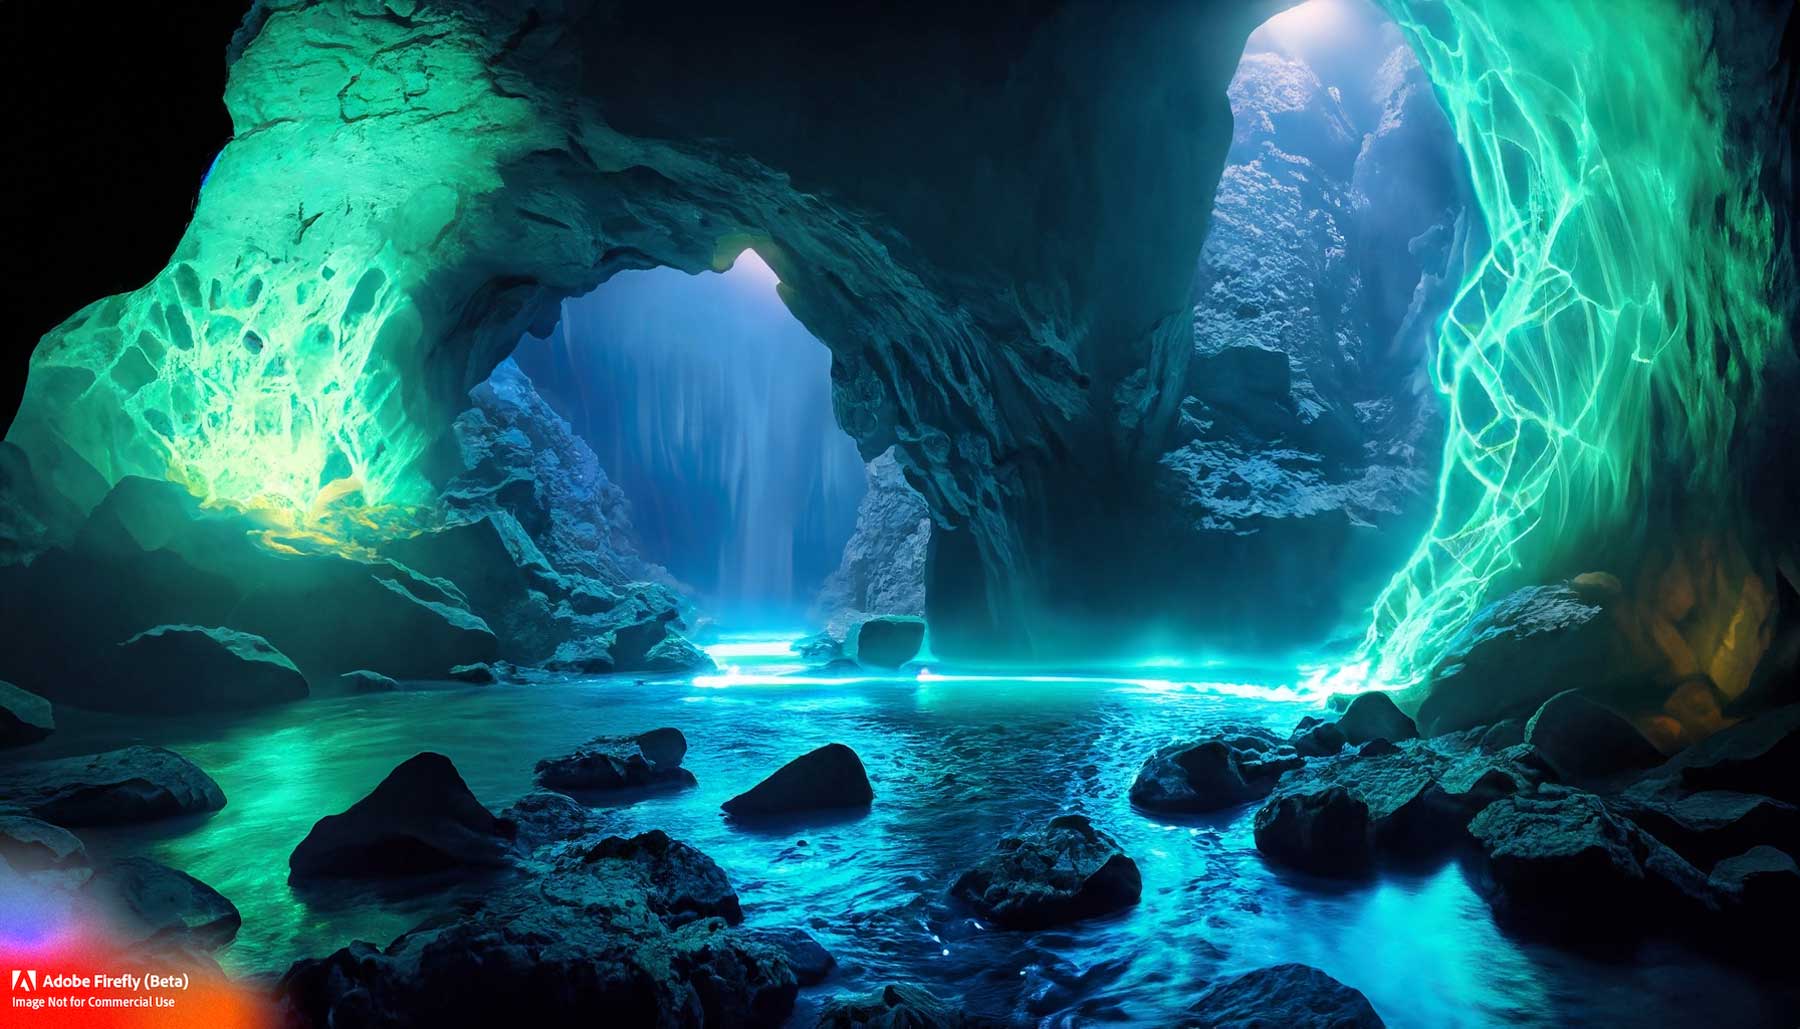
Image created with Adobe Firefly
Showcase of AI Art Created with Adobe Firefly
Now for the fun part. Rather than just explaining what Adobe Firefly can do, we’ve included a few more examples with the prompts we used to create each piece. Enjoy!
Prompt: A lion running through the African jungle, professional color grading, soft shadows, no contrast, clean sharp focus, blurred background, film photography.
Result:
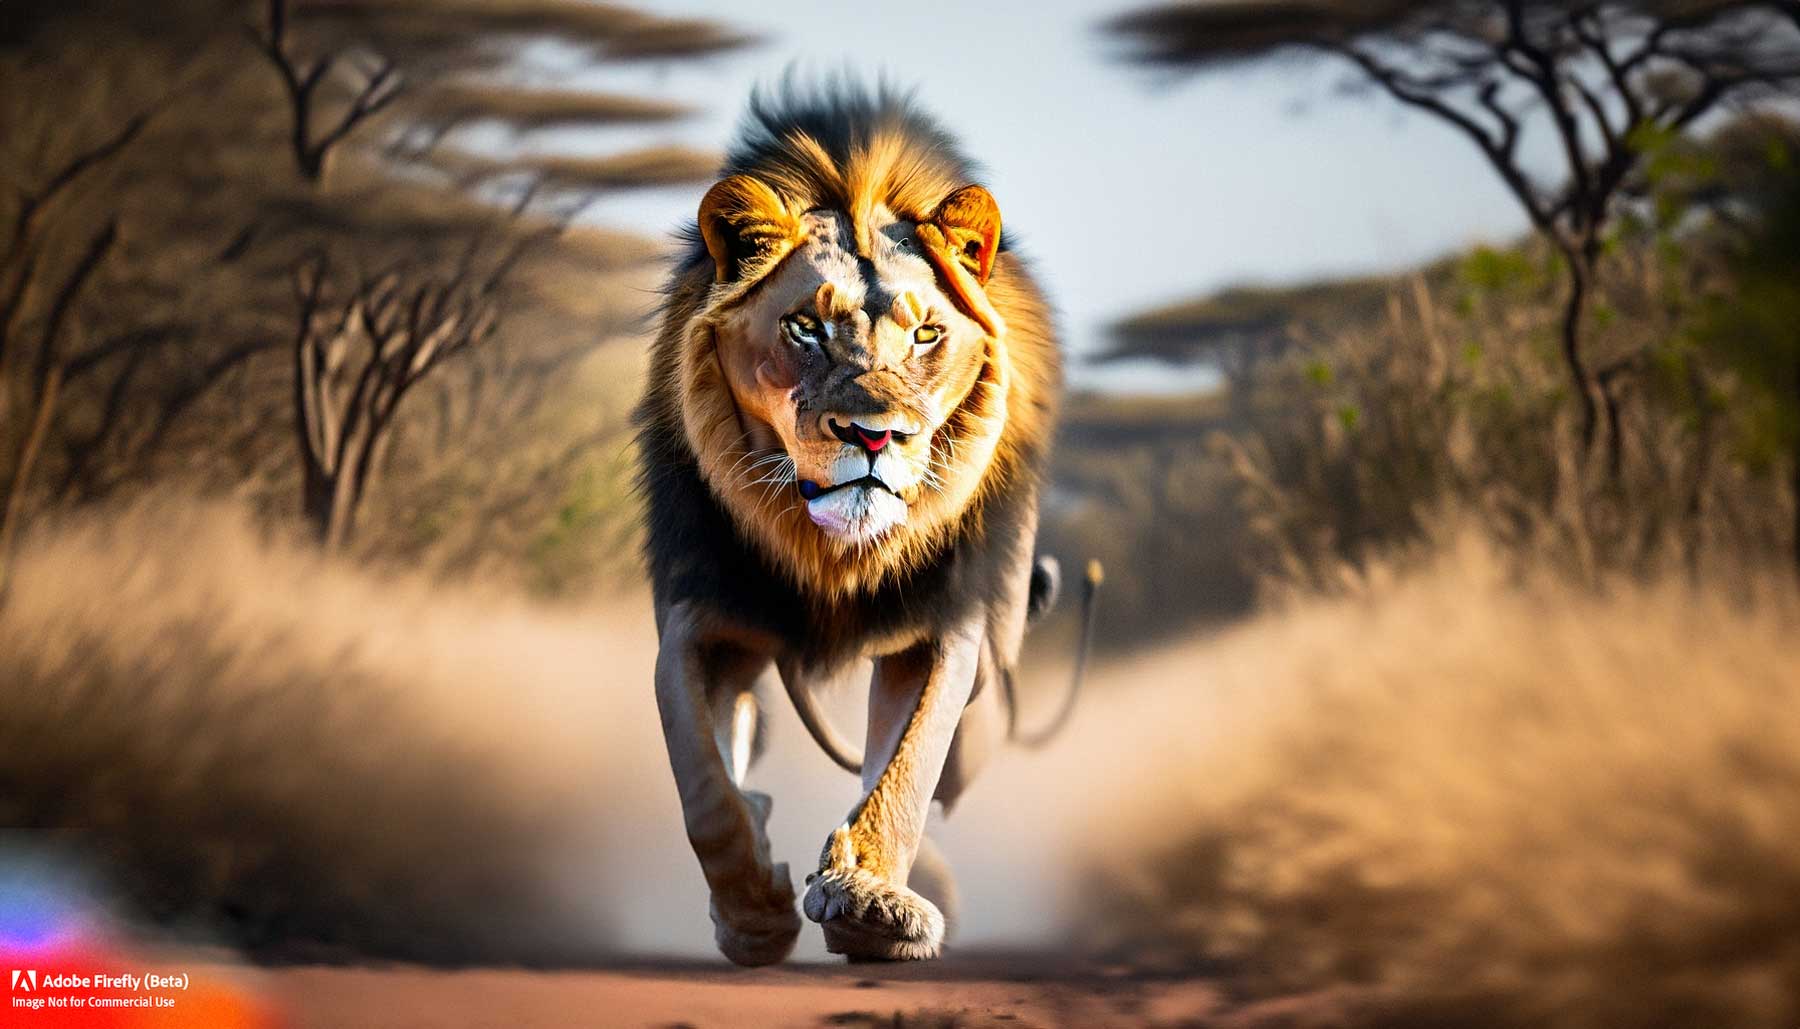
Image created with Adobe Firefly
Prompt: A fish swimming in a coral reef, ultra-realism in 4K, Canon EOS-1D X Mark III, Nikon AF-S NIKKOR 70-200mm f/2.8E FL ED VR, f/1.4, Light Painting.
Result:
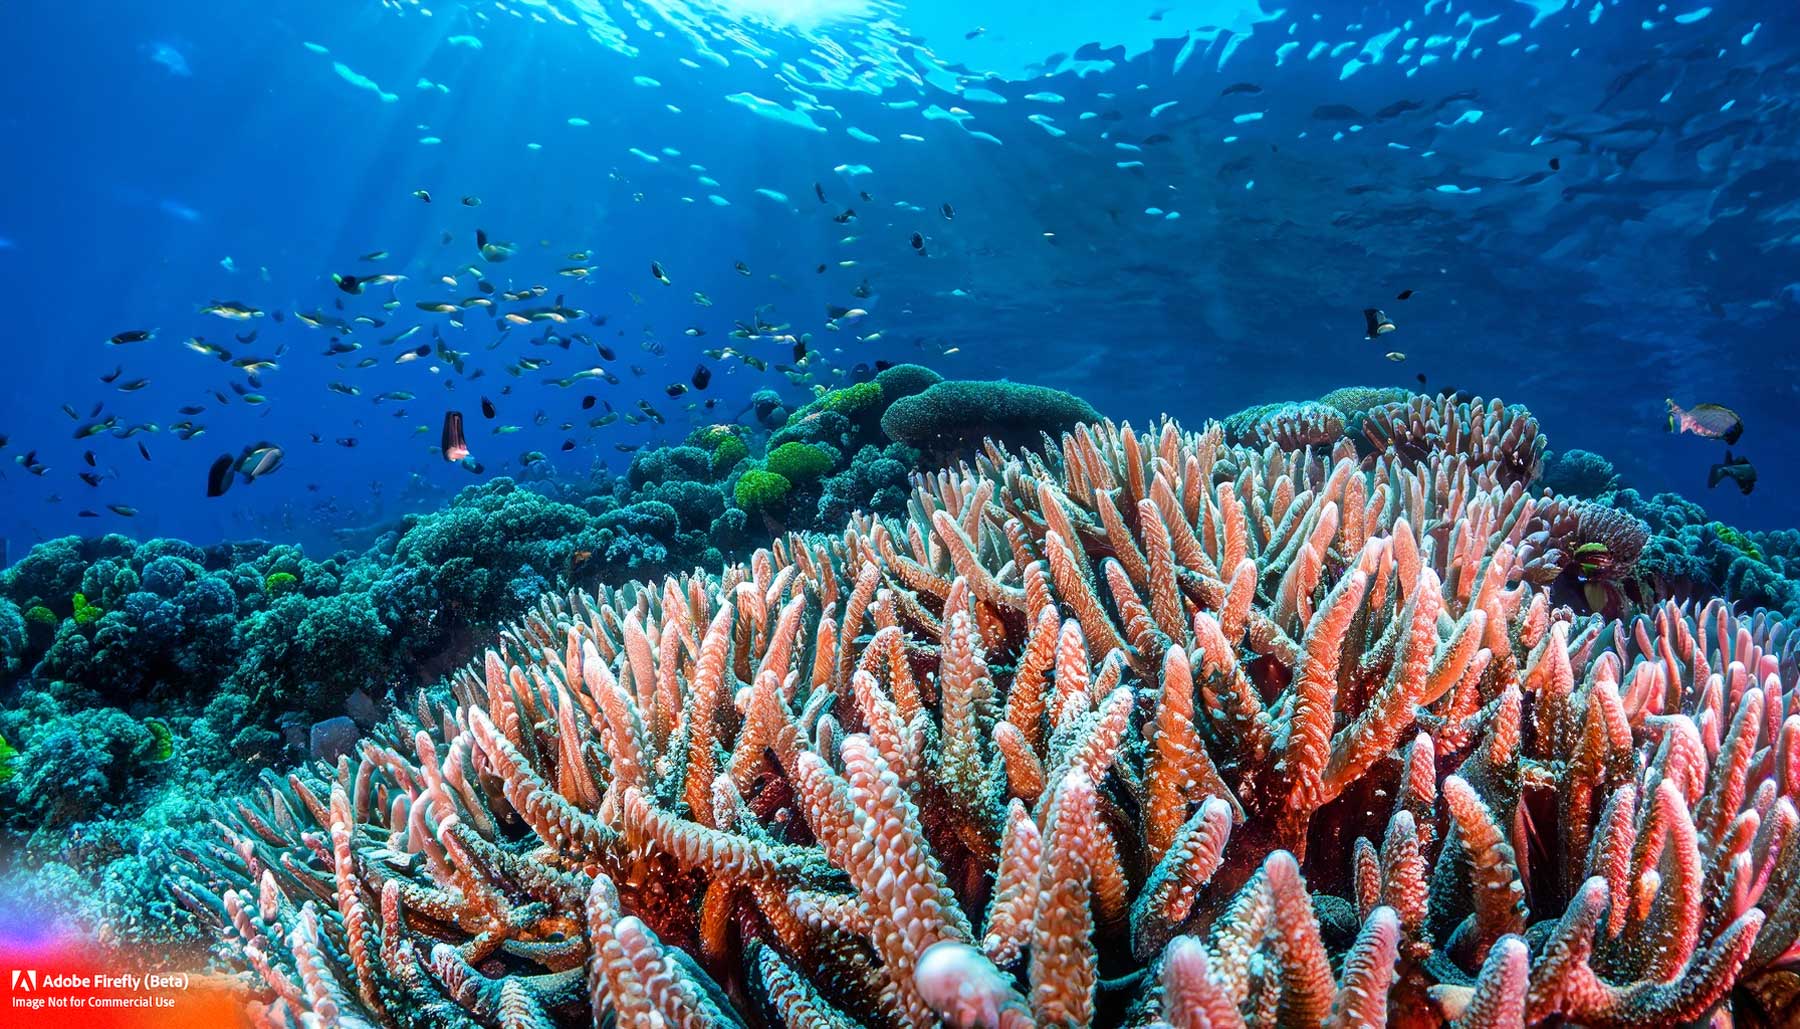
Image created with Adobe Firefly
Prompt: Steampunk style with splashes of water.
Result:
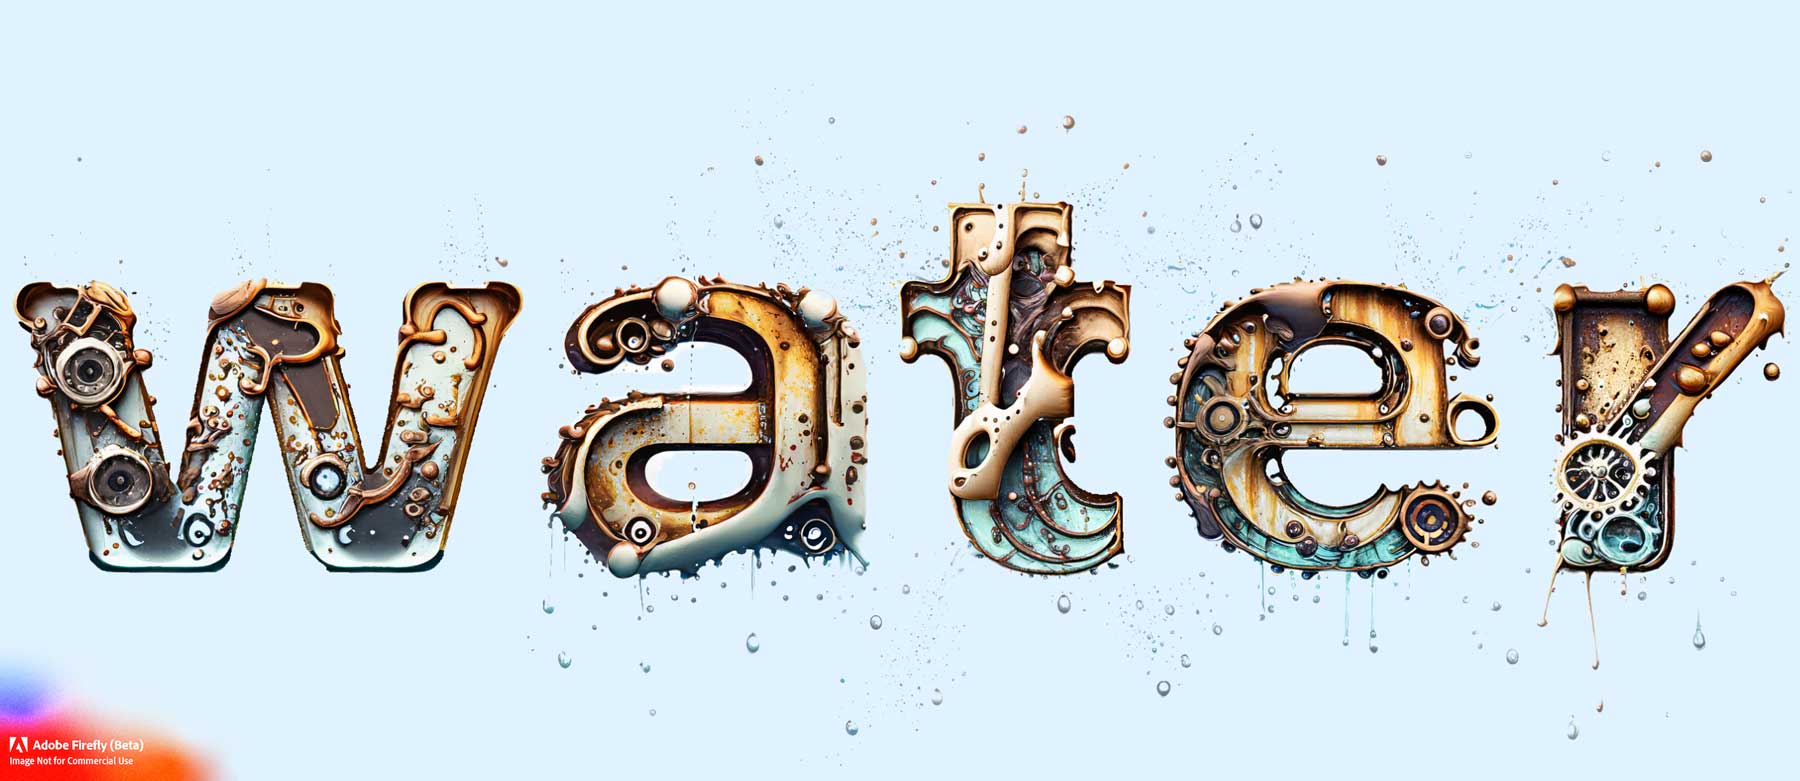
Image created with Adobe Firefly
Prompt: 1800’s Native American warrior, full headdress, sharp focus, bioluminescent lighting, blue and green lighting, soft shadows, professional color grading, no contrast. Style: hyper-realistic.
Result:
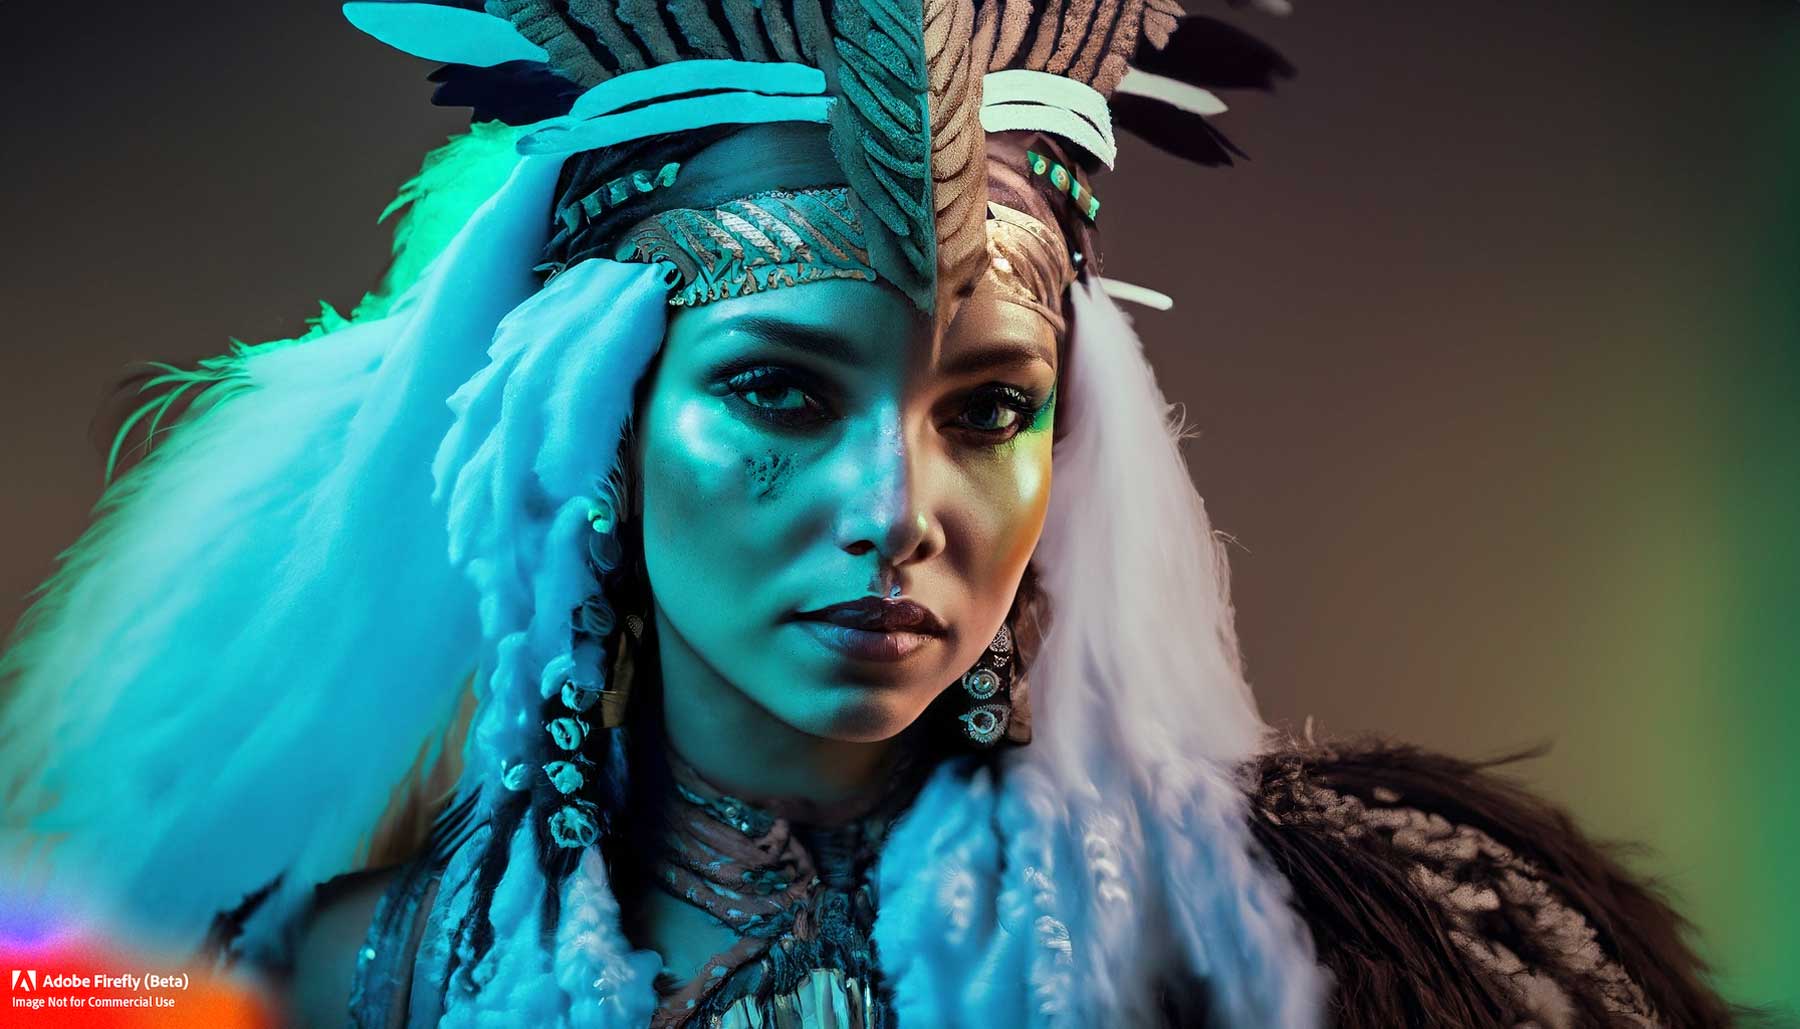
Image created with Adobe Firefly
Prompt: A beautiful mountain scene, a modern log cabin with large windows, smoke coming out of the chimney, and snow-capped peaks. Style: photo, hyper-realistic, dramatic lighting.
Result:

Image created with Adobe Firefly
Final Thoughts on Adobe Firefly
Firefly is a relative newcomer to the AI scene, joining the likes of AI powerhouses, like Jasper, Midjourney, and Photosonic. With Adobe’s expertise in all things digital, it’s likely to be leading the pack before long. Even though it’s still in beta, creators can use it to get a good idea of what AI can do. Plus, they have a few features that other AI systems don’t, including text effect images that you can download with a transparent background. Additionally, the output resolution is much higher than with other AI art generators, which is a major plus.
Another thing we should mention is that Adobe is taking the ethical use of AI seriously. So seriously, in fact, that they watermark and embed metadata in each image generated in Firefly. In our opinion, this is an excellent way to ensure that AI-generated images are easily identifiable and used responsibly.
Looking for more tips on creating AI Art? Check out these posts:
- How to Use Midjourney to Create AI Art (Detailed Tutorial)
- How to Use AI to Create Amazing Web Design with Divi (Using ChatGPT & MidJourney)
- How to Generate Beautiful AI Images with Stable Diffusion
Have you tried Adobe Firefly? Let us know your thoughts in the comments section below.
The post How to Create AI Art with Adobe Firefly in 2023 appeared first on Elegant Themes Blog.
