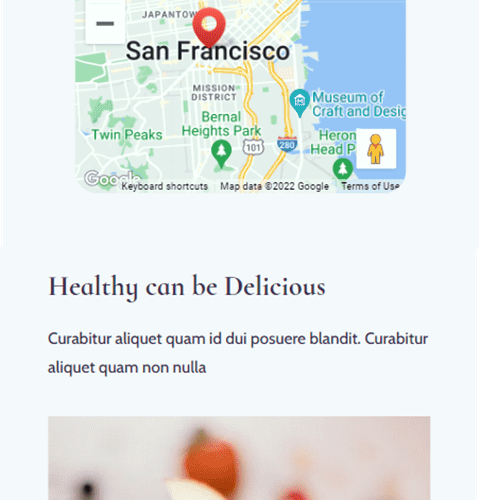
Adding a map to your website is a great way to show your visitors where you or your business is located. With Divi‘s built-in settings, you have full creative control over the design of your map module and any surrounding design elements. Take your designs to another level by applying scroll effects to your module. With several different types of effects to choose from and settings to fine-tune the effect until you achieve exactly what you want, using scroll effects can help you add eye-catching movement to your website modules. In this post, we will show you how to enlarge your map module on scroll with Divi’s scroll effects.
Let’s get started!
Sneak Peek
Here is a preview of what we will design.
Layout 1

Layout 2

What You Need to Get Started
Before we begin, install and activate the Divi Theme and make sure you have the latest version of Divi on your website.
Now, you are ready to start!
How to Enlarge Your Map Module on Scroll with Divi’s Scroll Effects
Layout 1
Create a New Page with a Premade Layout
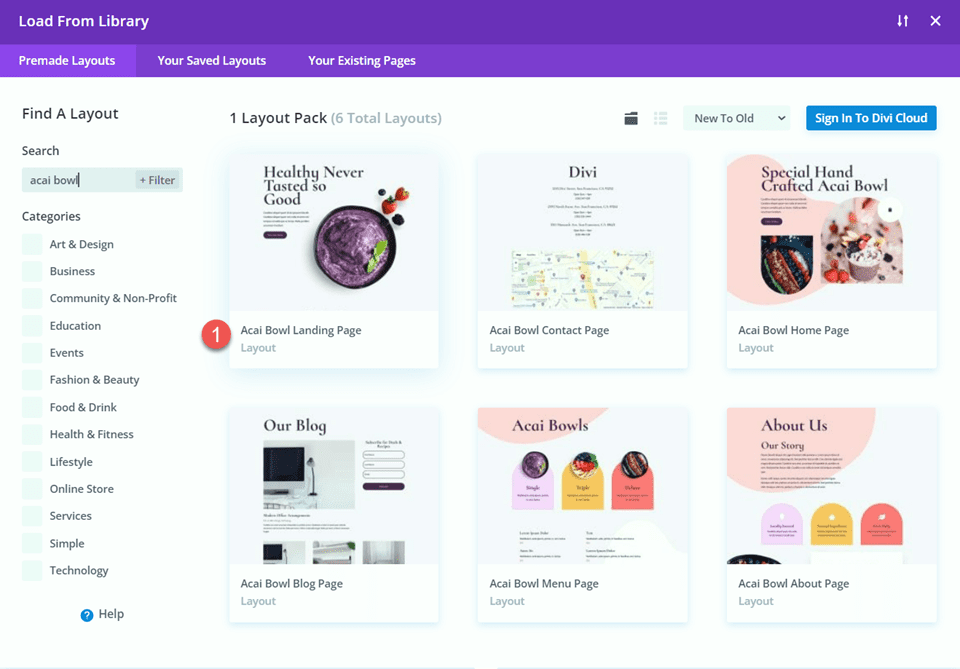
Let’s start by using a premade layout from the Divi library. For this design, we will use the Acai Bowl Landing Page from the Acai Bowl Layout Pack.
Add a new page to your website and give it a title, then select the option to Use Divi Builder.
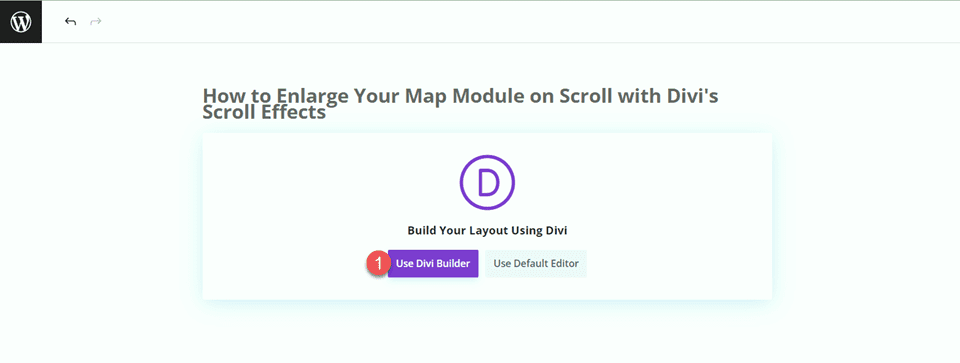
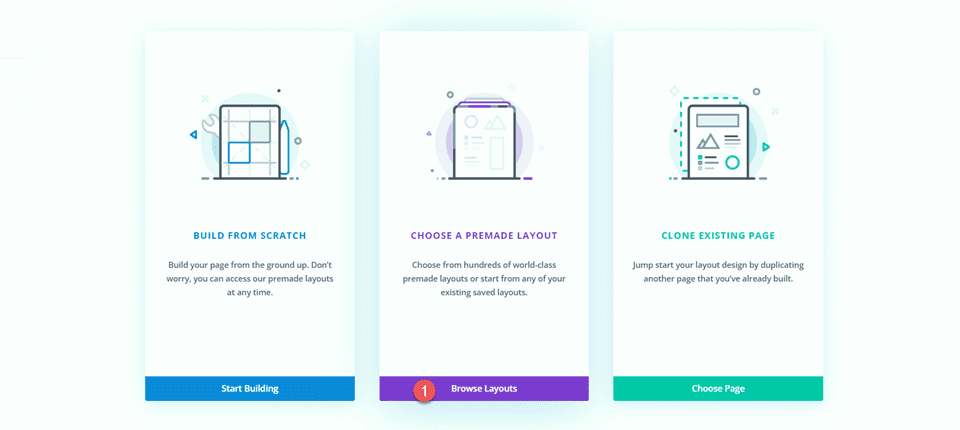
We will use a premade layout from the Divi library for this example, so select Browse Layouts.
Search for and select the Acai Bowl Landing Page.
Select Use This Layout to add the layout to your page.
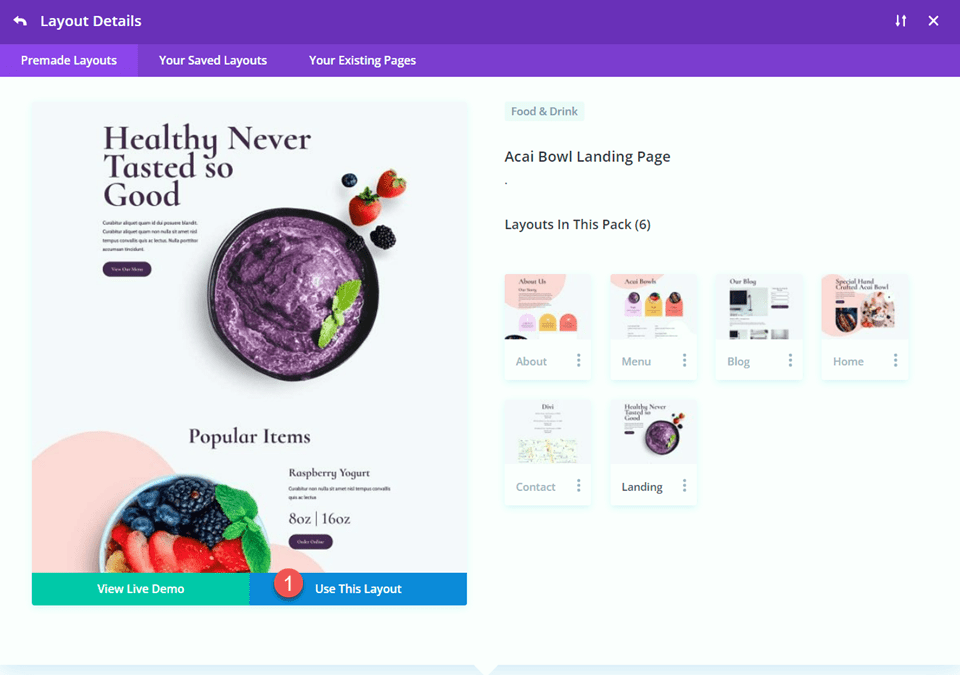
Now we are ready to build our design.
Add the Map Module
We are going to add the map module to the “Come Visit Us” section on the landing page. Start by adding a new row with a single column.
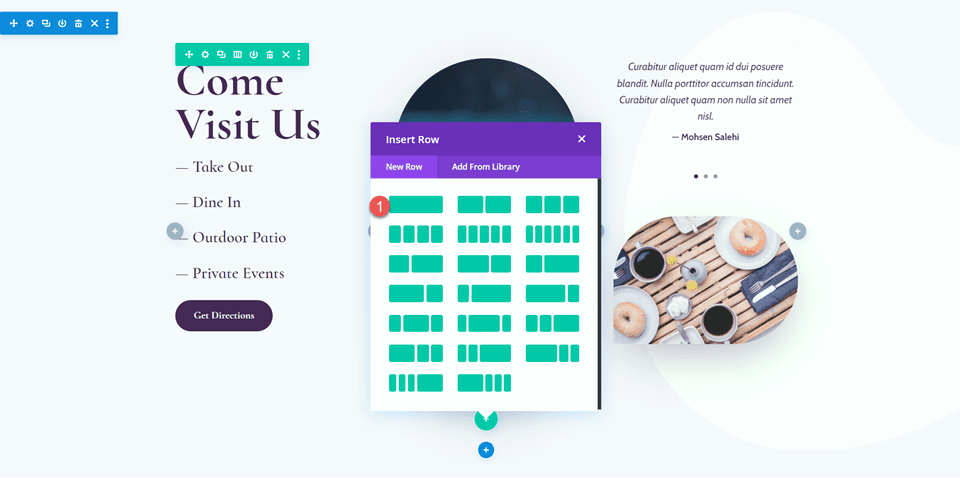
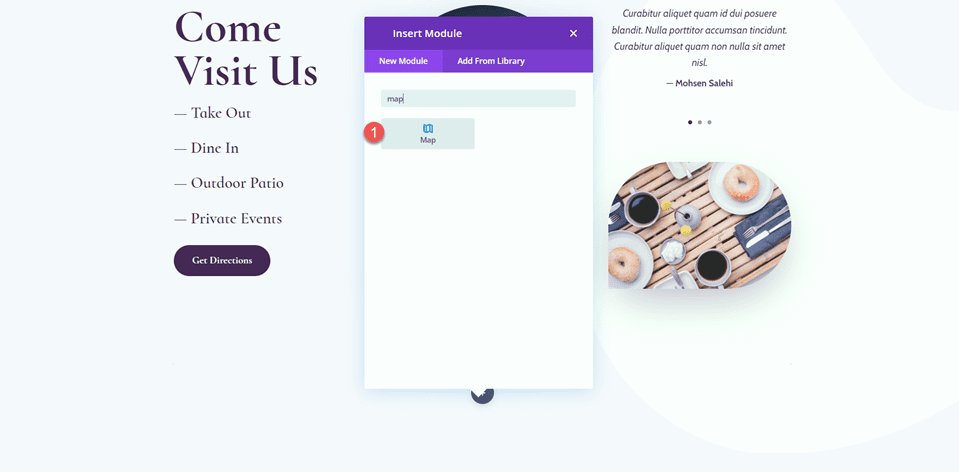
Add the map module to the new row.
Add your Google API Key to enable the map if you haven’t already. Then, add a center address to the map. For this tutorial, the address will be San Fransisco, California.
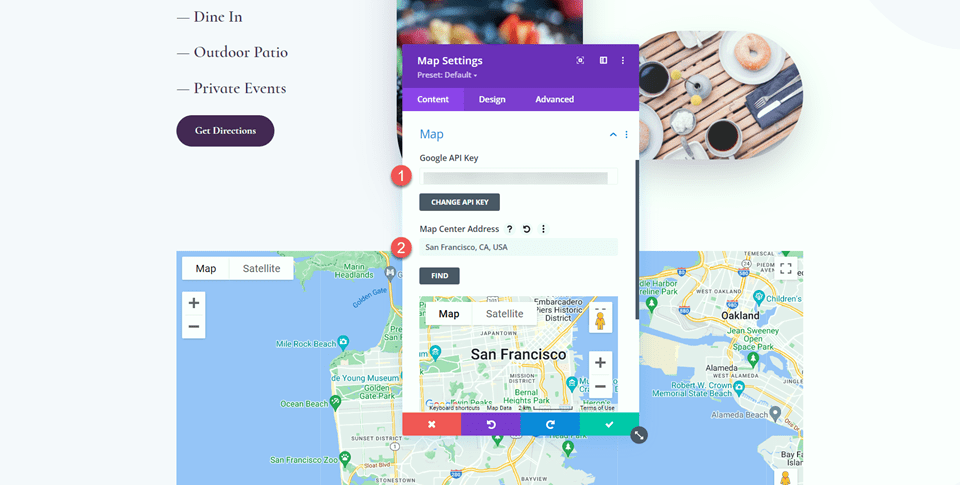
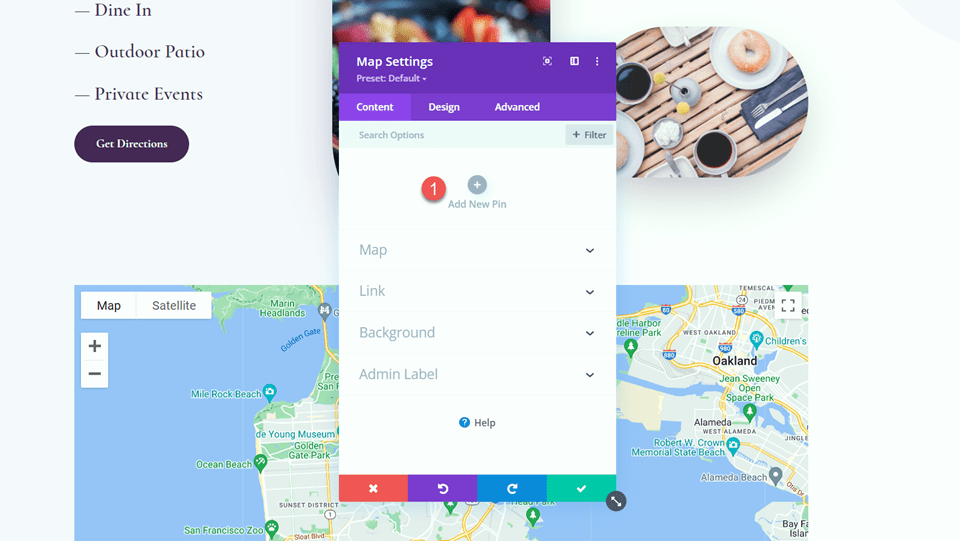
Next, add a new pin.
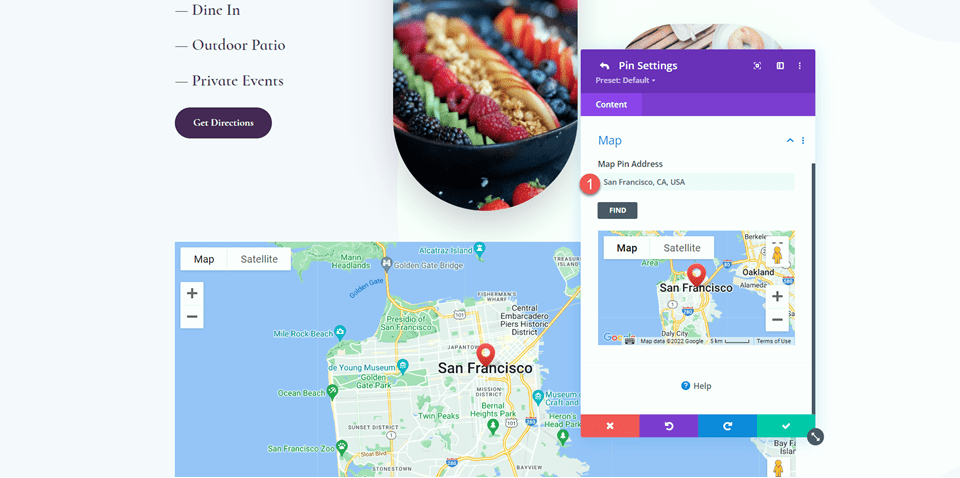
Set the map pin address. Once again, we will set this to San Fransisco, California for this tutorial.
Design Settings
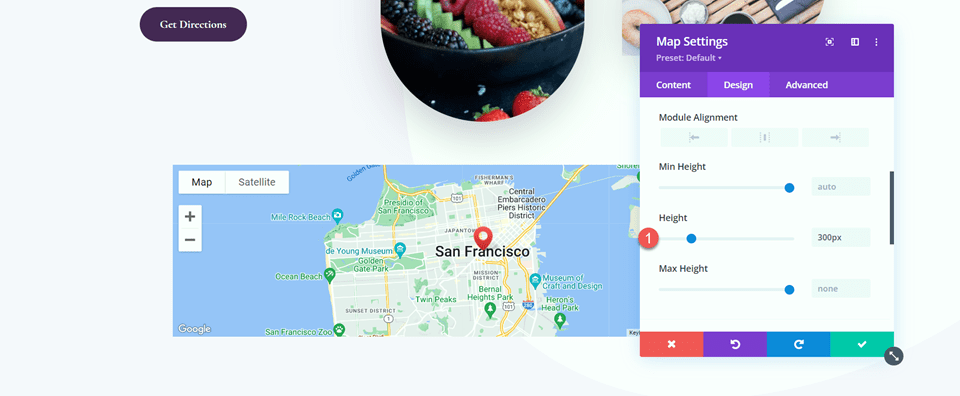
Move to the Design tab and open the sizing settings. Set the Height.
- Height: 300px
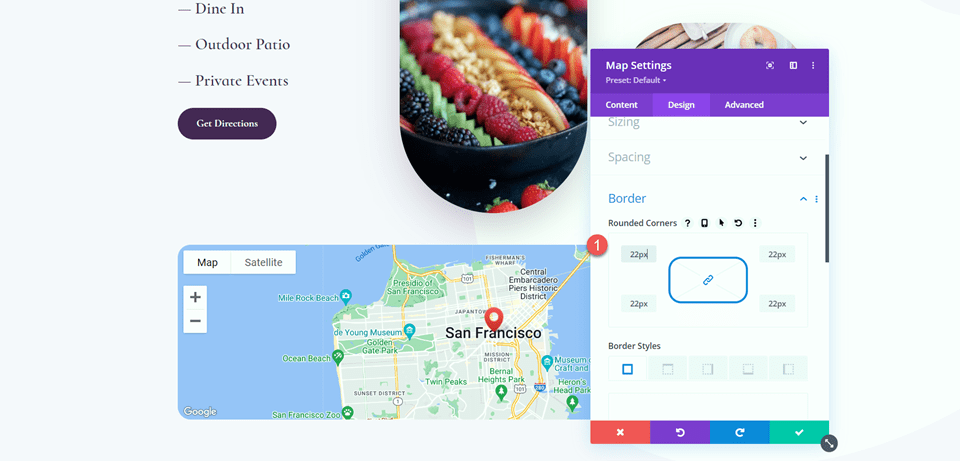
Next, open the border settings and add rounded corners to the map.
- Rounded Corners: 22px
Add the Scroll Effects
Now the design of our map module is complete so that we can add the scroll effects. Move to the Advanced tab, then navigate to the Scroll Effects. Under Scroll Transform Effects, select the scaling up and down tab.
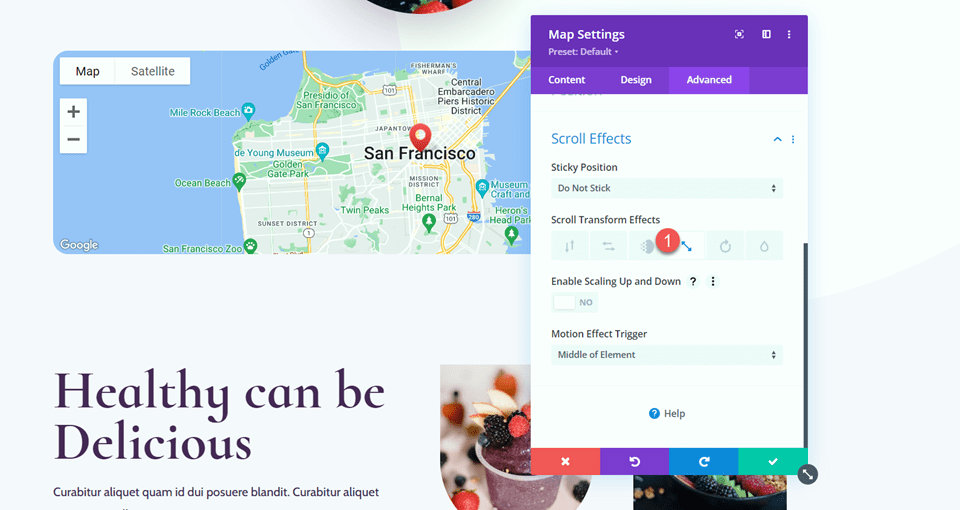
Enable Scaling Up and Down. This will allow our map module to increase in size as you scroll down the page.
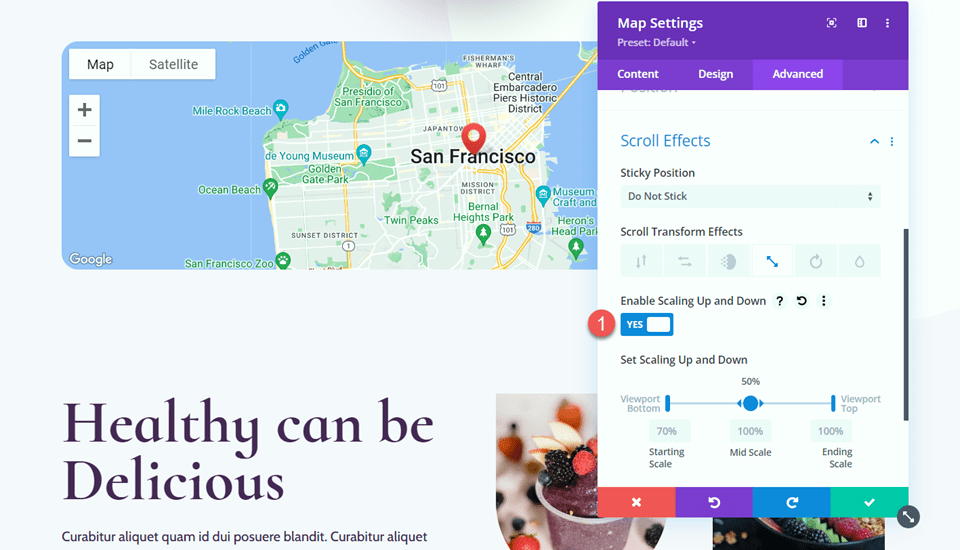
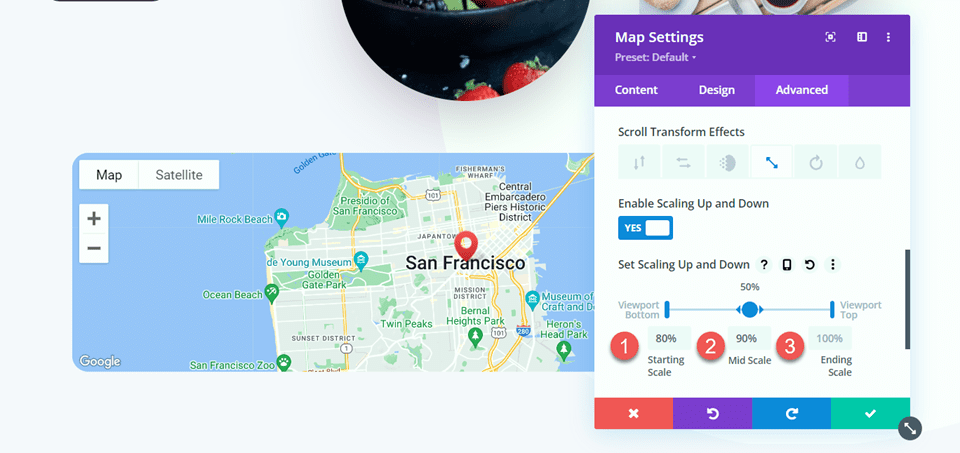
Let’s fine-tune the scaling settings. Adjust the starting, mid, and ending scale. You can achieve a more subtle scale effect by keeping the numbers relatively close together. If there is a big difference between the numbers, you will achieve a more drastic scale effect.
- Starting Scale: 80%
- Mid Scale: 90%
- Ending Scale: 100%
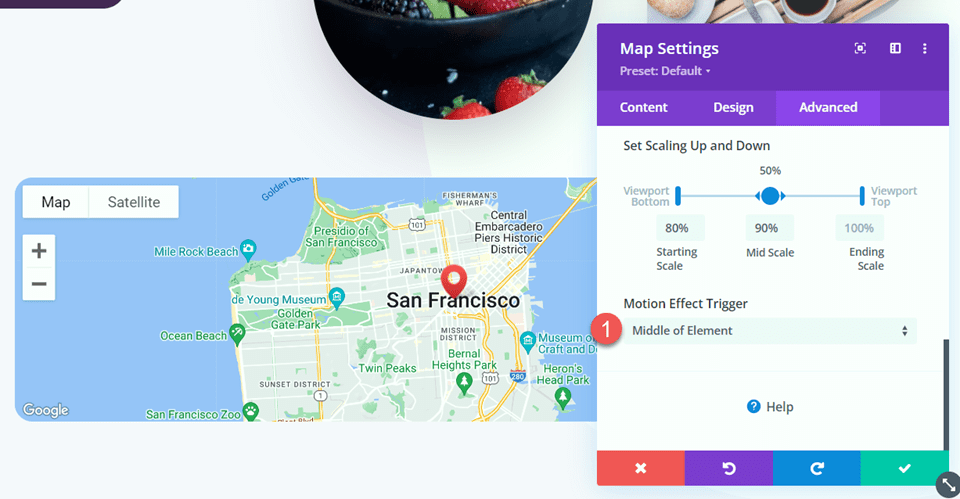
Finally, set the motion effect to trigger in the middle of the element.
- Motion Effect Trigger: Middle of Element
Final Design
Here is the final design for our first layout.

Layout 2
Create a New Page with a Premade Layout
For the second layout, we will use the contact page layout from the same Acai Bowl Layout Pack. Let’s get started.
Add a new page to your website and give it a title, then select the option to Use Divi Builder.
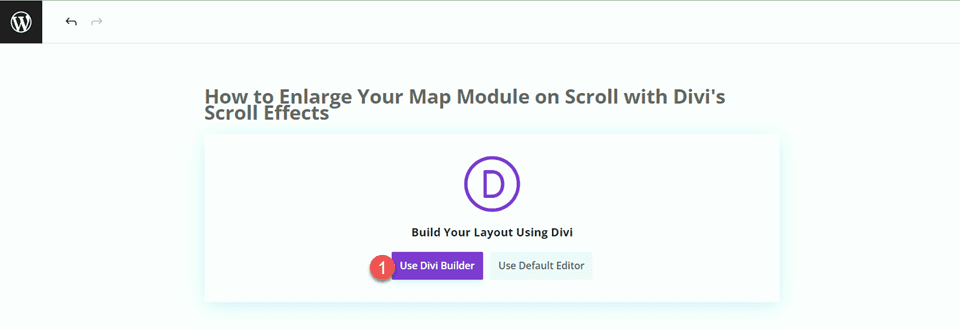
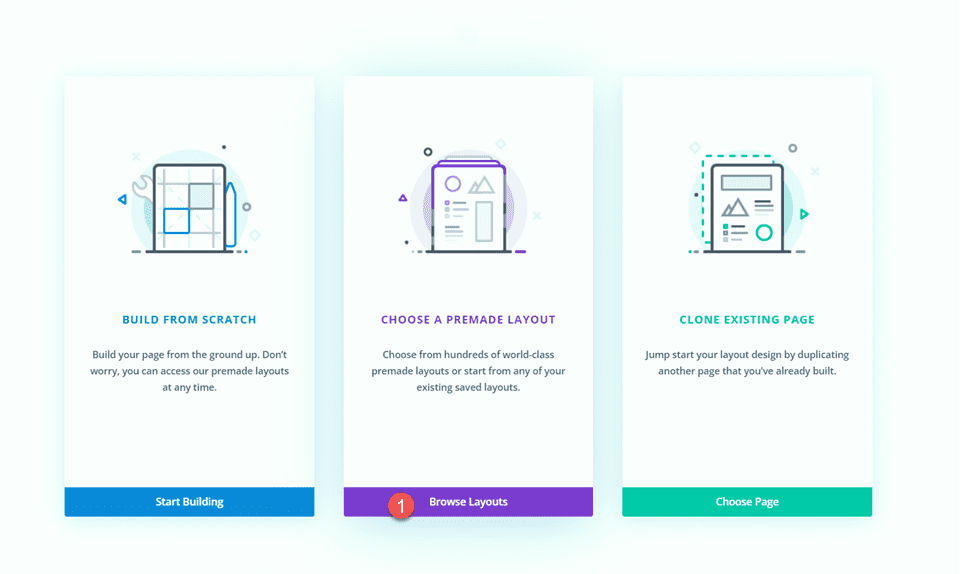
We will use a premade layout from the Divi library for this example, so select Browse Layouts.
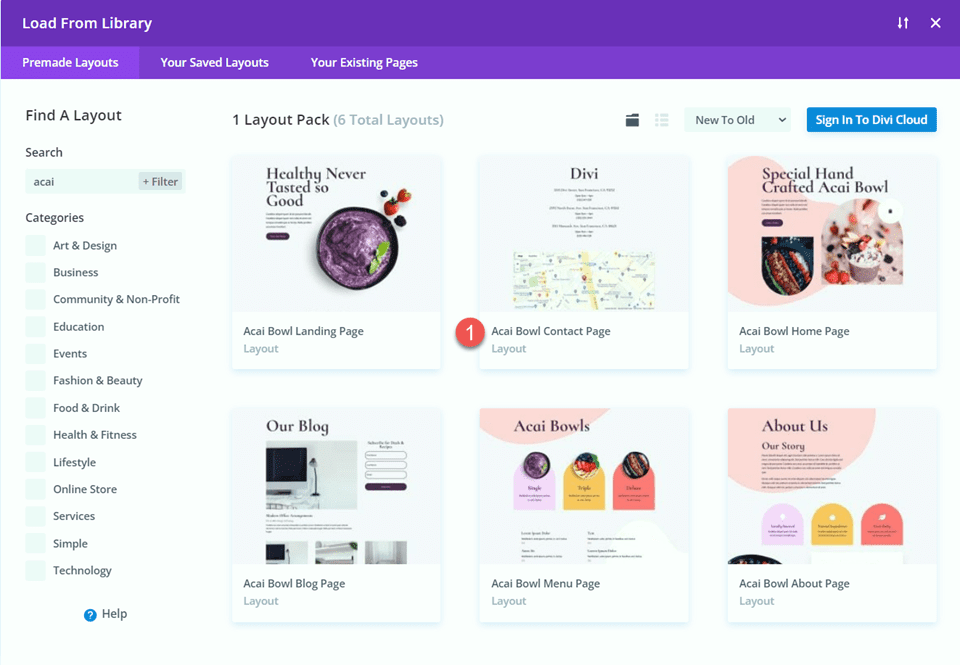
Search for and select the Acai Bowl Contact Page.
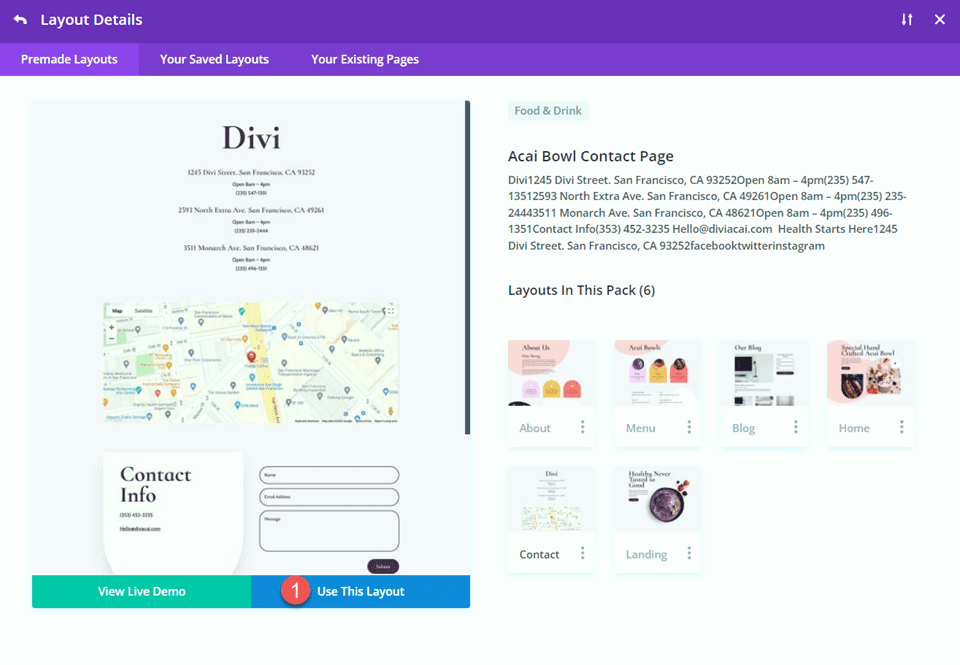
Select Use This Layout to add the layout to your page.
Now we are ready to build our design.
Modify Row Settings
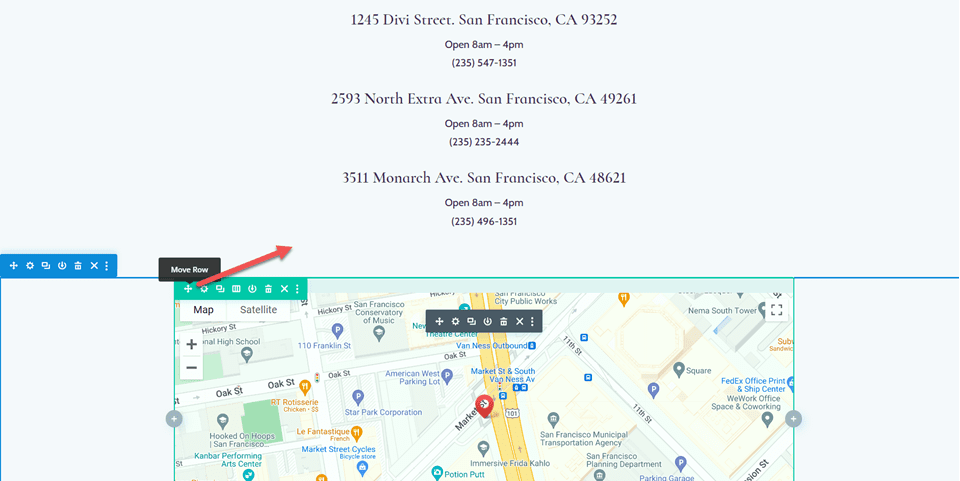
First, move the row containing the map module to the section above, below the addresses.
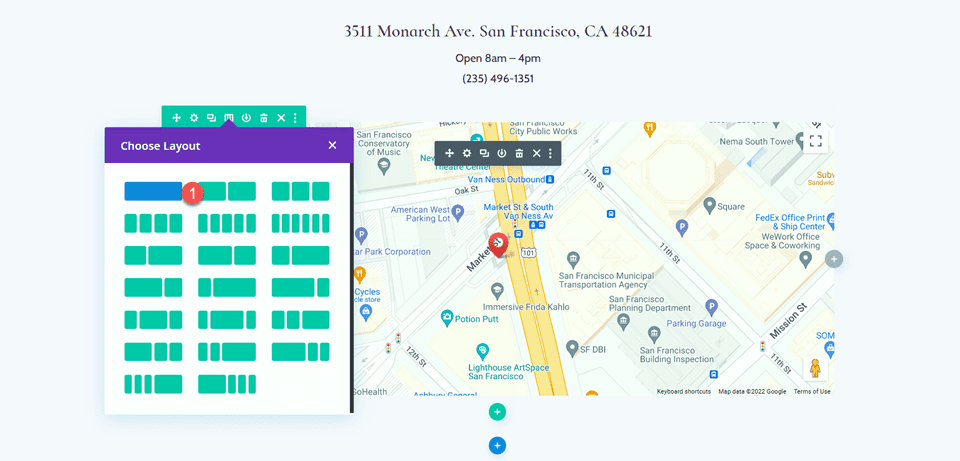
Then, modify the row layout to two columns.
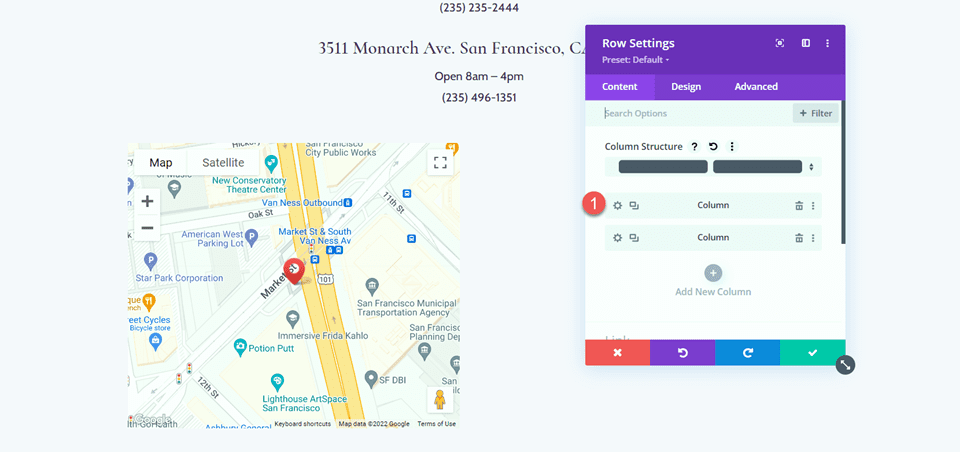
Open the row settings, then open the column 1 settings.
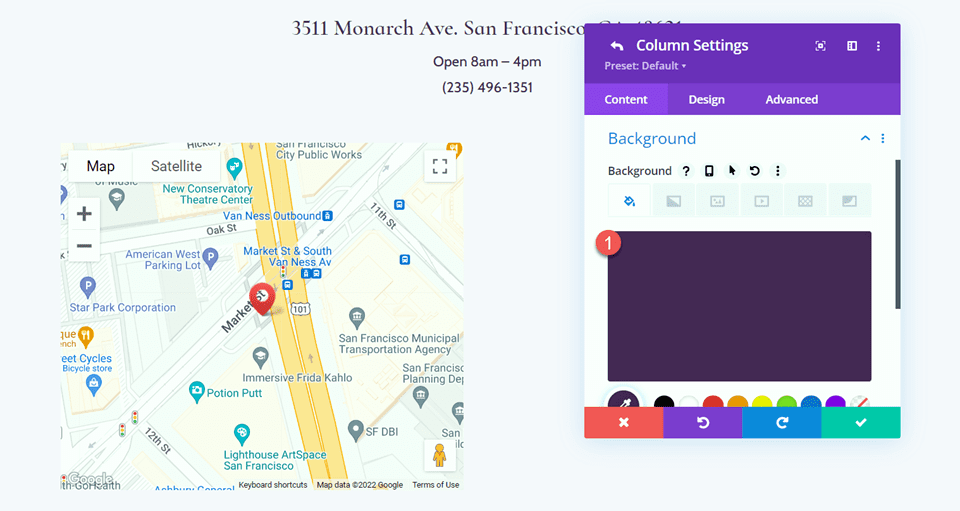
Add a background color.
- Background: #442854
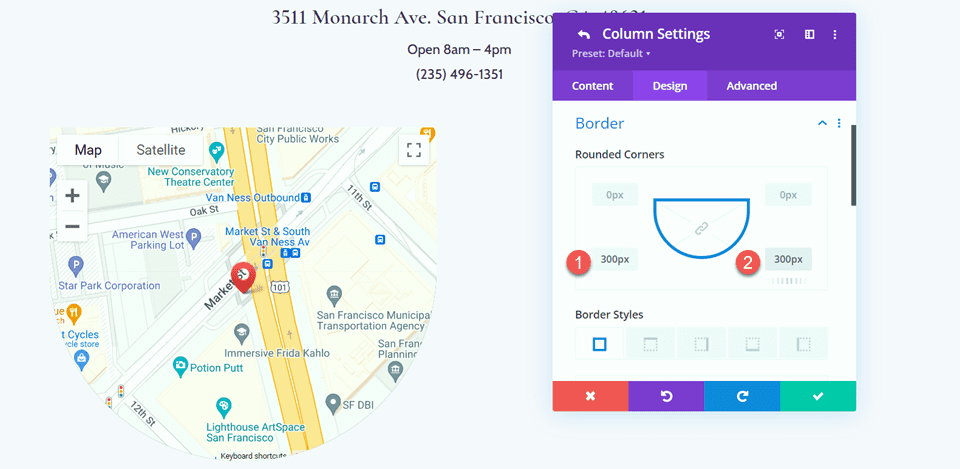
Finally, navigate to the design tab and open the border settings. Add rounded corners to the bottom left and right corners.
- Rounded Corners – bottom left: 300px
- Rounded Corners – bottom right: 300px
Modify Section Settings
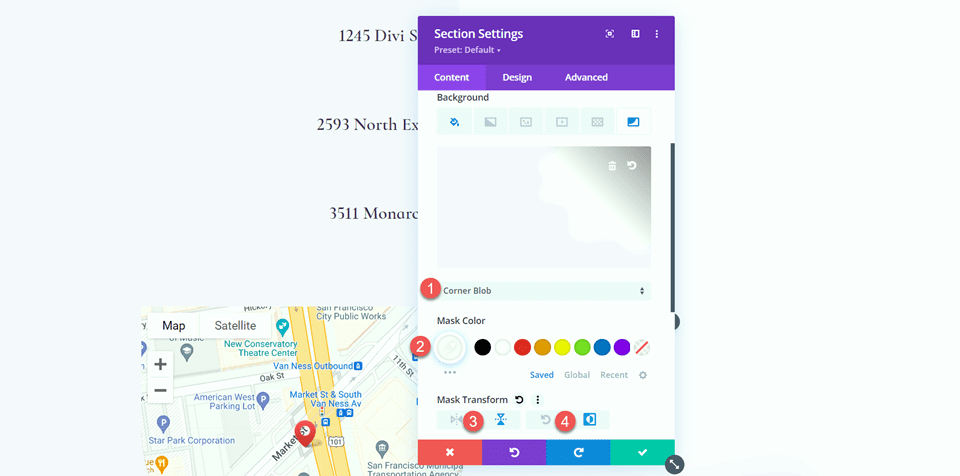
Open the section settings for the section containing the map module. Navigate to the background settings, then add a background mask.
- Background Mask: Corner Blob
- Mask Color: #FFFFFF
- Mask Transform: Vertical and Invert
Add Image
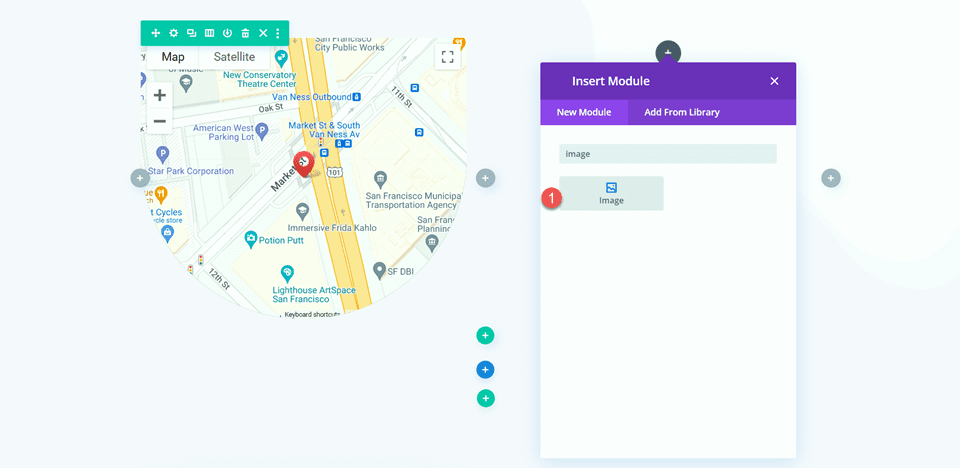
First, add an image module to the column next to the map module.
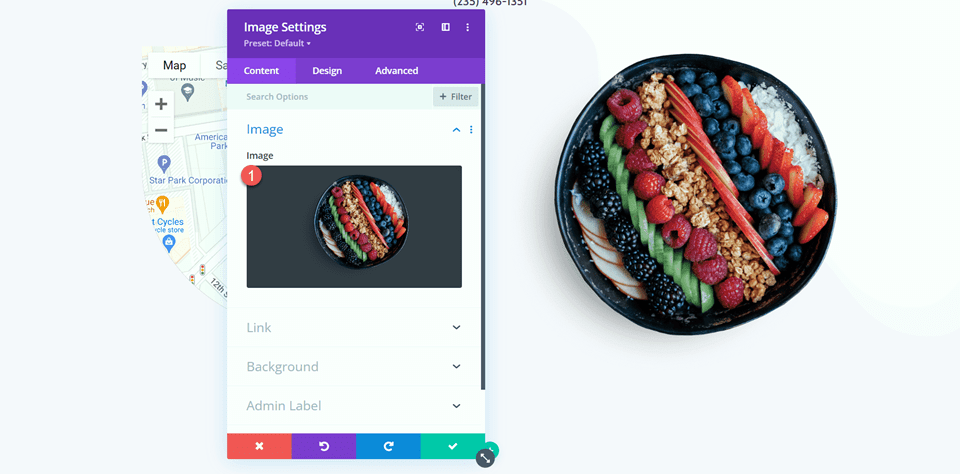
Then, add the transparent image of the acai bowl to the module. You should have this in your media library labeled as acai-bowl-34.png if you used the Acai Bowl landing page layout for Layout 1.
We want the image of the acai bowl to rotate as you scroll down the page. Move over to the Advanced tab, then open the Scroll Effects section. Select the Rotating tab and enable rotating.
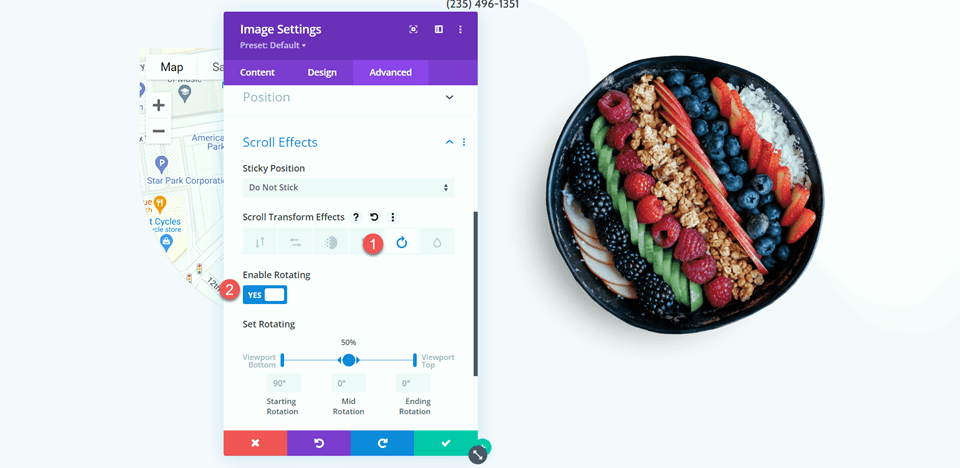
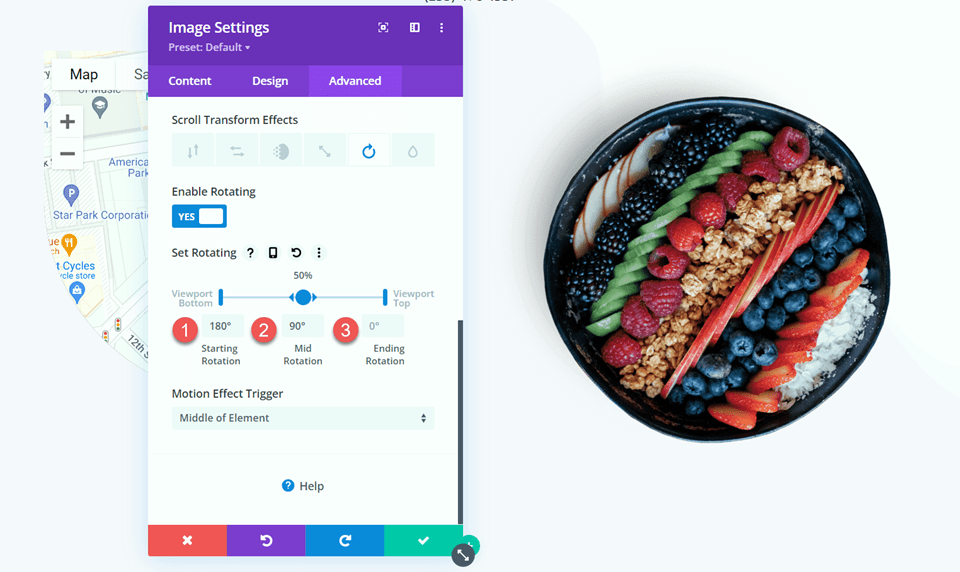
Next, set the rotation.
- Starting Rotation: 180
- Mid Rotation: 90
- Ending Rotation: 0
Map Design
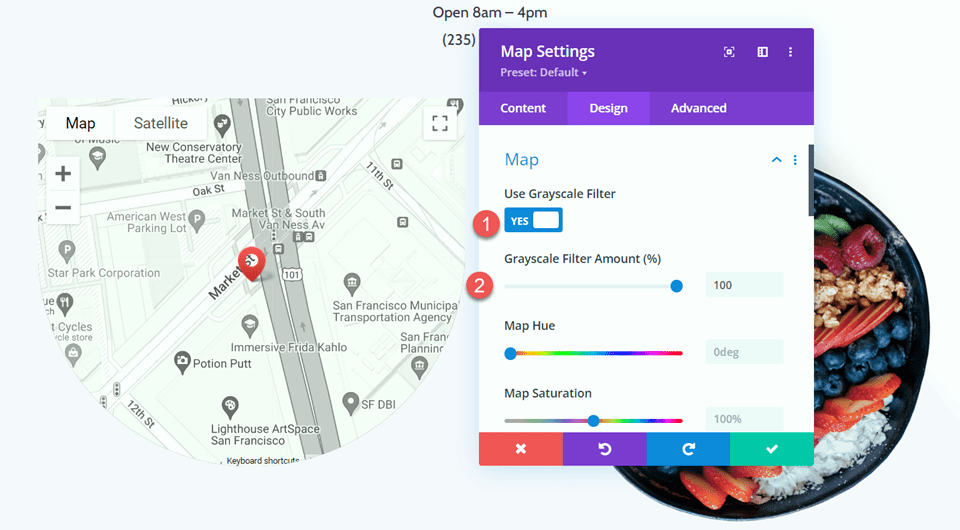
Now move over to the map module settings. Under the design tab, open the map settings. Enable the grayscale filter.
- Use Greyscale Filter: Yes
- Greyscale Filter Amount (%): 100
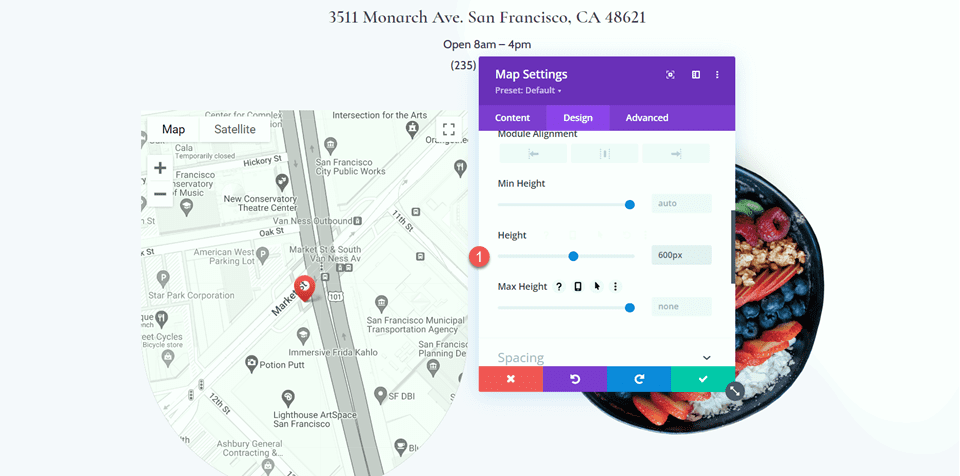
Next, modify the height under the Sizing tab.
- Height: 600px
Under the Spacing settings, add some margins.
- Margin-Top: 5px
- Margin-Bottom: 5px
- Margin–Left: 5px
- Margin-Right: 5px
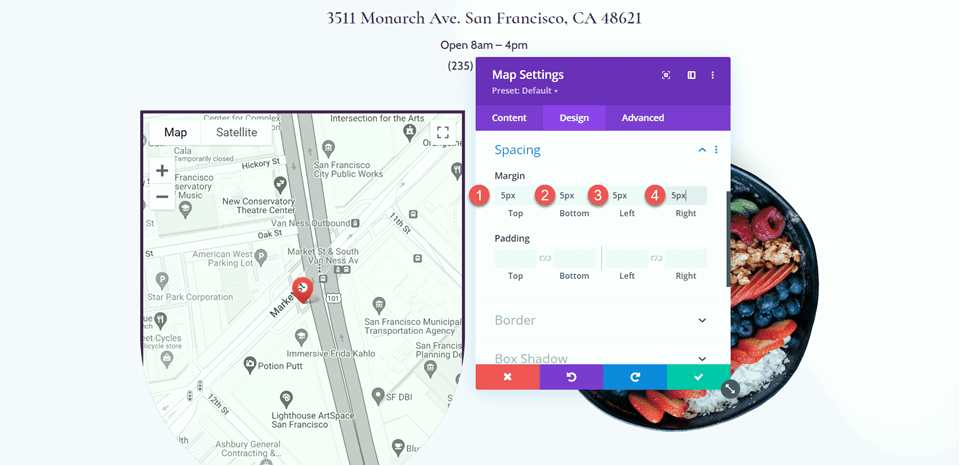
Then add rounded corners to the bottom left and right corners.
- Rounded Corners – Bottom Left: 300px
- Rounded Corners – Bottom Right: 300px
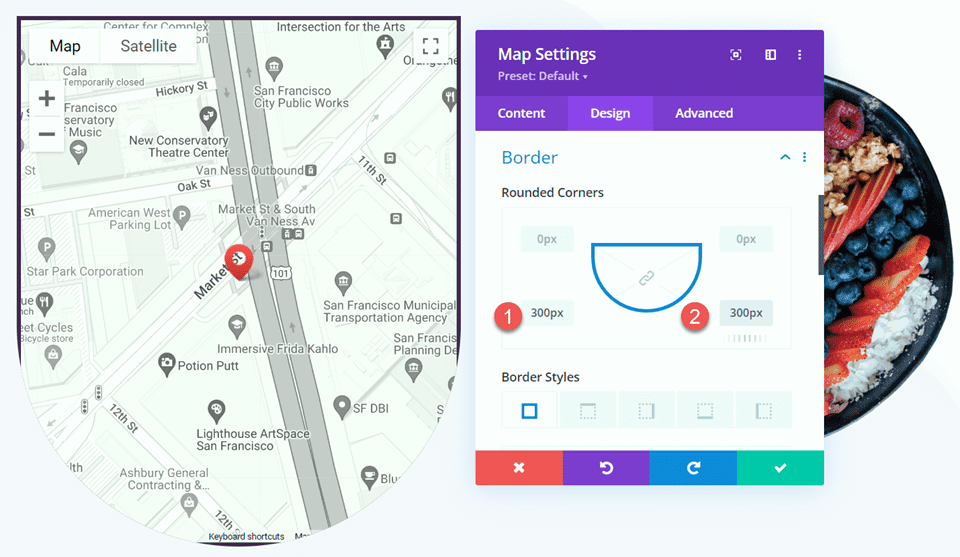
Add Scroll Effects
Now we can finally add the scroll effects to the map so that it enlarges on scroll. Open the Scroll Effects section under the Advanced tab. Then, select the scaling up and down tab and enable scaling up and down.
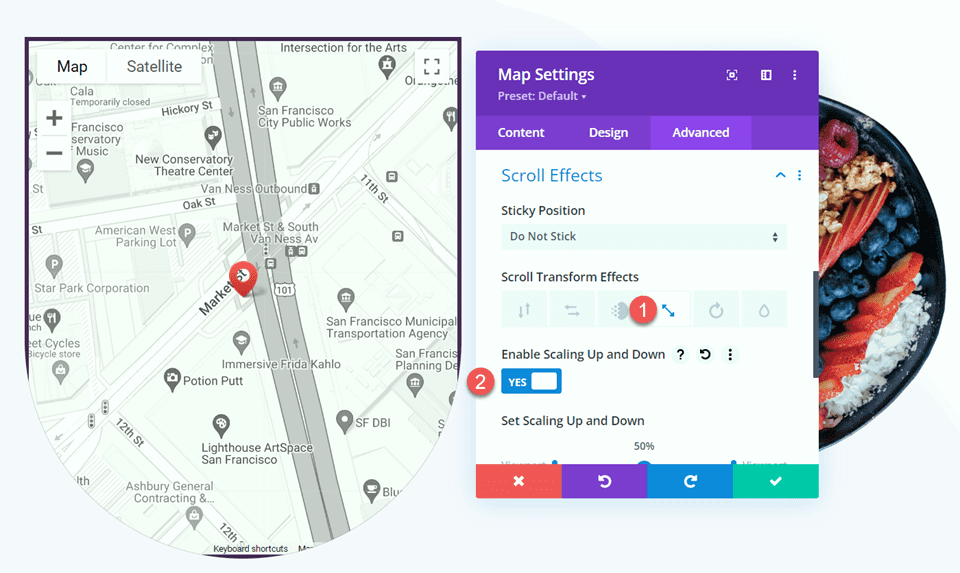
Finally, customize the scales.
- Starting Scale: 90%
- Mid Scale: 95%
- Ending Scale: 100%
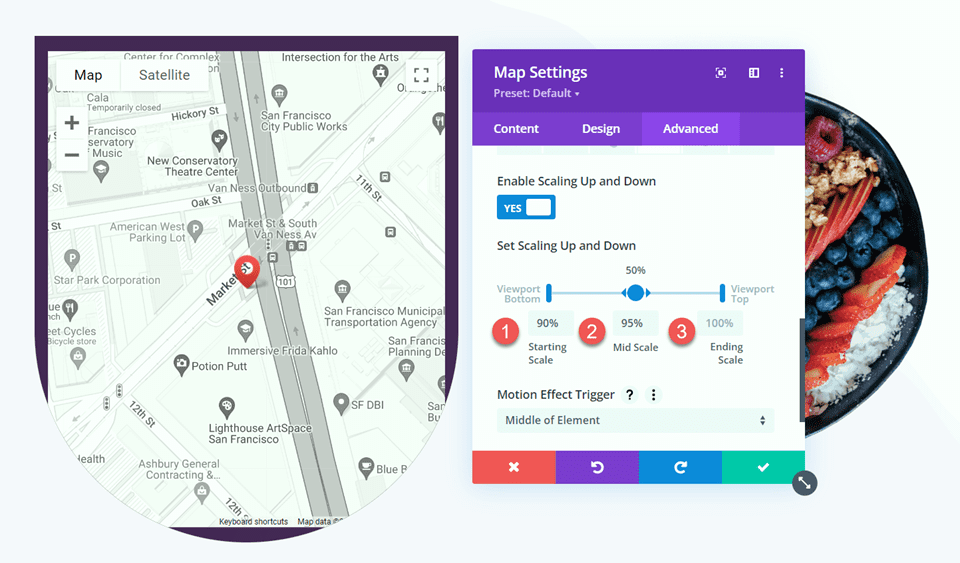
Final Design
Here is the final design for layout 2.

Final Result
Now let’s take a look at both of our layouts in action.
Layout 1

Layout 2

Final Thoughts
By applying Divi’s scroll effects to the map module, you can achieve a unique effect as you scroll down the page and help your map stand out to website visitors. These effects can be applied to any other module on your website as well, so there is no limit to what you can achieve with some creativity! If you are interested in more tutorials related to the map module, check out this article for how to add a fixed map toggle to your Divi page template. And if you want some more design ideas using scroll effects, check out this tutorial for how to add scroll-animated icons to your section backgrounds. How have you applied Divi’s scroll effects to your website? Let us know in the comments!
The post How to Expand Your Map Module on Scroll with Divi’s Scroll Effects appeared first on Elegant Themes Blog.
